
Breadsticks (aka Grissini)

Crispy, customizable Italian breadsticks — quick to prepare and perfect with cheese, charcuterie, or as a snack. Yields 16–20 long sticks.

This recipe for long, crispy breadsticks (grissini) has been a small celebration in my kitchen ever since I first tested it back in December 2020. I originally pulled together pantry staples during a busy holiday week when we wanted something simple to serve with wine and a platter of cheeses. The result was delightfully thin, crunchy sticks with a tender interior and a nutty olive oil flavor that everyone reached for — the recipe has been updated today to include clearer timing and extra tips for consistent crispness.
What makes these particularly special is their adaptability: a basic dough that takes only 10 minutes to prepare, a short one-hour proof, and then a quick stretch-and-bake to golden perfection. The texture is crackly but not rock-hard, and you can customize the surface with poppy, sesame, or chia seeds, flaky salt, or a sprinkle of grated parmesan (see notes). I love these for nibbling while assembling a cheese board, and they’re a crowd-pleaser at parties — kids and adults alike dip them, break them, and devour them.
Why You'll Love This Recipe
- Fast hands-on time: just 10 minutes to mix and shape, then a short 1-hour rise — perfect for last-minute entertaining.
- Uses pantry staples: flour, yeast, oil, and water — no special ingredients required, and easy to double.
- Customizable topping options: try sesame, poppy, chia, parmesan, garlic powder, or flaky sea salt for different flavors.
- Make-ahead friendly: dough freezes well after kneading or you can shape, flash-freeze, and bake later.
- Crowd-pleasing crunch with a tender center — ideal with cheese, spreads, or as a standalone snack.
- Yield flexibility: makes roughly 16–20 long sticks; cut wider for shorter, thicker sticks if you prefer.
Personally, my family went from polite nibbles to full-blown enthusiasm the first time I served these with a winter board. My husband declared them “dangerously addictive,” and now I keep the dough recipe memorized: it’s the one I turn to when I want an effortless accompaniment to drinks or a light starter.
Ingredients
- Bread or all-purpose flour: Use 2 cups of bread flour for more chew and structure; all-purpose works too for a slightly softer result. I favor King Arthur for consistency, but any unbleached flour is fine.
- Fine salt: 1 teaspoon (reduce to 3/4 teaspoon if using grated parmesan on top). Salt controls flavor and strengthens gluten for a better crumb.
- Instant yeast: 1 teaspoon (you can substitute active dry yeast — see instructions for proofing). Instant yeast gives a reliable one-hour rise.
- Warm water: 1/2 cup plus 1 tablespoon of lukewarm water (mildly warm to the touch). This hydrates the flour and activates the yeast without killing it.
- Olive oil: 1/4 cup (60 ml) — use a good extra-virgin for flavor; it keeps the crumb tender and helps the surface get golden.
- Seeds or toppings (optional): 2–3 tablespoons total of sesame, poppy, or chia seeds, plus flaky sea salt or garlic powder for extra savory notes.
Instructions
Mix dry ingredients: In a large mixing bowl whisk together 2 cups flour, 1 teaspoon salt, and 1 teaspoon instant yeast until evenly distributed. If you plan to use grated parmesan or garlic powder, add it now so the flavors integrate. Whisking aerates the flour and prevents lumps. Combine liquids: Stir in 1/2 cup plus 1 tablespoon lukewarm water and 1/4 cup olive oil with a spatula until a shaggy dough forms. If you used whole-grain flour or added parmesan, you might need a touch more water; add by teaspoonfuls so the dough remains slightly tacky but manageable. Knead briefly: Turn the dough onto a lightly floured surface and knead for 1–2 minutes until smooth and pliable. This is a short knead — you only need to develop some gluten so the dough holds together and can be stretched into strips. Shape on baking sheet: Place the dough on a parchment-lined baking sheet and gently flatten it into an 11 x 7 inch rectangle using your fingers. Brush generously with olive oil or melted butter, then sprinkle seeds or your chosen topping. Cover loosely with plastic wrap for the rise. Proof: Let the dough rise for about 1 hour in a warm draft-free place until slightly puffed (not doubled). A consistent 75–80°F warm spot gives the best result; if your kitchen is cool, a warm oven (turned off) with the light on works well. Preheat and cut: Preheat the oven to 400°F (205°C) and prepare two parchment-lined baking sheets. Using a pizza cutter, slice the dough crosswise into 1/2-inch strips. Grab each strip at the end and gently pull it to lengthen and thin slightly. Transfer to the baking sheets leaving space for expansion; don't make them too thin or they will burn. Bake to crisp: Bake for 15–20 minutes depending on size and oven variability — start checking at 15 minutes. You want a deep golden, crusty exterior. In my oven it takes the full 20 minutes for long, thin sticks. Remove and cool on a rack to retain crispness.
You Must Know
- The sticks freeze well: bake first, then freeze in a single layer and re-crisp in a 350°F oven for 5–7 minutes.
- Keep extra oil on hand for brushing — it encourages browning and helps seeds adhere.
- These are not gluten-free — they rely on wheat structure for stretch and crispness.
- Adjust salt if sprinkling parmesan on top; parmesan adds salty intensity.
My favorite part is how reliably these turn out: even when my timing is off, a quick 2–3 minute extra knead and a patient oven wait results in a satisfyingly crunchy stick. Once, at a small dinner, a guest asked for the recipe after stealing three in a row — I took that as approval!
Storage Tips
Store cooled sticks in an airtight container at room temperature for up to 3 days to keep them crisp. If humidity is high, add a paper towel to absorb excess moisture. For longer storage, flash-freeze on a tray for 30 minutes, then transfer to a resealable freezer bag for up to 3 months. To re-crisp, place frozen or room-temperature sticks on a baking sheet and heat at 350°F for 5–8 minutes — watch closely so they don’t burn.
Ingredient Substitutions
Swap bread flour for all-purpose if desired, but expect a slightly softer bite. Use active dry yeast instead of instant: dissolve it in the lukewarm water with a pinch of sugar and wait 5–10 minutes until foamy, then proceed. Replace olive oil with neutral oil or melted butter for a richer flavor. For a dairy-free version avoid parmesan; for extra whole-grain nutrition, substitute up to 25% whole-wheat flour but add a touch more water.

Serving Suggestions
These sticks pair beautifully with a simple cheese and charcuterie board: think aged manchego, a creamy goat cheese, and thinly sliced prosciutto. They also work as dippers for hummus, olive tapenade, or whipped feta. For a casual snack, serve them with a bowl of herbed olive oil (olive oil + crushed garlic + chili flakes) for dunking, or break them into small pieces to top salads for extra crunch.
Cultural Background
Grissini originated in the Piedmont region of northern Italy as long, thin baked sticks — historically a practical solution for longer shelf life and portability. They were often served to children and travelers and became a staple in Italian antipasti. Over time, grissini evolved regionally, with variations in thickness, flavorings, and presentation. Their elegant simplicity is part of their charm: an uncomplicated dough transformed by technique and time.
Meal Prep Tips
For meal prep, double the dough and freeze half after kneading in an airtight bag. When ready to use, thaw overnight in the refrigerator then bring to room temperature and allow it to puff before shaping. Alternatively, shape the sticks, freeze on a tray until firm, then bag them raw and bake straight from frozen — add a couple of extra minutes to baking time. Use rigid containers for storing baked sticks to avoid breakage.
These grissini are simple to make, endlessly adaptable, and reliably delicious — a small recipe that adds polish to any appetizer spread. Give them a try and tweak the toppings until you find your signature version; once you do, they’ll become a go-to for entertaining.
Pro Tips
Use lukewarm water only — too hot will kill the yeast, too cold will slow the rise.
Brush generously with oil before topping so seeds and salt adhere well and the surface browns evenly.
If your kitchen is cool, proof in a warm (turned-off) oven with the oven light on to maintain consistent warmth.
Cut the dough with a pizza cutter for clean, even strips and fewer ragged edges.
Cool completely on a wire rack to keep the exterior crisp; storing while warm traps steam and softens them.
This nourishing breadsticks (aka grissini) recipe is sure to be a staple in your kitchen. Enjoy every moist, high protein slice — it is perfect for breakfast or as a wholesome snack any time.
FAQs about Recipes
Can I use active dry yeast instead of instant?
Yes — you can use active dry yeast instead of instant. Dissolve active dry yeast in the lukewarm water with a pinch of sugar and wait 5–10 minutes until foamy before adding to the flour.
Can I freeze the baked breadsticks?
Yes. Bake as directed, cool completely, then freeze in a single layer before transferring to a freezer bag. Re-crisp in a 350°F oven for 5–8 minutes to refresh.
Why did my breadsticks burn on the ends?
Avoid making strips too thin — they will brown and burn quickly. Aim for roughly 1/2 inch wide before stretching slightly to lengthen.
Tags
Breadsticks (aka Grissini)
This Breadsticks (aka Grissini) recipe makes perfectly juicy, tender, and flavorful steak every time! Serve with potatoes and a side salad for an unforgettable dinner in under 30 minutes.
Ingredients
Dough
Toppings (optional)
Instructions
Mix dry ingredients
Whisk together the flour, salt, and instant yeast in a large bowl. Add parmesan or garlic powder now if using so the flavors distribute evenly.
Add liquids and form dough
Stir in the lukewarm water and olive oil with a spatula until a shaggy dough forms. Add extra water by teaspoonfuls only if needed.
Knead briefly
Turn onto a lightly floured surface and knead 1–2 minutes until smooth and pliable. A short knead develops enough gluten for structure without making the dough tough.
Flatten and oil
Place dough on a parchment-lined sheet and flatten into an 11 x 7 inch rectangle. Brush with oil, sprinkle seeds, and cover loosely to rest.
Proof
Let rise in a warm place for about 1 hour until slightly puffed. For cool kitchens, proof in an oven with the light on to maintain warmth.
Cut and stretch
Preheat oven to 400°F. Use a pizza cutter to slice 1/2-inch strips, gently pull to lengthen, and transfer to lined baking sheets leaving space between sticks.
Bake
Bake 15–20 minutes until deep golden and crisp. Check at 15 minutes and extend baking time if needed — thin sticks can take the full 20 minutes.
Last Step: Please leave a rating and comment letting us know how you liked this recipe! This helps our business to thrive and continue providing free, high-quality recipes for you.
Nutrition
Did You Make This?
Leave a comment & rating below or tag
@flavest on social media!
Categories:
You might also like...
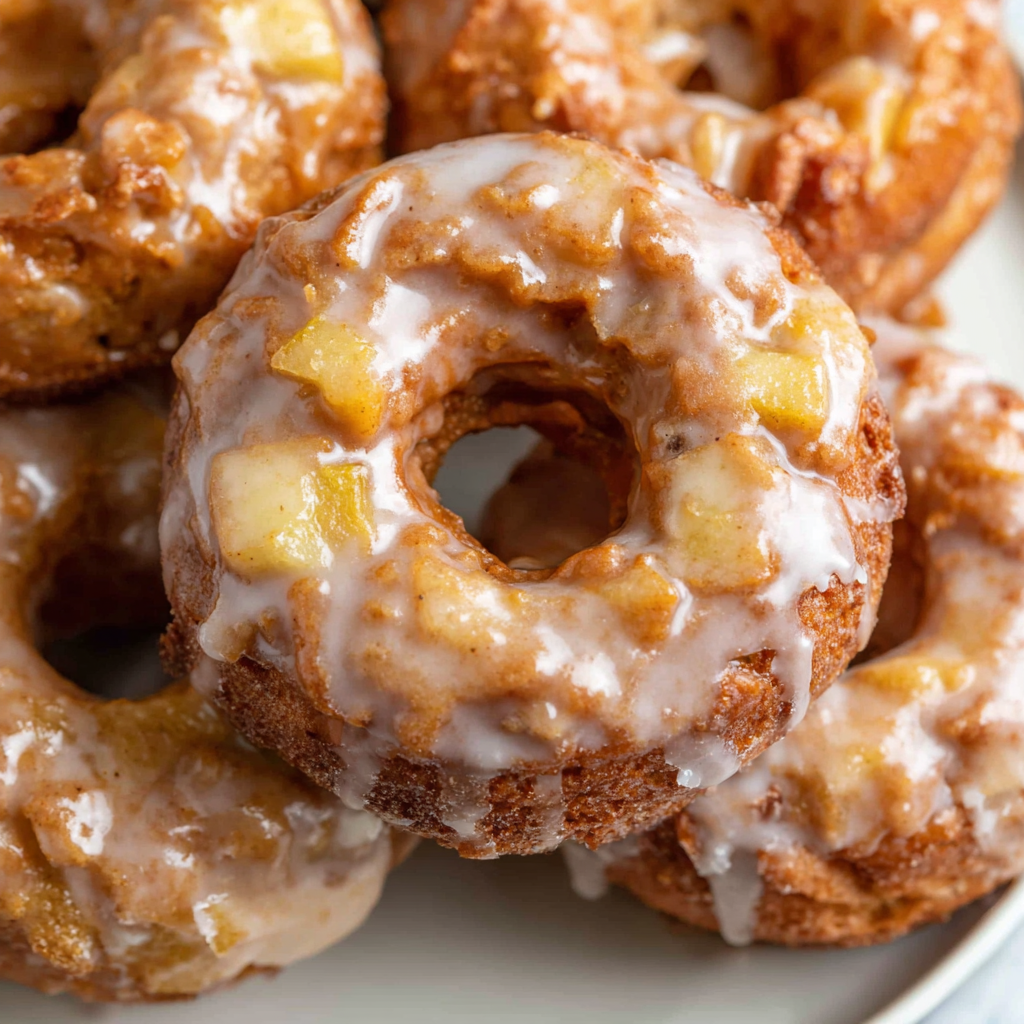
Glazed Apple Cider Donuts
Warm-spiced apple cider donuts with tender apple bits and a glossy cider glaze, fried crisp and irresistibly cozy for fall.
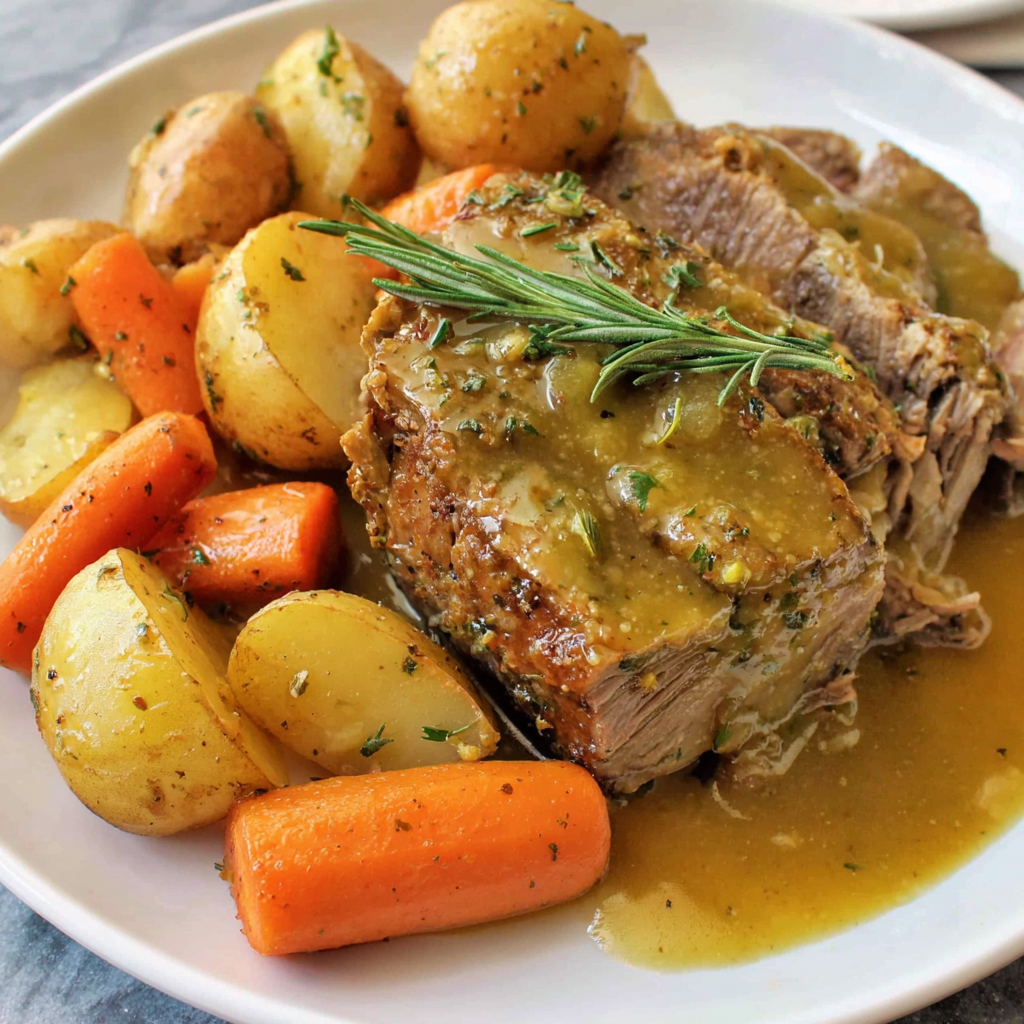
Slow Cooker Pork Pot Roast
All-day slow cooking turns pork shoulder, potatoes, and carrots into a tender, savory classic with a rich homemade gravy everyone will love.
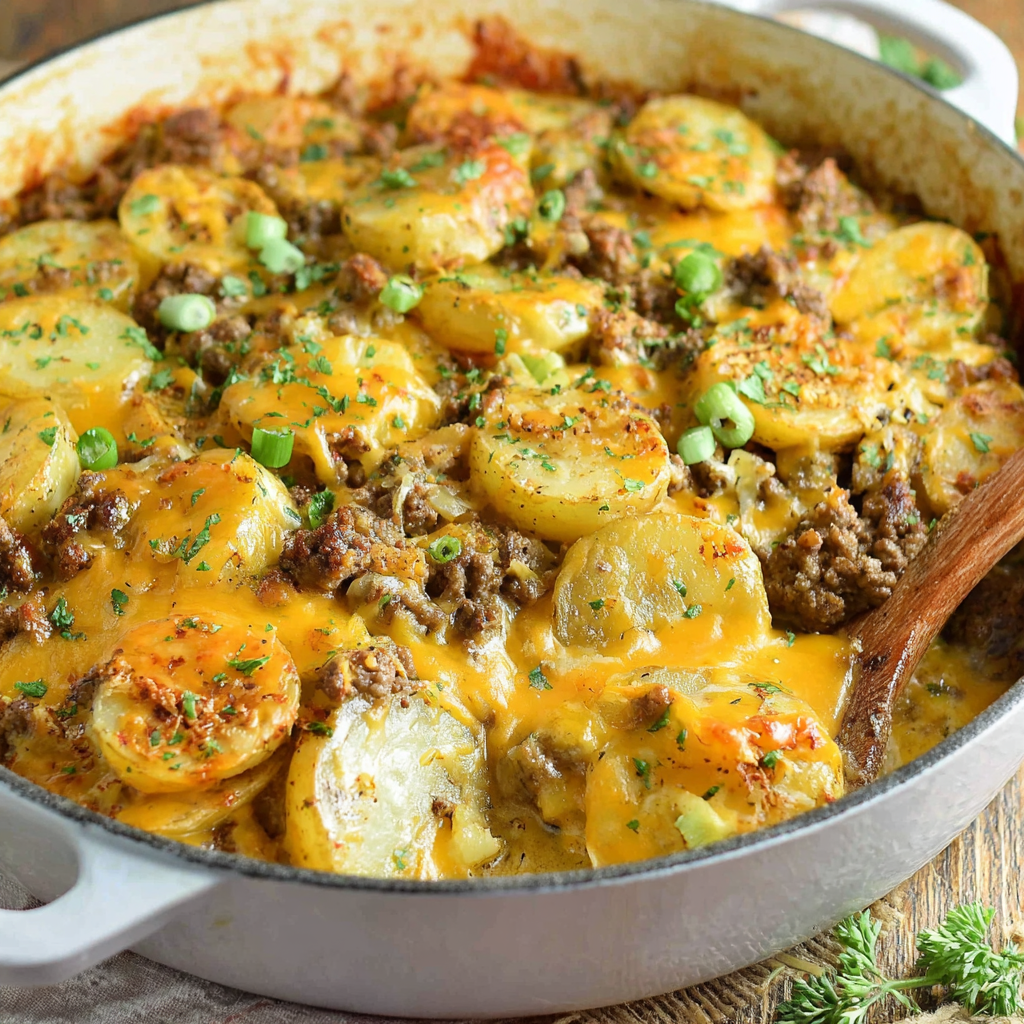
Cheesy Hamburger Potato Casserole
Tender layers of Yukon gold potatoes with seasoned beef in a creamy, cheddar sauce, baked until bubbly and irresistibly comforting.
Did You Make This?
Leave a comment & rating below or tag @flavest on social media!
Rate This Recipe
Share This Recipe
Enjoyed this recipe? Share it with friends and family, and don't forget to leave a review!
Comments (1)
This recipe looks amazing! Can't wait to try it.
Comments are stored locally in your browser. Server comments are displayed alongside your local comments.

Hi, I'm Maria!
What's Popular
30-Minute Meals!
Join to receive our email series which contains a round-up of some of our quick and easy family favorite recipes.