
Teresa Ambra’s Breakfast Muffins (Hash Brown Crust)

Savory gluten-free breakfast muffins with a crispy hash brown crust filled with eggs, bacon, peppers, and melty cheese — perfect for holiday mornings or make-ahead brunches.

Breakfast Muffins are totally irresistible and have become my go-to for holiday mornings and weekend brunches. I first made this version during a chaotic holiday season when I needed something handheld, portable, and satisfying that would please a crowd. The combination of a crisp hash brown shell with a creamy, savory egg-and-bacon filling delivers contrasts in texture and flavor — crunchy edges give way to a tender, custardy center studded with sweet bell peppers and smoky bacon. Everyone who tries them asks for the recipe, and I love how they travel well to potlucks and can be enjoyed hot or lukewarm.
I discovered how forgiving these are after a few tests: the crust is surprisingly sturdy if you press and bake it properly, and the filling tolerates small swaps without losing its charm. What makes them special is the balance — salty bacon and sharp cheese tempered by sweet peppers and a soft egg matrix, all contained in a golden potato cup. They’re indulgent without feeling heavy and are simple to scale up for a crowd. I’ll walk you through the small techniques that make the difference: how to get the crust crisp, how to avoid watery potatoes, and the easiest way to remove the muffins from the tin intact.
Why You'll Love This Recipe
- Handheld and portable: perfect for holiday mornings, brunch gatherings, or packing for breakfast on the go; makes 24 muffins to feed a crowd or freeze for later.
- Fast assembly and reliable timing: ready in about 50 minutes from start to finish with an active prep time of roughly 20 minutes.
- Uses pantry and refrigerated staples: shredded hash browns, eggs, cheese, and a package of bacon — easy to source and store.
- Gluten-free by default when using a gluten-free shredded potato product; savory and satisfying even for non–gluten-free guests.
- Make-ahead friendly: bake and refrigerate or freeze; reheats beautifully in the oven or toaster oven for crisp edges.
- Flexible flavor profile: swap cheeses, add herbs or swap bacon for sausage to customize for different tastes and dietary needs.
These muffins have become my holiday favorite because they clear a very practical need — feeding a hungry group without standing over the stove — and because they spark so much happy nostalgia. My family always gravitates to the edges first, the little crunchy rims that are pure joy. In testing, I learned to temper the seasoning in the crust and the filling so each bite tastes balanced; once I adjusted the salt distribution the results were consistently perfect.
Ingredients
- 20-ounce shredded hash browns: Use refrigerated shredded potatoes (Simply Potatoes recommended) for the best texture; if using frozen, thaw completely and pat dry so you don’t introduce excess moisture that prevents crisping.
- Olive oil: 1 tablespoon to help the potato crust brown and become crisp; neutral vegetable oil will also work but olive oil adds a subtle background flavor.
- Sea salt and ground black pepper: I recommend dividing the seasoning between crust and filling so flavors stay balanced; kosher or sea salt is preferred for a cleaner, less metallic salt note.
- Fiesta blend cheese: 2 cups total, divided — a mix of cheddar, Monterey Jack, and mild cheeses melts well and adds a nice color; use a pre-shredded blend or shred a block for creamier melting.
- Bacon: 12-ounce package, cooked crisp and crumbled — thicker-cut bacon gives better texture but cook until just crisp to avoid overly chewy pieces.
- Extra-large eggs: 9 eggs in total — one mixed into the crust to bind the potatoes and eight in the filling produce a custardy interior.
- Red and orange bell peppers: 1/2 cup each, diced — these add sweet brightness and a pleasant color contrast.
- Parsley: 1 tablespoon, freshly chopped to garnish and add a fresh herbal lift.
- 2% milk or cream: 1/2 cup to enrich the eggs and produce a silky texture; cream yields a richer custard, milk keeps it lighter.
Instructions
Preheat and prepare pans: Preheat the oven to 400°F. Generously spray two 12-cup muffin tins (24 cups total) with cooking spray or grease very well; this step is crucial for easy release later. If you choose paper liners, still spray the tin and the liners to prevent sticking. Make the potato crust: In a medium mixing bowl combine 1 egg, the 20-ounce shredded potatoes, 1 tablespoon olive oil, 1 cup of the shredded cheese, and half the salt and pepper. Mix until evenly combined so the egg coats the potatoes and acts as a binder — this encourages a unified crust that holds its shape when pressed into the tins. Form and par-bake crusts: Divide the potato mixture evenly between the 24 muffin cups, pressing down firmly to create a compact cup with an even rim. Sprinkle each with a little parsley. Bake at 400°F for 10–15 minutes until the edges are golden brown and the surface looks drier — the crust should show crisping but not deep browning yet. Cook the bacon: While the crusts bake, fry the bacon in a skillet until crisp but not burned. Transfer to paper towels to drain and then crumble into bite-sized pieces. Reserve a small bit of bacon grease if you want extra flavor in the filling, but remove most grease to avoid a greasy custard. Prepare the egg mixture: Whisk the remaining 8 eggs in a large mixing bowl until foamy. Stir in the remaining 1 cup cheese, the remaining salt and pepper, crumbled bacon, diced red and orange bell peppers, and 1/2 cup milk or cream. Mix until evenly combined; the milk thins the mixture slightly to ensure it pours and sets into a smooth custard. Assemble and finish baking: Pour the egg-bacon mixture evenly over each pre-baked potato crust, filling almost to the top but leaving a little room for expansion. Optionally sprinkle an extra pinch of parsley or a little more pepper. Bake at 400°F an additional 10–15 minutes until the eggs are set in the center and a knife inserted in the middle comes out clean or with just a slight custard cling. Cool and release from tin: Allow the muffins to cool in the tins about 5 minutes before removing. Run a narrow rubber spatula around each cup, easing the muffin out carefully. If you sprayed well, they should release cleanly; if not, a few minutes longer cooling helps shrink the muffin away from the metal. Serve: Serve hot or lukewarm. These keep well and can be reheated in a 350°F oven until warmed through and crisp on the edges.
You Must Know
- Storage: These keep in the refrigerator for up to 4 days and freeze well for up to 3 months; reheat in a 350°F oven from frozen for best texture.
- Allergens: Contains eggs, dairy, and pork; naturally gluten-free when using gluten-free shredded potatoes — always check package labeling.
- Moisture control: If using frozen shredded potatoes, pat them very dry with paper towels to avoid a soggy crust that sticks to the pan.
- Release method: Generously grease the tins and use a narrow rubber spatula to run around the circumference to avoid tearing the crust.
My favorite thing about these muffins is how versatile they are: I made a batch for a holiday brunch and my picky nephew declared them “better than pancakes.” They travel well to potlucks, and the leftovers are a quick breakfast that feels homemade. Over many bakes I learned that the single most important factor is moisture control in the potato — dry potatoes plus a well-greased tin equals a crisp shell and tidy muffins every time.
Storage Tips
To maintain texture, cool the muffins completely before refrigerating in an airtight container for up to 4 days. For longer storage, flash-freeze on a sheet tray until solid, then transfer to a freezer bag for up to 3 months. Reheat from frozen at 350°F for 12–18 minutes, or thaw overnight and reheat for 8–10 minutes to restore crisp edges. Avoid microwaving directly from frozen as it yields a softer crust; if using a microwave for speed, pop them briefly and finish in a hot skillet or toaster oven to regain crunch.
Ingredient Substitutions
Swap bacon with cooked breakfast sausage or diced ham for a different savory profile. For a vegetarian option, omit meat and add sautéed mushrooms or a plant-based bacon substitute; increase the cheese slightly or add a tablespoon of cornstarch to the eggs if you worry about excess moisture. Use a sharp cheddar or smoked Gouda for stronger flavor, or a mild mozzarella if you prefer a stretchier interior. For dairy-free versions, substitute a dairy-free cheese and use unsweetened almond milk; note the texture will be slightly different but still delicious.
Serving Suggestions
Serve these with a simple side salad of arugula tossed with lemon and olive oil or alongside roasted tomatoes and fresh fruit for color contrast and acidity. Garnish with extra chopped parsley and a light sprinkle of smoked paprika for visual appeal and a hint of smoke. They work beautifully on a brunch board with small bowls of salsa verde, hot sauce, or a creamy herb dip. For a full holiday spread, line them up next to quiches, fresh pastries, and a carafe of mimosas.

Cultural Background
These savory, portable egg-and-potato cups are inspired by American brunch traditions that favor hand-sized, shareable bites. They draw on the same comfort-food DNA as breakfast casseroles and frittatas but take advantage of individually baked portions, which became popular for holiday potlucks and church breakfasts in the United States. Regional variations exist: in the Southwest you’ll see chilies and pepper Jack cheese, while northern families may fold in leftover corned beef. The approach is pragmatic — a way to make baked eggs feed a group efficiently while celebrating familiar breakfast flavors.
Seasonal Adaptations
Alter the peppers to spring peas and ramps in early spring, or stir in roasted squash and sage in autumn for a seasonal twist. For summer, use charred corn and a touch of cilantro with pepper Jack for a bright profile. During the holidays, fold in cooked, chopped holiday ham and a pinch of nutmeg or roasted chestnuts for a festive note. Small changes to the vegetables and herbs will shift the personality of the muffin without changing the basic technique, so adapt freely based on what’s fresh and local.
Meal Prep Tips
Make a double batch and freeze half for quick breakfasts: store individually wrapped muffins in freezer-safe bags with parchment between layers to prevent sticking. Label with the date and reheat directly from frozen for a fast, satisfying meal. For weekday mornings, bake on Sunday and portion into microwave-safe containers for grab-and-go convenience; a 20–30 second zap followed by a 2–3 minute toast in a toaster oven will revive the crust. Keep an extra jar of salsa or hot sauce on hand to add brightness when reheating.
These muffins capture everything I love about holiday food — they’re communal, forgiving, and full of comforting flavors. Whether serving a crowd or making a week’s worth of breakfasts, they’ve earned a permanent spot in my repertoire. Try them once and you’ll see why they’re a repeat request in my house.
Pro Tips
If using frozen shredded potatoes, thaw completely and pat very dry to prevent soggy crusts.
Generously grease muffin tins and run a narrow rubber spatula around each cup after cooling to release muffins cleanly.
Divide the salt and pepper between the crust and the filling to avoid over-salting one component.
Reheat frozen muffins in a 350°F oven for best texture; avoid microwaving from frozen if you want a crisp crust.
This nourishing teresa ambra’s breakfast muffins (hash brown crust) recipe is sure to be a staple in your kitchen. Enjoy every moist, high protein slice — it is perfect for breakfast or as a wholesome snack any time.
Tags
Teresa Ambra’s Breakfast Muffins (Hash Brown Crust)
This Teresa Ambra’s Breakfast Muffins (Hash Brown Crust) recipe makes perfectly juicy, tender, and flavorful steak every time! Serve with potatoes and a side salad for an unforgettable dinner in under 30 minutes.
Ingredients
Crust
Filling
Instructions
Preheat and prep pans
Preheat oven to 400°F. Generously spray two 12-cup muffin tins (24 cups total) with cooking spray or grease well. If using paper liners, spray the liners too. Proper greasing is critical for easy removal.
Combine crust ingredients
In a medium bowl mix 20 ounces shredded potatoes with 1 egg, 1 tablespoon olive oil, 1 cup shredded Fiesta cheese, half the salt and pepper until evenly combined so the egg binds the mixture.
Form and par-bake crusts
Divide potato mixture evenly among 24 cups, pressing firmly to create a compact cup. Sprinkle with parsley and bake at 400°F for 10–15 minutes until edges are golden and drier to the touch.
Cook bacon
Fry bacon in a skillet until crisp but not scorched. Drain on paper towels and crumble into bite-sized pieces. Reserve a teaspoon of bacon grease if desired for extra flavor, but remove excess grease.
Prepare filling
Whisk remaining 8 eggs until foamy. Stir in remaining 1 cup cheese, cooked bacon, diced red and orange peppers, remaining salt and pepper, and 1/2 cup milk or cream until well combined.
Assemble and bake
Pour the egg mixture evenly over each par-baked crust, filling almost to the top. Bake at 400°F for an additional 10–15 minutes until eggs are set and a knife inserted in the center comes out clean.
Cool and remove
Let muffins cool in the tins about 5 minutes. Use a narrow rubber spatula to gently run around the edges and ease each muffin out; if they resist, cool a few more minutes.
Serve or store
Serve hot or lukewarm. Refrigerate in an airtight container for up to 4 days or freeze for up to 3 months. Reheat frozen muffins in a 350°F oven for best texture.
Last Step: Please leave a rating and comment letting us know how you liked this recipe! This helps our business to thrive and continue providing free, high-quality recipes for you.
Nutrition
Did You Make This?
Leave a comment & rating below or tag
@flavest on social media!
Categories:
You might also like...
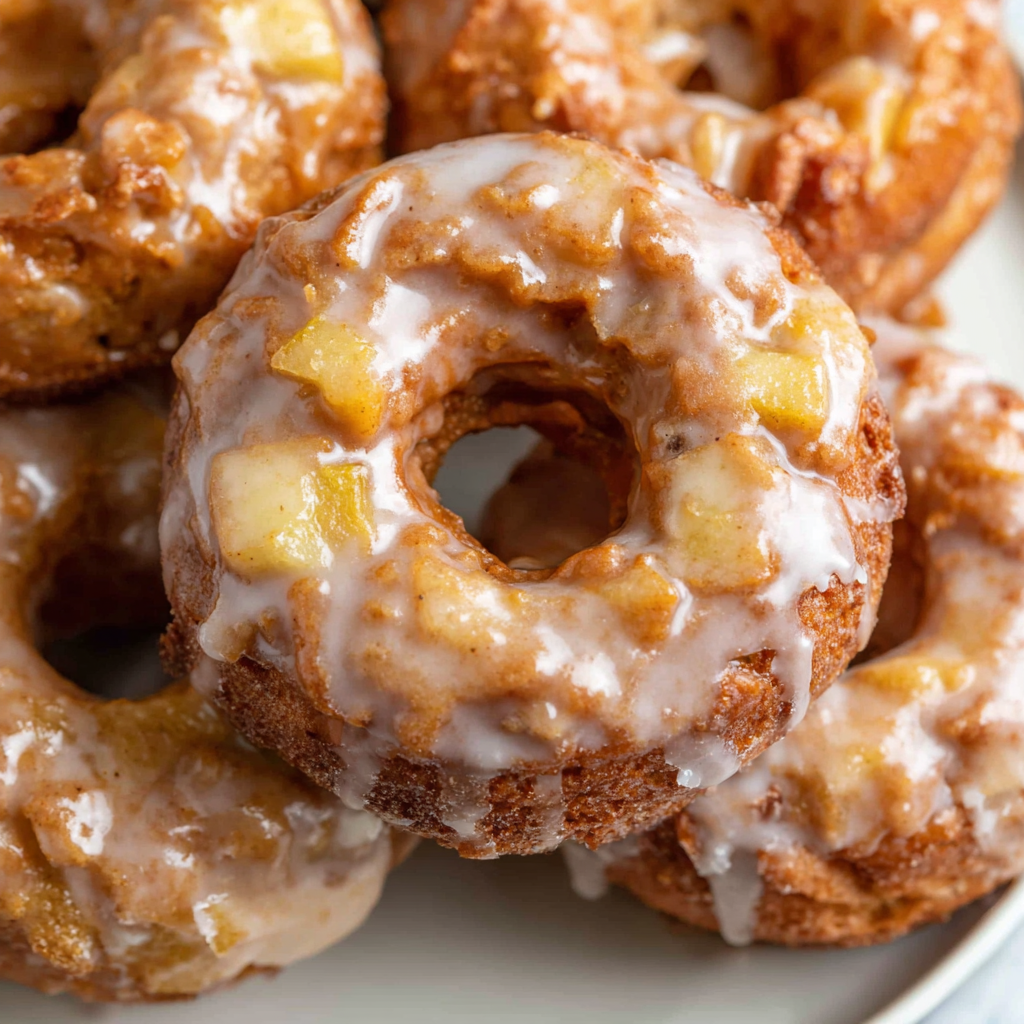
Glazed Apple Cider Donuts
Warm-spiced apple cider donuts with tender apple bits and a glossy cider glaze, fried crisp and irresistibly cozy for fall.
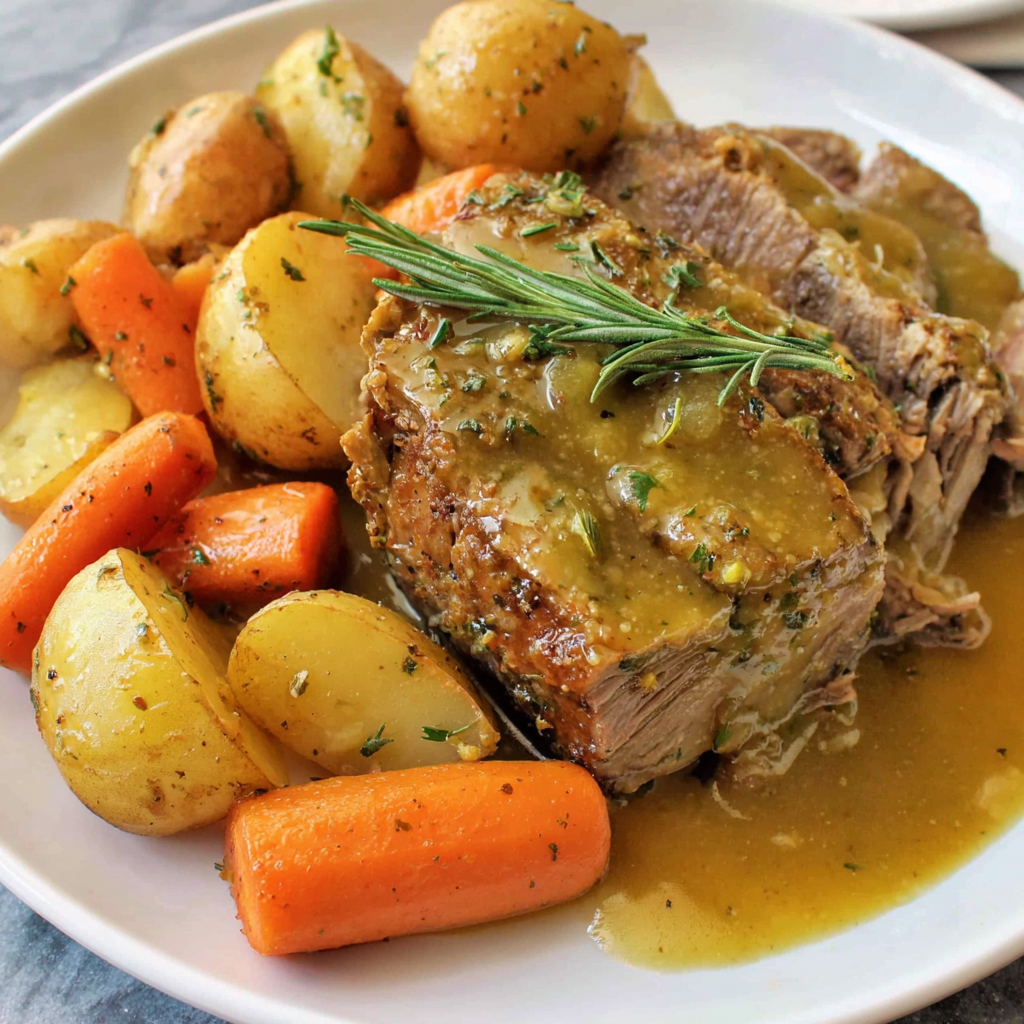
Slow Cooker Pork Pot Roast
All-day slow cooking turns pork shoulder, potatoes, and carrots into a tender, savory classic with a rich homemade gravy everyone will love.
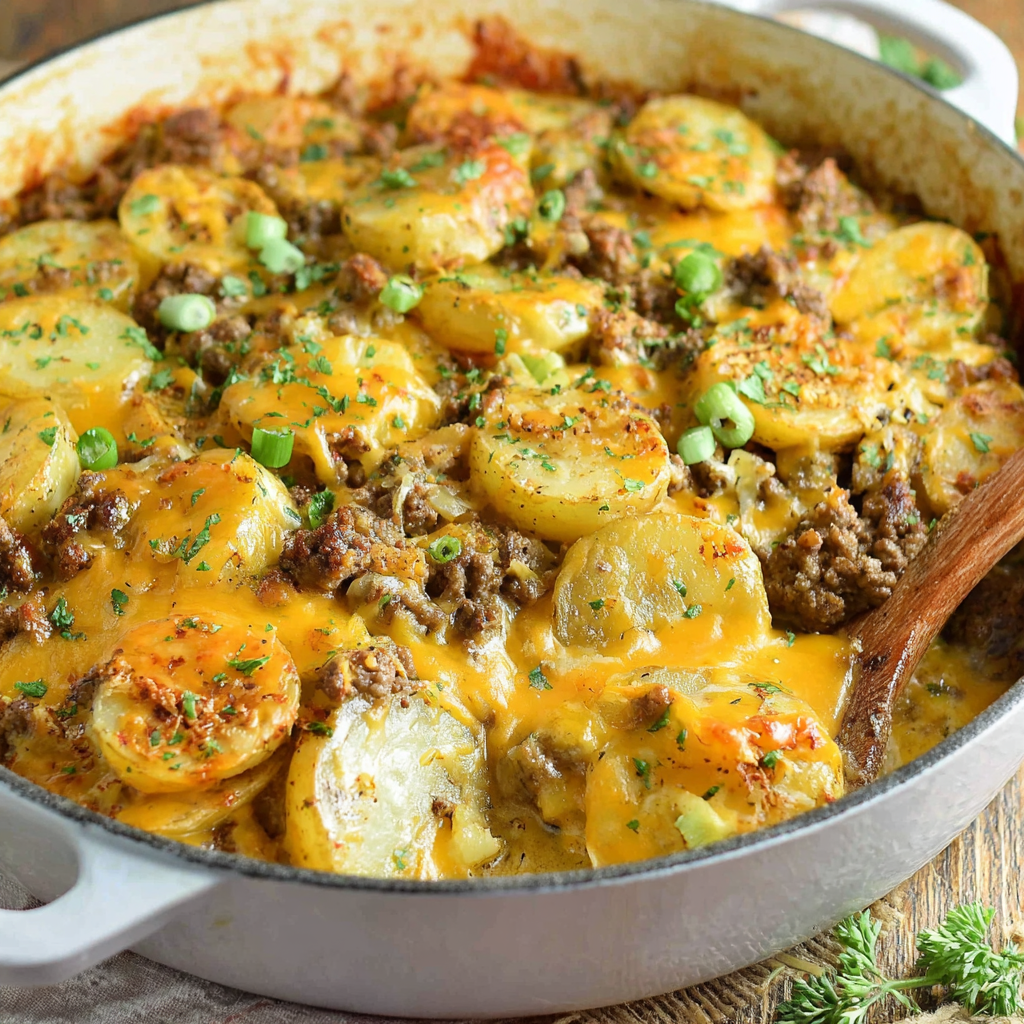
Cheesy Hamburger Potato Casserole
Tender layers of Yukon gold potatoes with seasoned beef in a creamy, cheddar sauce, baked until bubbly and irresistibly comforting.
Did You Make This?
Leave a comment & rating below or tag @flavest on social media!
Rate This Recipe
Share This Recipe
Enjoyed this recipe? Share it with friends and family, and don't forget to leave a review!
Comments (1)
This recipe looks amazing! Can't wait to try it.
Comments are stored locally in your browser. Server comments are displayed alongside your local comments.

Hi, I'm Maria!
What's Popular
30-Minute Meals!
Join to receive our email series which contains a round-up of some of our quick and easy family favorite recipes.