
>>

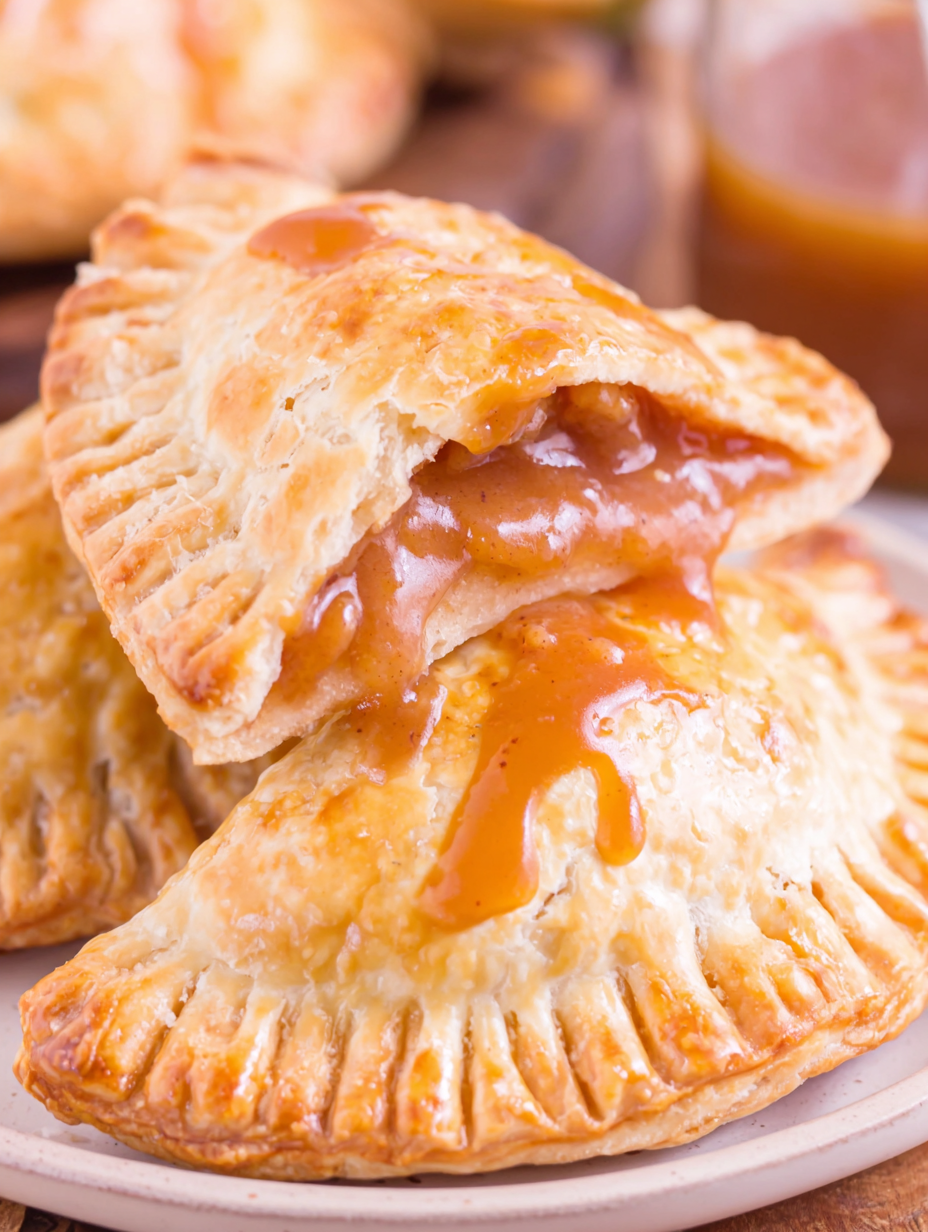
Miniature apple pie pouches filled with caramelized Honeycrisp apples and baked to golden perfection—handheld Fall dessert perfect for gatherings.

This recipe for caramel apple hand pies is the sort of thing I make when the air starts to feel like Fall and the kitchen begs for something warm and fragrant. I discovered this particular combination during an afternoon of testing small-batch pastries while my kids were doing homework at the kitchen island. The idea was to capture everything we love about a classic apple pie—the tender, spiced apple filling, the sticky-sweet caramel, and the flaky pastry—but in a size that is portable and perfectly portioned. The result is a handheld dessert that is at once nostalgic and practical: crisp golden pastry yielding to a soft, caramel-glazed apple center.
What makes these especially memorable is the texture contrast and the choice of apple. Using Honeycrisp gives a lively sweetness and a little snap that stands up to the caramel and dark brown sugar. The filling is cooked briefly on the stovetop so the apples are slightly tender but not mushy, which keeps the pies from becoming soggy. My family has eaten these warm from the oven with a scoop of vanilla ice cream and also cold the next morning with coffee. Both ways work beautifully, and at parties they disappear first.
In my experience these become a family favorite quickly. At a recent fall open house I made three dozen, and guests raved about the flaky crust and the sticky apple pockets. I learned to watch the filling closely while cooking; overcooking makes the apples too soft and undercooking leaves them too firm. The simple stove-top treatment gives the filling just the right texture every time.
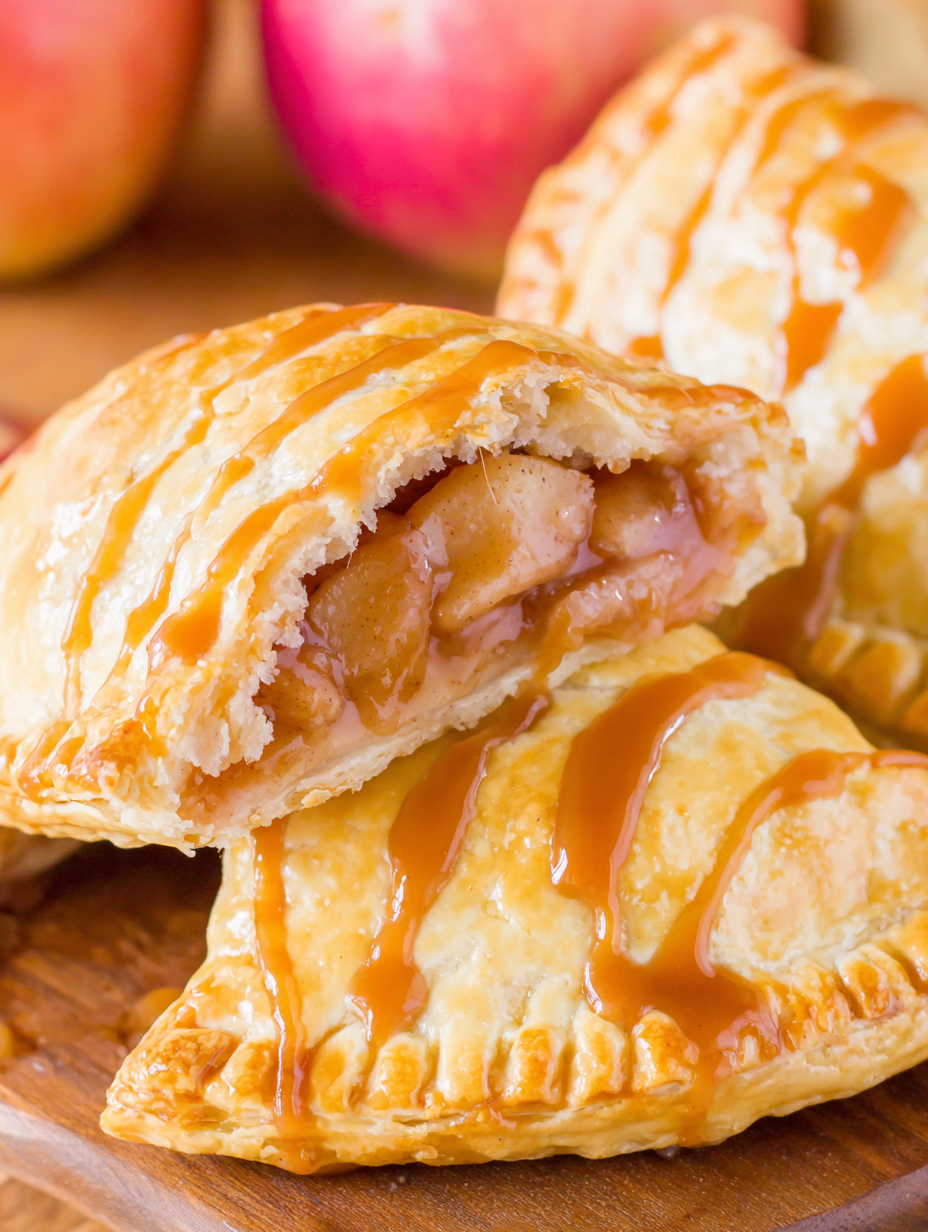
My favorite part is watching the first pie get torn open and the sticky apple filling strand out like candy. Friends have come to expect these at holiday gatherings. One neighbor told me they taste like an elevated, portable version of a caramel apple on a stick, and I agree—just more refined and easier to share.
Store cooled pouches in an airtight container in the refrigerator for up to three days. To preserve flakiness, place parchment between layers and do not stack more than two high. For longer storage, freeze fully assembled and uncooked pies on a tray until firm, then transfer to a freezer bag. Bake directly from frozen, adding a few minutes to the bake time. When reheating baked pies, warm in a 325 degrees Fahrenheit oven on a wire rack to revive crispness rather than microwaving, which will soften the pastry.
If Honeycrisp are not available, choose firm, slightly tart varieties like Granny Smith for tartness or Fuji for extra sweetness. To make these dairy-free, substitute a vegan butter and use a dairy-free caramel sauce; the egg wash can be replaced with a mixture of maple syrup and a tablespoon of water for browning. For a gluten-free option use a reliable gluten-free pie crust and expect a slightly different texture. Swap allspice for 1/4 teaspoon cinnamon plus a pinch of nutmeg if you prefer a different spice profile.
These are delightful on their own but shine with accompaniments. Serve warm with a scoop of vanilla bean ice cream or a dollop of lightly sweetened whipped cream. For a brunch offering, pair with strong coffee or a spiced apple cider. Garnish with a sprinkle of coarse sugar before baking for a pretty sparkling top, or drizzle with extra caramel sauce just before serving for a decadently sticky finish.
Handheld fruit pastries have roots in many culinary traditions where portability and individual portions matter, from British turnovers to American fruit hand pies. The idea of combining apple and caramel is an American fall favorite, inspired by the classic caramel apple. Transforming those flavors into a small, enclosed pastry is a modern take on nostalgic flavors and reflects the American love of portable desserts and bake-sale style treats.
In autumn enhance the filling with a tablespoon of toasted pecans for a nutty crunch or stir in a splash of apple brandy for warmth at holiday gatherings. For winter, use late-season apples and add 1/4 cup dried cranberries to the filling. In spring or summer consider substituting peaches for apples and reducing the spicing to let the fruit sing.
Assemble the pies and freeze them unbaked on a baking tray until firm. Transfer to a labeled freezer bag for up to three months. For weekday desserts, bake a few at a time from frozen, or reheat pre-baked pies in a low oven. These also travel well for packed lunches—wrap individually in parchment and box them upright to keep their shape.
These caramel apple pouches are small celebrations you can make any time apples are in season. They combine quick stovetop cooking and simple assembly into a dessert that feels special without demanding pastry expertise. I hope you enjoy making them as much as my family does.
Chill the assembled pies for 10 to 15 minutes before baking to help the edges seal and prevent leaking.
Use a spoon to remove excess filling from the edges before sealing to avoid overflow during baking.
Brush the edges with a little egg wash before sealing to create a stronger bond between crust layers.
If the caramel filling is very runny, stir in a teaspoon of cornstarch dissolved in a little water and cook briefly to thicken.
This nourishing caramel apple hand pies recipe is sure to be a staple in your kitchen. Enjoy every moist, high protein slice — it is perfect for breakfast or as a wholesome snack any time.
This Caramel Apple Hand Pies recipe makes perfectly juicy, tender, and flavorful steak every time! Serve with potatoes and a side salad for an unforgettable dinner in under 30 minutes.
Preheat the oven to 400 degrees Fahrenheit and line two sheet pans with parchment paper. Position racks in the center for even browning.
In a medium skillet combine diced apples, caramel syrup, dark brown sugar, butter and allspice. Cook over medium-high heat, stirring often, until apples are fork tender, about five minutes. Remove from heat and let cool for about ten minutes.
Lay out the two pie crusts on a floured surface and roll slightly to even thickness. Use a 3 to 4 inch cookie cutter or sandwich sealer to mark and cut eight circles in each crust. Press 8 indents in the bottom crust to mark filling placement.
Place about 1 1/2 tablespoons of the warm filling into each bottom circle. Cover with the top crust, press to seal, and cut individual pies with a sandwich sealer or cookie cutter. Crimp the edges with a fork if needed and cut three slits in each top for ventilation.
Whisk the egg with heavy cream and brush over the tops. Bake at 400 degrees Fahrenheit for 13 to 16 minutes until golden brown and the filling is bubbling.
Allow pies to cool several minutes on the baking sheet, then transfer to a wire rack. Serve warm or at room temperature, optionally with ice cream or whipped cream.
Last Step: Please leave a rating and comment letting us know how you liked this recipe! This helps our business to thrive and continue providing free, high-quality recipes for you.
Leave a comment & rating below or tag
@flavest on social media!

Warm-spiced apple cider donuts with tender apple bits and a glossy cider glaze, fried crisp and irresistibly cozy for fall.

All-day slow cooking turns pork shoulder, potatoes, and carrots into a tender, savory classic with a rich homemade gravy everyone will love.

Tender layers of Yukon gold potatoes with seasoned beef in a creamy, cheddar sauce, baked until bubbly and irresistibly comforting.
Leave a comment & rating below or tag @flavest on social media!
Enjoyed this recipe? Share it with friends and family, and don't forget to leave a review!
This recipe looks amazing! Can't wait to try it.
Comments are stored locally in your browser. Server comments are displayed alongside your local comments.

Join to receive our email series which contains a round-up of some of our quick and easy family favorite recipes.
