
Caramel Peanut Butter Cookie Cups

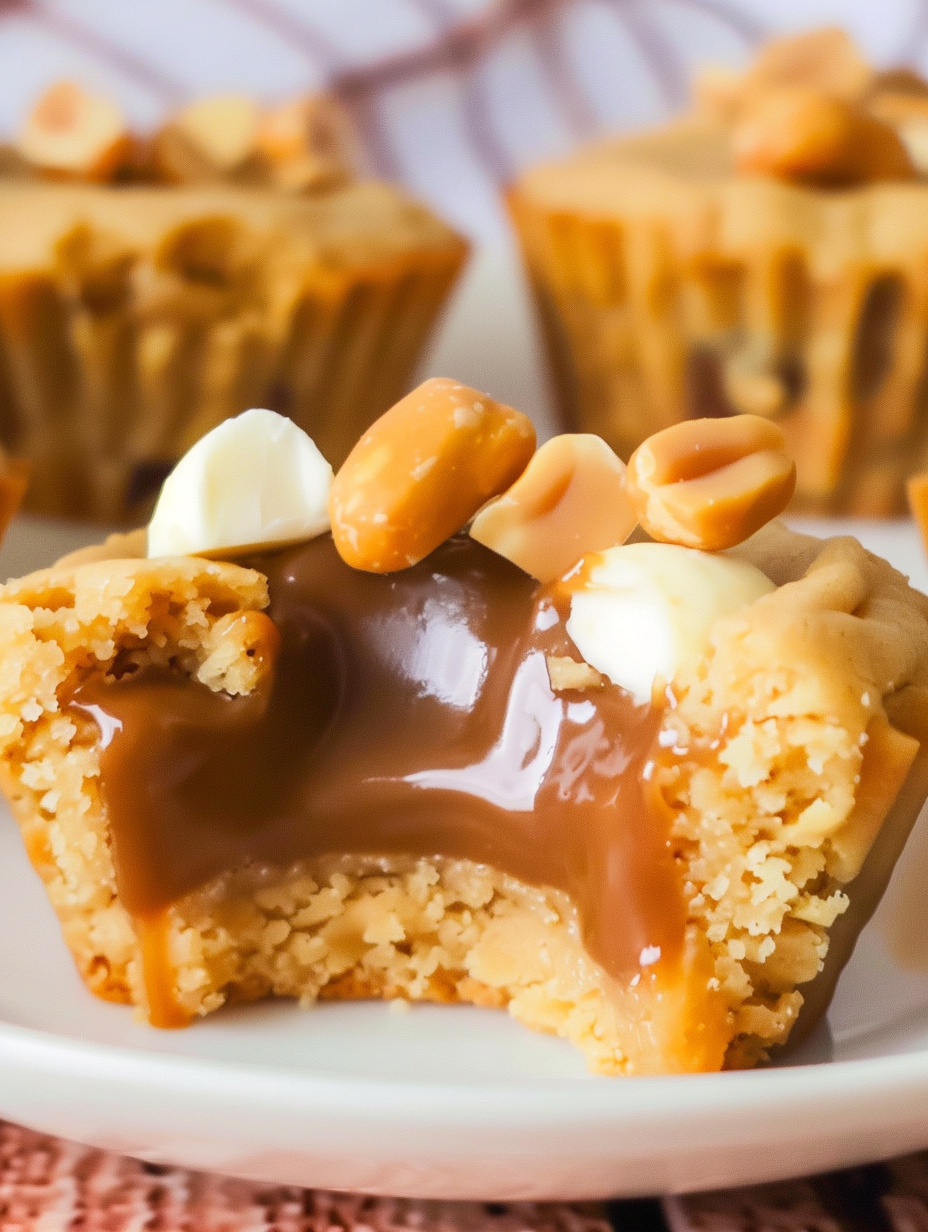
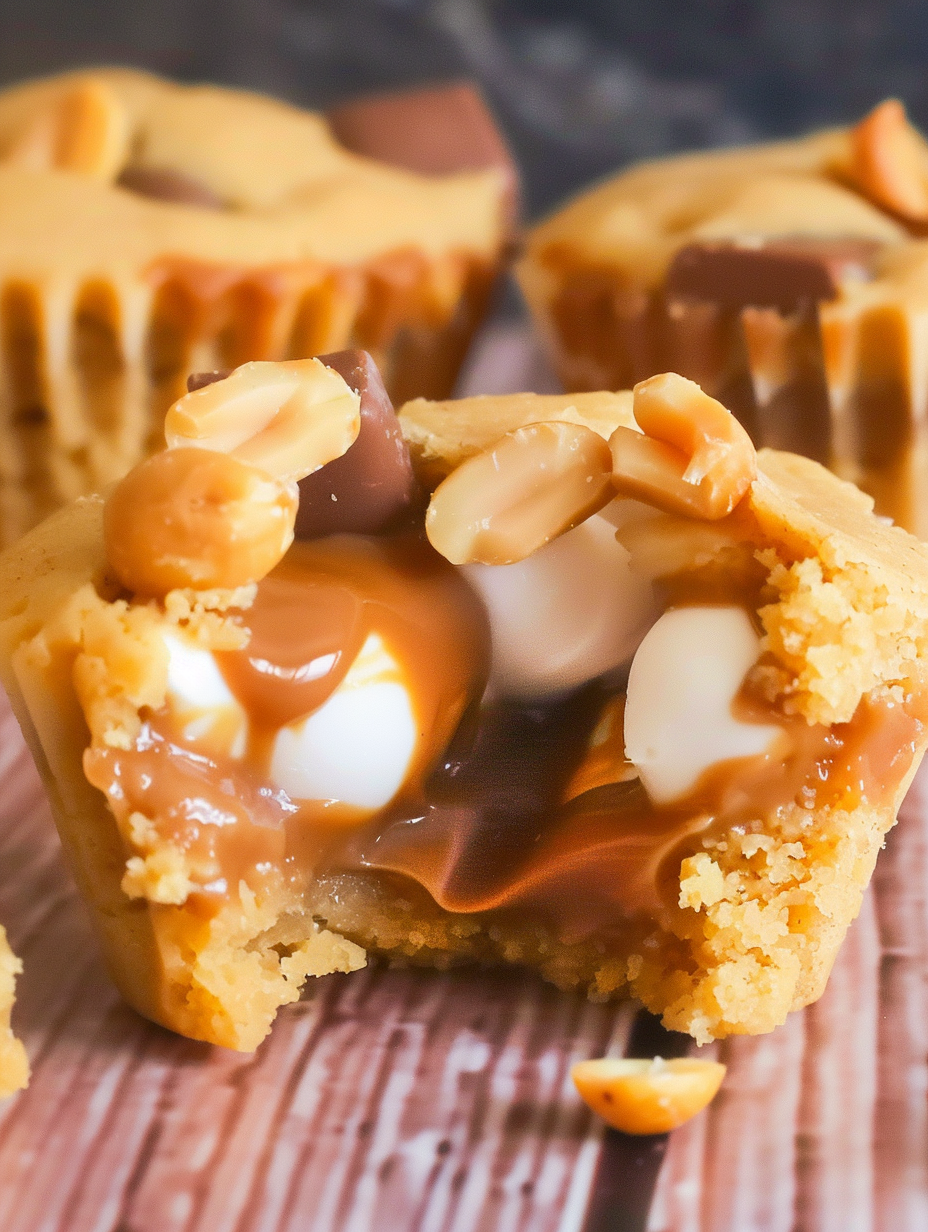
Buttery peanut butter cookie cups stuffed with chewy caramels, mini peanut butter cups, white chocolate minis, and roasted peanuts—an irresistible handheld dessert for parties and weeknight treats.
This recipe for Caramel Peanut Butter Cookie Cups has been my go-to when I want a dessert that feels indulgent but comes together fast. I first made these one weekend when friends dropped by unexpectedly and I had only pantry staples on hand. The combination of a soft, buttery peanut butter shell with a warm caramel center and extra chocolate mini cups on top felt like a revelation. They bake like cookies but hold the fun of a filled confection, and everyone who tries them asks for the recipe.
What makes these special is their texture contrast: a tender, slightly crisp-edged cookie cup gives way to a molten caramel and a peanut-buttery candy top, finished with the crunch of roasted peanuts. They are great for celebrations, holiday cookie trays, or just a weekend baking session. I often make a double batch because they disappear fast—kids love them, and they travel well for potlucks.
Why You'll Love This Recipe
- Ready in roughly 32 minutes from start to finish, these are a quick way to serve an impressive dessert without complicated tempering or piping.
- Uses pantry staples like smooth peanut butter, brown sugar, and all-purpose flour; the candy fillings are flexible so you can customize based on what you have.
- Make-ahead friendly: you can press the dough into pans and refrigerate for up to 24 hours before baking, making them perfect for event prep.
- Crowd-pleasing: the mix of caramel and chocolate appeals to both kids and adults, plus the individual cups make portion control easy.
- Textural play: soft cookie edges, chewy caramel center, and crunchy roasted peanuts create a multi-layer eating experience.
- Simple technique: no piping or complicated shaping—press dough into a greased muffin tin and add fillings.
When I first served these at my sister's birthday brunch, they were the first thing to vanish from the table. My daughter insisted on helping press the dough into the tins, and she still remembers the moment the caramel oozed when she took her first bite. That memory is why I keep this recipe in my regular rotation.
Ingredients
- Salted butter (1 cup): Use high-quality unsalted or salted butter depending on preference; if using unsalted, add a pinch more salt. Butter gives the dough a tender crumb and helps the edges crisp slightly.
- Smooth peanut butter (1 cup): Choose a creamy, jarred peanut butter for smooth texture; natural varieties can separate—stir well or choose a stabilized brand for consistent results.
- Golden brown sugar (1 1/2 cups, packed): Packed brown sugar adds moisture and a caramel-like depth; light brown works too but golden offers a brighter flavor.
- Granulated sugar (1/2 cup): Balances the brown sugar and helps the cookie edges become slightly crisp when baked.
- Eggs (2 large): Provide structure and a glossy finish; use room-temperature eggs for even mixing.
- Vanilla extract (2 tsp): Enhances the peanut butter and caramel notes; pure vanilla is best if available.
- All-purpose flour (2 1/2 cups): The structure builder; spoon and level for accurate measurement. Avoid overmixing once flour is added to keep the dough tender.
- Baking powder (2 tsp) and salt (1 tsp): Baking powder gives a light lift so the cups hold shape; salt balances sweetness and highlights peanut flavor.
- Kraft caramels (24 pieces, about 9 oz): Individually wrapped caramels are easy to use; soft caramels are ideal so they melt into the center.
- Reese's Mini Peanut Butter Cups (8 oz) and White Chocolate Minis (8 oz): Use minis for easy portioning; the white chocolate version adds a contrasting sweetness and color.
- Roasted salted peanuts (1/2 cup): Roughly chopped for texture; they provide a crunchy counterpoint and reinforce the peanut flavor.
Instructions
Preheat and prepare: Preheat the oven to 350F and lightly grease a standard 24-cup muffin tin or spray with nonstick oil. Allow ingredients like butter and eggs to come to room temperature for even mixing and better dough cohesion. Cream fats and sugars: In a large mixing bowl beat together 1 cup softened salted butter, 1 cup smooth peanut butter, 1 1/2 cups packed golden brown sugar, and 1/2 cup granulated sugar with an electric mixer until pale and fluffy, about 2 to 3 minutes. Proper creaming traps air for a lighter texture. Add eggs and vanilla: Beat in 2 large eggs, one at a time, then stir in 2 teaspoons vanilla extract. Scrape the bowl so everything is evenly incorporated; this step helps the dough bind and develop a smooth consistency. Incorporate dry ingredients: Gradually add 2 1/2 cups all-purpose flour, 2 teaspoons baking powder, and 1 teaspoon salt while mixing on low. Mix only until the flour disappears—overmixing will develop gluten and make the cups tough. Form cookie cups: Press about 1 1/2 tablespoons of dough into each greased muffin cup, working from the center outwards to form a shallow well with slightly raised edges. The dough should reach halfway up the sides so there is room for the fillings. Initial bake: Bake at 350F until the edges of the cookie cups are just turning golden, about 11 to 13 minutes. Look for set centers with lightly browned rims. Removing too early will result in fragile shells; too late will make them hard. Fill while warm: Remove the pan from the oven. Immediately press one unwrapped caramel into the center of each cup, gently flattening. Top each caramel with two chocolate peanut butter mini cups and two white chocolate minis. Sprinkle about a teaspoon of chopped roasted salted peanuts on top of each cup. Finish baking and cool: Return the filled cups to the oven for 5 minutes to finish melting the caramel and set the toppings. Remove and cool in the pan for about 15 minutes before gently transferring to a wire rack to cool completely; removing too soon may cause the cups to fall apart.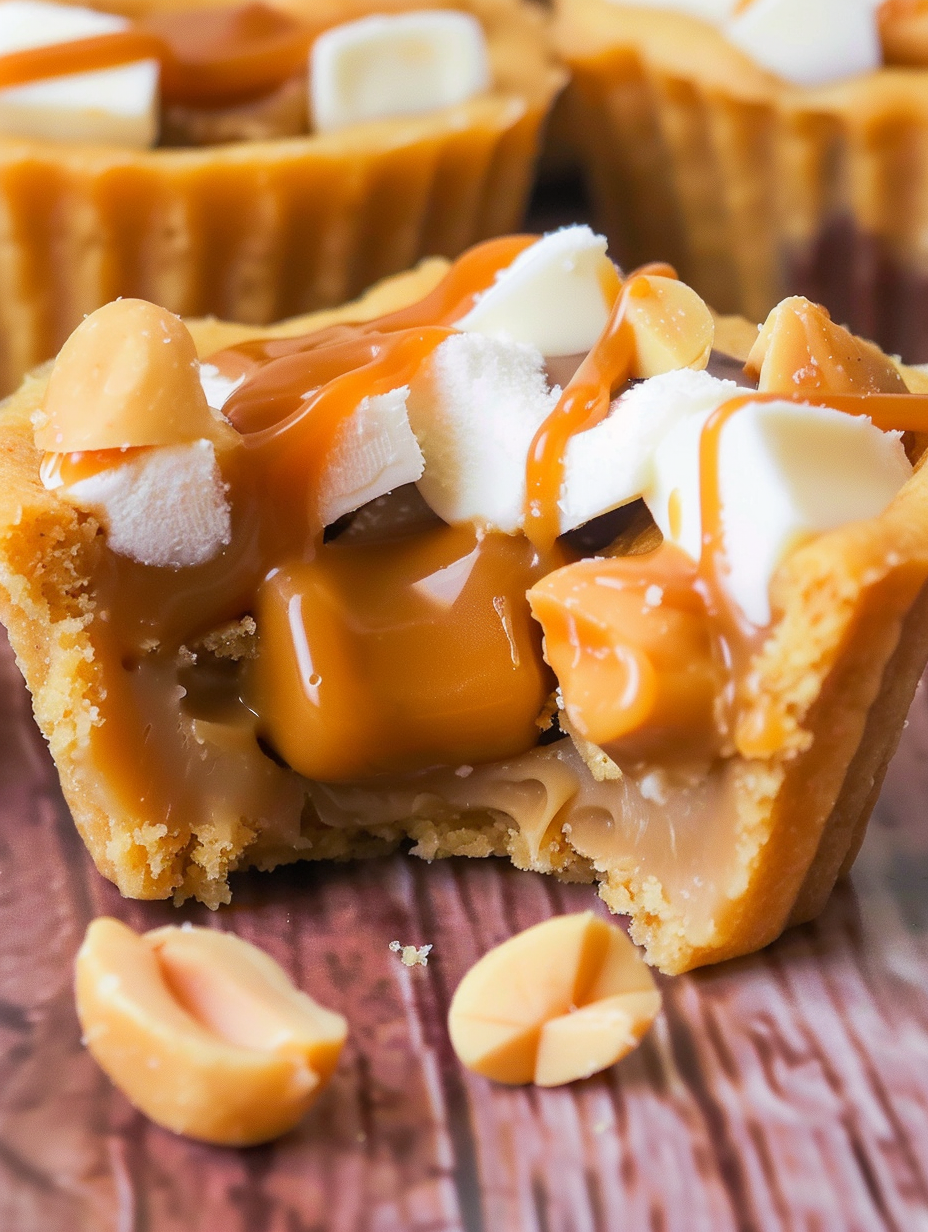
You Must Know
- Store cooled cups in an airtight container at room temperature for up to 3 days or refrigerate for up to 7 days; to freeze, arrange on a tray, flash-freeze, then store in a freezer-safe container for up to 3 months.
- These cups are high in calories and fat—about 420 calories and 23 g fat per serving—so enjoy in moderation or share with a crowd.
- If using unwrapped caramels, check that they are soft; very firm caramels may not melt fully during the short finish bake.
- The cookie cups are easiest to remove from the tin after a 15-minute rest; use a small offset spatula or butter knife to gently loosen edges if needed.
I love that the cookie cups combine nostalgic candy flavors with simple baking technique. At a neighborhood bake sale last year these were labeled "the best seller" and sold out before lunch. They store well enough to make a day ahead, which makes entertaining so much smoother.
Storage Tips
To keep the cups fresh, cool them completely before storing. For short-term storage, place them in a single layer or separated by parchment in an airtight container at room temperature for up to 3 days. Refrigerate for up to 7 days to extend shelf life—bring to room temperature before serving for best texture. For longer storage, flash-freeze the cooled cups on a baking sheet, then transfer to a freezer-safe bag or container for up to 3 months. Thaw in the refrigerator overnight or at room temperature for a few hours. Reheat briefly in a 300F oven for 5 to 7 minutes if you prefer the caramel gooey again.
Ingredient Substitutions
If you need swaps, try natural peanut butter but add 1 tablespoon neutral oil if the dough feels too stiff. For a different nut profile, almond butter works though flavor and texture will change; reduce salt if using salted nut butters. Swap the caramels for soft caramel candies or soft centers like rolled caramels; for a chocolate-forward version omit caramels and place an extra chocolate mini in the center. Use chopped pecans or roasted sunflower seeds in place of peanuts for nut-free households, and choose a dairy-free chocolate mini and vegan butter to make a dairy-free version, noting results will be slightly different in texture.
Serving Suggestions
Serve these warm or at room temperature. For parties, arrange them on a tiered platter with small dessert forks. A scoop of vanilla ice cream alongside a warm cup transforms it into a composed dessert; drizzle with salted caramel sauce for extra decadence. They pair nicely with strong coffee or a simple milk glass for kids. Garnish with a light dusting of flaky sea salt to contrast the sweetness, or drizzle melted dark chocolate for an elegant finish at events.
Seasonal Adaptations
Adapt these for holidays by swapping the white chocolate minis for red-and-green candy-coated chocolates at Christmas, or use pumpkin-spiced caramels in autumn for warm spice notes. For Valentine’s Day choose heart-shaped chocolates and top with edible glitter. In summer, consider serving slightly chilled with a citrusy sorbet to cut richness. Simple changes to candy toppings and finishing garnishes make these feel fresh for any season without changing the base method.
Meal Prep Tips
For efficient prep, make the dough in the morning and press it into the muffin tin, cover tightly with plastic wrap, and refrigerate. Add the caramels and toppings and bake when guests arrive. When making multiple pans, rotate positions in the oven for even browning. Use a small cookie scoop to portion dough uniformly so all cups bake in the same time. Label containers with dates if freezing to avoid forgetting storage time.
These Caramel Peanut Butter Cookie Cups are simple to assemble and endlessly satisfying. They bring together nostalgic candy flavors and reliable baking technique, making them a versatile addition to your baking repertoire. Invite a friend to help press dough into tins—it's a fun, quick way to create memorable treats together.
Pro Tips
Use room-temperature butter and eggs for even mixing and smoother dough.
Press dough into the muffin tin with a small measuring cup or your fingertips to get even walls.
Cool the cups in the pan for 15 minutes before removing to prevent them from falling apart.
This nourishing caramel peanut butter cookie cups recipe is sure to be a staple in your kitchen. Enjoy every moist, high protein slice — it is perfect for breakfast or as a wholesome snack any time.
Tags
Caramel Peanut Butter Cookie Cups
This Caramel Peanut Butter Cookie Cups recipe makes perfectly juicy, tender, and flavorful steak every time! Serve with potatoes and a side salad for an unforgettable dinner in under 30 minutes.
Ingredients
Cookie Dough
Fillings and Toppings
Instructions
Preheat and prepare
Preheat oven to 350F and grease a 24-cup muffin tin. Allow butter and eggs to reach room temperature for even mixing.
Cream fats and sugars
In a large bowl, beat 1 cup softened salted butter, 1 cup smooth peanut butter, 1 1/2 cups packed golden brown sugar, and 1/2 cup granulated sugar until pale and fluffy, about 2 to 3 minutes.
Add eggs and vanilla
Beat in 2 large eggs one at a time, then mix in 2 teaspoons vanilla extract until combined, scraping the bowl as needed.
Incorporate dry ingredients
Stir in 2 1/2 cups all-purpose flour, 2 teaspoons baking powder, and 1 teaspoon salt on low speed until just combined; avoid overmixing.
Form cookie cups
Press approximately 1 1/2 tablespoons of dough into each greased muffin cup, shaping wells with raised edges to hold fillings.
Initial bake
Bake at 350F for 11 to 13 minutes, until edges are lightly golden and centers are set but not hard.
Fill while warm
Remove from oven and immediately press one unwrapped caramel into each cup, then top with two chocolate minis and two white chocolate minis; sprinkle chopped roasted peanuts on top.
Finish baking and cool
Return to oven for 5 minutes to melt the caramel and set toppings. Cool in the pan for 15 minutes before transferring to a rack to cool completely.
Last Step: Please leave a rating and comment letting us know how you liked this recipe! This helps our business to thrive and continue providing free, high-quality recipes for you.
Nutrition
Did You Make This?
Leave a comment & rating below or tag
@flavest on social media!
Categories:
You might also like...

Glazed Apple Cider Donuts
Warm-spiced apple cider donuts with tender apple bits and a glossy cider glaze, fried crisp and irresistibly cozy for fall.

Slow Cooker Pork Pot Roast
All-day slow cooking turns pork shoulder, potatoes, and carrots into a tender, savory classic with a rich homemade gravy everyone will love.

Cheesy Hamburger Potato Casserole
Tender layers of Yukon gold potatoes with seasoned beef in a creamy, cheddar sauce, baked until bubbly and irresistibly comforting.
Did You Make This?
Leave a comment & rating below or tag @flavest on social media!
Rate This Recipe
Share This Recipe
Enjoyed this recipe? Share it with friends and family, and don't forget to leave a review!
Comments (1)
This recipe looks amazing! Can't wait to try it.
Comments are stored locally in your browser. Server comments are displayed alongside your local comments.

Hi, I'm Maria!
What's Popular

30-Minute Meals!
Join to receive our email series which contains a round-up of some of our quick and easy family favorite recipes.