
Cheesecake Stuffed Strawberries

Fresh strawberries hollowed and filled with a creamy, sweet cheesecake filling — an elegant no-bake dessert that's ready in 10 minutes.
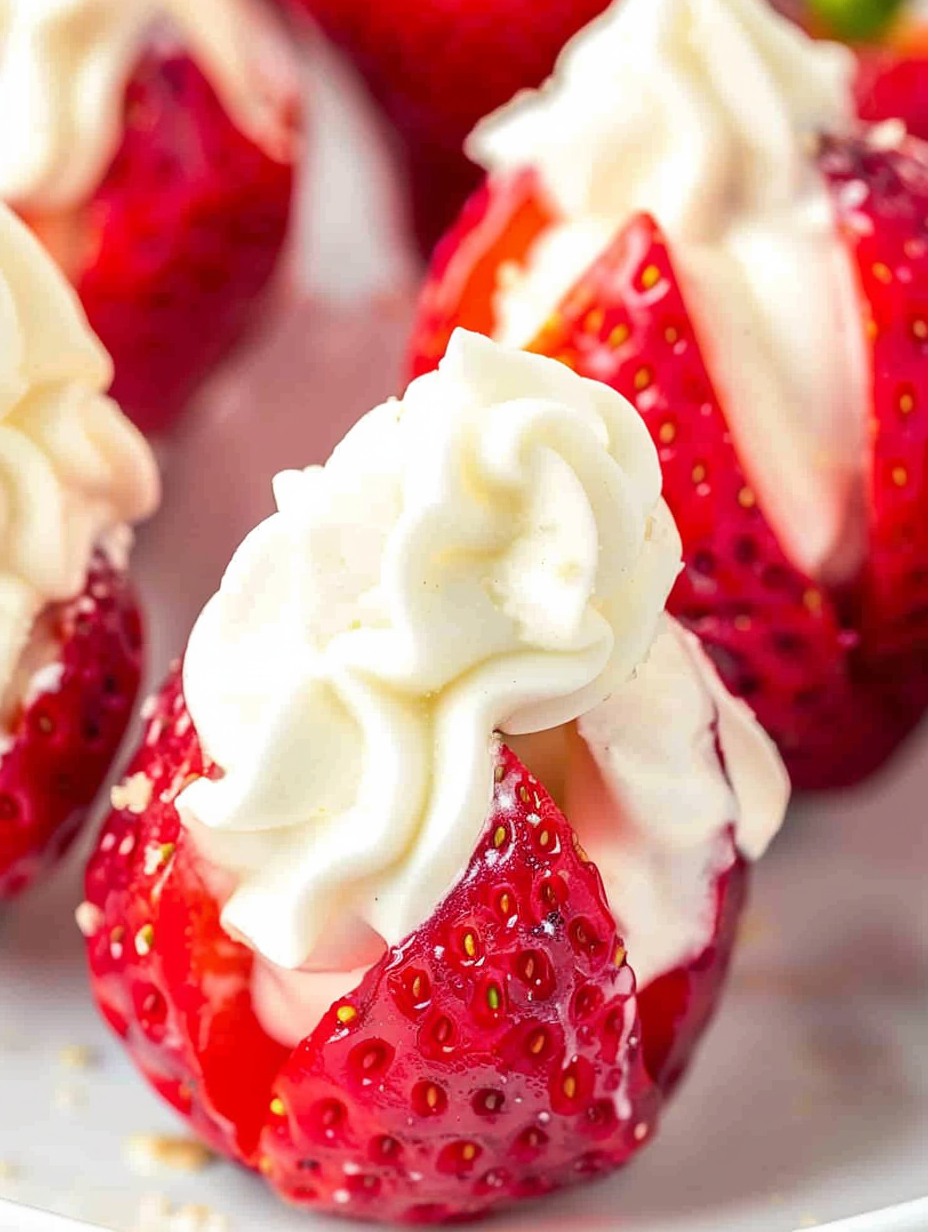
This small-bite dessert has been one of my favorite last-minute treats for years. I first developed this version during a summer potluck when I wanted something that felt indulgent but didn't require an oven; the response was immediate—plates were emptied before the main dish was finished. The contrast between the bright, juicy strawberry and the silky, slightly tangy cream cheese filling creates a balance of texture and flavor that makes these perfect for warm afternoons, bridal showers, or an elegant finish to a weeknight dinner.
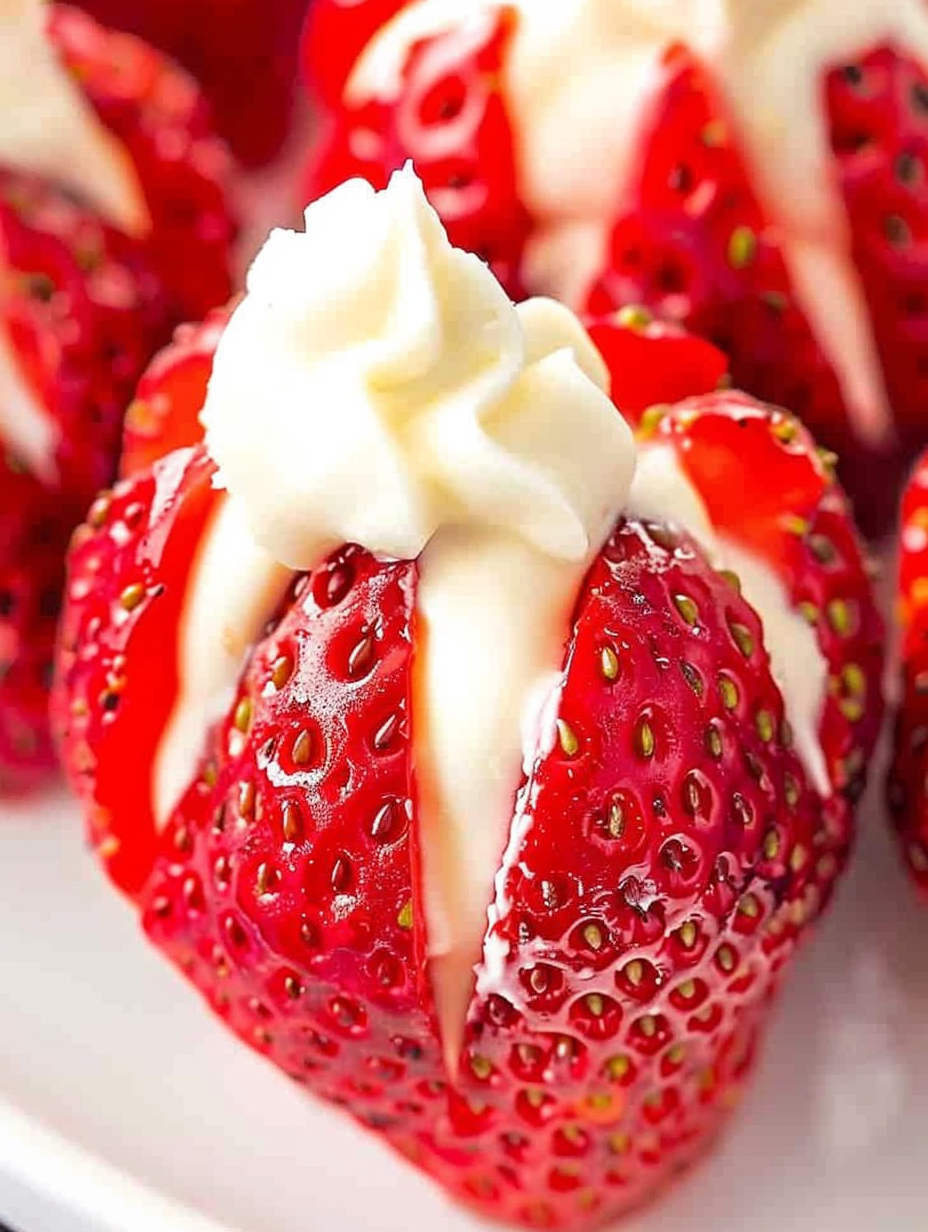
I discovered a few key techniques early on that make a huge difference: soften the cream cheese to room temperature, keep the strawberries dry so the filling adheres, and cut each berry carefully so it opens like a star without separating. These simple details create a stunning presentation that looks far more complicated than it is. Over the years friends and family have adopted this as their go-to party dessert, and I love how adaptable it is—switch the garnish, swap sour cream for Greek yogurt, or roll the tops in graham crumbs for a deconstructed cheesecake vibe.
Why You'll Love This Recipe
- Ready in about 10 minutes from start to finish, making it a perfect last-minute dessert for gatherings and potlucks.
- Uses pantry staples — cream cheese, powdered sugar, sour cream, and vanilla — with fresh strawberries as the only produce needed.
- No baking required: the filling is beaten until silky smooth and piped for a bakery-style presentation without an oven.
- Highly adaptable: make ahead filling, swap in flavored extracts, or garnish with crushed graham crackers or chocolate for variety.
- Crowd-pleasing and portable — these are easy to transport and serve on a platter for social occasions.
- Kid-friendly assembly: children love helping to pipe the filling into the berries, which makes this a fun family activity.
Personally, I remember bringing a tray of these to a summer picnic—the sound of delighted murmurs as people took their first bite is something I still laugh about. They feel special but are forgiving in execution, so I always recommend trying a small test batch to dial in the piping technique before making a large platter.
Ingredients
- 24 large strawberries: Choose firm, ripe berries that are similar in size so they sit evenly on a platter. Look for bright red color and fresh green caps; hulled or overripe berries will be too soft and release juices into the filling. I often buy Organic or locally sourced when possible.
- 8 ounces cream cheese, softened: Full-fat cream cheese (Philadelphia or similar) gives the best texture and flavor. Soften to room temperature for at least 30 minutes or pop into short bursts in the microwave to avoid lumps.
- 1 cup powdered sugar: Also labeled confectioners' sugar. Sift if lumpy to ensure a smooth filling; C&H or Domino brands work well.
- 1/4 cup sour cream: Adds a subtle tang and lightens the filling; full-fat sour cream creates a richer mouthfeel. Plain Greek yogurt can be substituted if you prefer.
- 1 teaspoon vanilla extract: Pure vanilla extract makes a noticeable difference; use Nielsen-Massey or another high-quality brand for best aroma.
- Optional - graham cracker crumbs: For garnish: use about 1/2 cup of fine crumbs or more to taste to mimic a cheesecake crust on top of each berry.
Instructions
Prepare the strawberries:Wash the berries gently and pat completely dry with paper towels. Trim a thin slice from the leaf end so each berry sits flat on a plate. Using a sharp paring knife, make six parallel cuts about 3/4 of the way down each berry to create points, taking care not to cut through the base. This creates a star-like cavity to hold the filling and keeps each berry intact.Make the filling:Place the softened cream cheese in a mixing bowl. Beat on high speed with a hand mixer or stand mixer until completely smooth and free of lumps, about 1 to 2 minutes. Add the powdered sugar, sour cream, and vanilla extract. Continue to beat on medium-high for another 1 to 2 minutes until the mixture is silky and slightly aerated. The texture should hold its shape in a piping bag but still be soft enough to pipe easily.Prepare the piping equipment:Fit a piping bag with a star tip (Wilton 1M or similar) or use a sturdy resealable plastic bag. If using a plastic bag, fold it over a glass and spoon the filling inside, then snip a small corner to create a piping opening. Fill the bag about two-thirds full to maintain control when piping.Fill the strawberries:Hold a strawberry steady and pipe the filling into the central cavity created by your cuts. Apply gentle, even pressure and stop when the filling reaches the top—about 1 to 2 teaspoons per berry depending on size. If you overfill, the filling can spill out; if underfilled, the effect is diminished. Work in batches, piping 8–12 berries at a time to keep the filling cool and the berries from sweating.Garnish and serve:Optionally sprinkle the tops with graham cracker crumbs, finely chopped toasted nuts, or a drizzle of melted chocolate. Serve immediately for the best texture; if you must wait, refrigerate no longer than 2 hours before serving. The longer they sit, the more the filling will absorb berry juices and lose structure.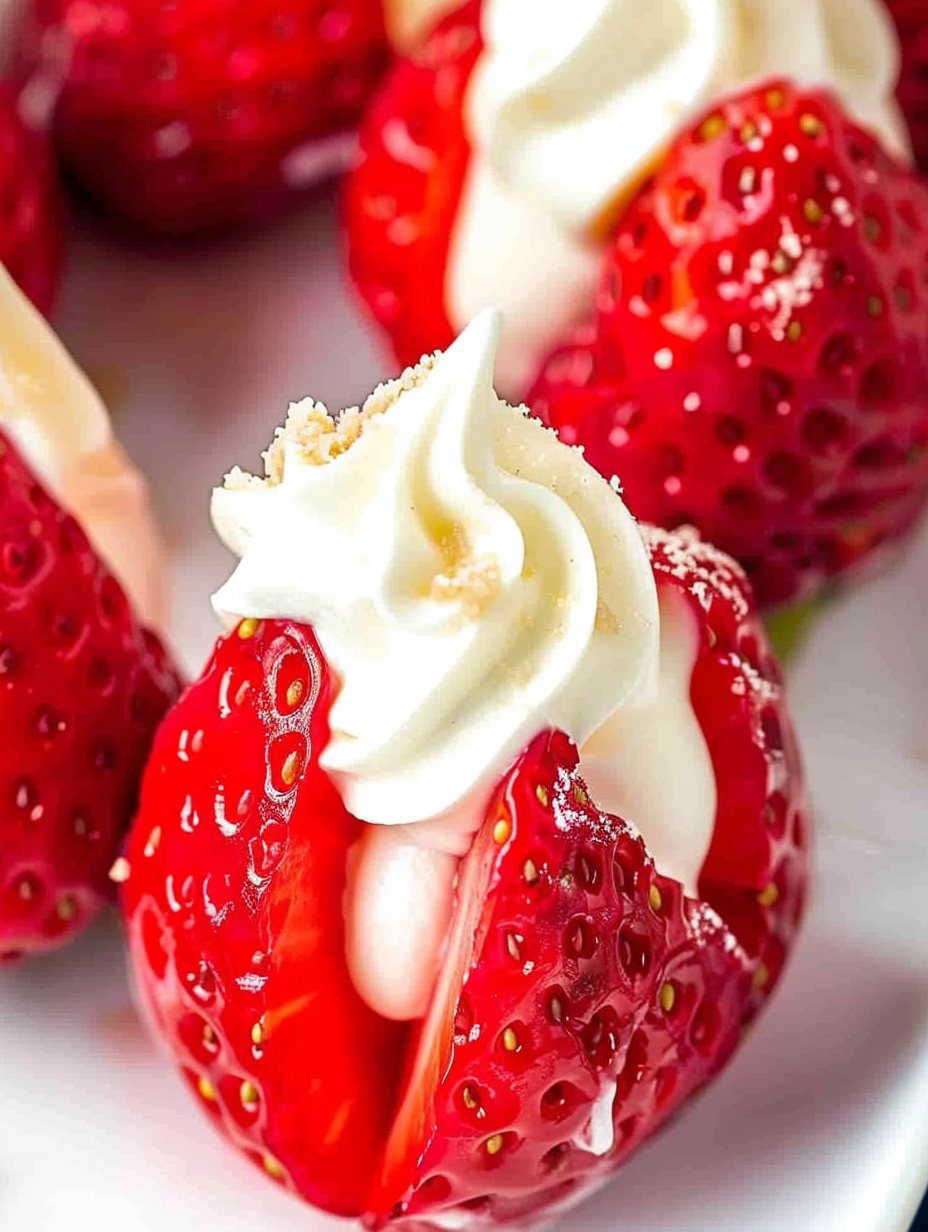
You Must Know
- Keep the berries dry and chilled until ready to fill; moisture will thin the cream cheese mixture and cause it to weep.
- These hold best for about 1–2 hours at room temperature; refrigeration extends life to 24 hours but softens the berries and filling slightly.
- High in calcium and moderate in calories: an individual serving (4 berries) is roughly 262 kcal as calculated from the original nutrition values.
- Freezing filled strawberries is not recommended: the texture becomes mushy when thawed, though you can freeze leftover filling separately for up to 1 month.
My favorite part is watching guests' faces when they bite into a berry and get that tiny surprise of creamy cheesecake. One summer I brought a tray to a neighborhood block party and a neighbor asked if I’d teach a class in our kitchen the next week—simple desserts like this are great for building confidence and creativity in the kitchen.
Storage Tips
Store assembled berries in a single layer in an airtight container lined with paper towels to absorb any excess moisture. Place parchment between layers if stacking. Refrigerate for up to 24 hours; beyond that the filling will begin to weep and the strawberries lose firmness. If you plan to make these ahead, prepare the filling up to 48 hours earlier and keep it chilled in a covered bowl. For transportation, place the strawberries on a shallow tray in a cooler or insulated bag with ice packs to keep them firm.
Ingredient Substitutions
If you want a lighter filling, swap the sour cream for plain full-fat Greek yogurt in a 1:1 ratio; expect a slightly tangier flavor. For a dairy-free version, use a firm dairy-free cream cheese and a dairy-free yogurt alternative—note that texture and flavor will differ, and these will be less stable when piped. Powdered sugar can be reduced to 3/4 cup for a less sweet filling; if you do, add a teaspoon of corn starch to maintain structure. For a lemony twist, add 1 teaspoon of freshly grated lemon zest and 1/2 teaspoon lemon extract.
Serving Suggestions
Arrange on a white platter for contrast, garnish with mint leaves, and serve with a bowl of extra graham crumbs for guests who want more crunch. Pair with sparkling wine or a light rosé for summer gatherings, or serve alongside coffee and petits fours for afternoon tea. For a themed platter, alternate with chocolate-dipped strawberries and fresh berries for color and variety.
Cultural Background
These bite-size treats are a modern, no-bake take on classic cheesecake traditions from American baking. They borrow the creamy tang of New York–style filling and the graham-cracker finish while showcasing seasonal fruit—an approach that mirrors many contemporary American desserts that favor fresh produce and simplified assembly over long bakes.
Seasonal Adaptations
In spring and summer use the sweetest local strawberries; in cooler months swap in firm raspberries or hollowed cherries. Around the holidays, add warm spices to the filling—1/4 teaspoon ground cinnamon or nutmeg—or top with finely chopped pistachios for a festive touch. For Valentine’s Day, dust with edible glitter or cocoa powder.
Meal Prep Tips
For efficient assembly, hull and cut the strawberries first and line them on a tray. Make the filling in batches and keep chilled. Use two piping bags so you can switch quickly when one gets heavy. Portion the filling into small containers for grab-and-go snacks; keep the berries separate and assemble within 2 hours of serving to maintain peak texture.
Success Stories
Readers often tell me they made these for weddings, baby showers, and book clubs because they feel elegant yet are easy to scale. One friend reported that guests thought she’d hired a pastry chef—she didn’t, just followed the tips in this article about piping and garnishing. Another reader told me this became her toddler’s favorite dessert because it’s easy to hold and not overly sweet.
These simple berries are a wonderful example of how a few quality ingredients and a couple of thoughtful techniques can produce a dessert that feels special and tastes like it belongs on a café menu. Make them your own and enjoy the smiles they create.
Pro Tips
Soften cream cheese fully to room temperature to avoid lumps and to achieve a silky filling.
Keep strawberries completely dry before filling to prevent the mixture from thinning.
Pipe in small batches to maintain control and prevent the filling from warming and losing structure.
Trim the base of the strawberry so it sits flat for a stable presentation.
If the filling is too thick, beat in 1 teaspoon of milk at a time until it reaches piping consistency.
This nourishing cheesecake stuffed strawberries recipe is sure to be a staple in your kitchen. Enjoy every moist, high protein slice — it is perfect for breakfast or as a wholesome snack any time.
FAQs about Recipes
Can I make these ahead of time?
Yes—assemble and refrigerate up to 24 hours in an airtight container. After this the filling will soften and the berries may become watery.
What can I use instead of a piping bag?
If you do not have a piping bag, fill a heavy-duty resealable plastic bag with the filling, squeeze it into a corner, snip 1/4 inch off the corner, and pipe.
Tags
Recipe data validation failed
Please check the recipe data format. See console for details.
Categories:
You might also like...

Glazed Apple Cider Donuts
Warm-spiced apple cider donuts with tender apple bits and a glossy cider glaze, fried crisp and irresistibly cozy for fall.

Slow Cooker Pork Pot Roast
All-day slow cooking turns pork shoulder, potatoes, and carrots into a tender, savory classic with a rich homemade gravy everyone will love.

Cheesy Hamburger Potato Casserole
Tender layers of Yukon gold potatoes with seasoned beef in a creamy, cheddar sauce, baked until bubbly and irresistibly comforting.
Did You Make This?
Leave a comment & rating below or tag @flavest on social media!
Rate This Recipe
Share This Recipe
Enjoyed this recipe? Share it with friends and family, and don't forget to leave a review!
Comments (1)
This recipe looks amazing! Can't wait to try it.
Comments are stored locally in your browser. Server comments are displayed alongside your local comments.

Hi, I'm Maria!
What's Popular

30-Minute Meals!
Join to receive our email series which contains a round-up of some of our quick and easy family favorite recipes.