
>>

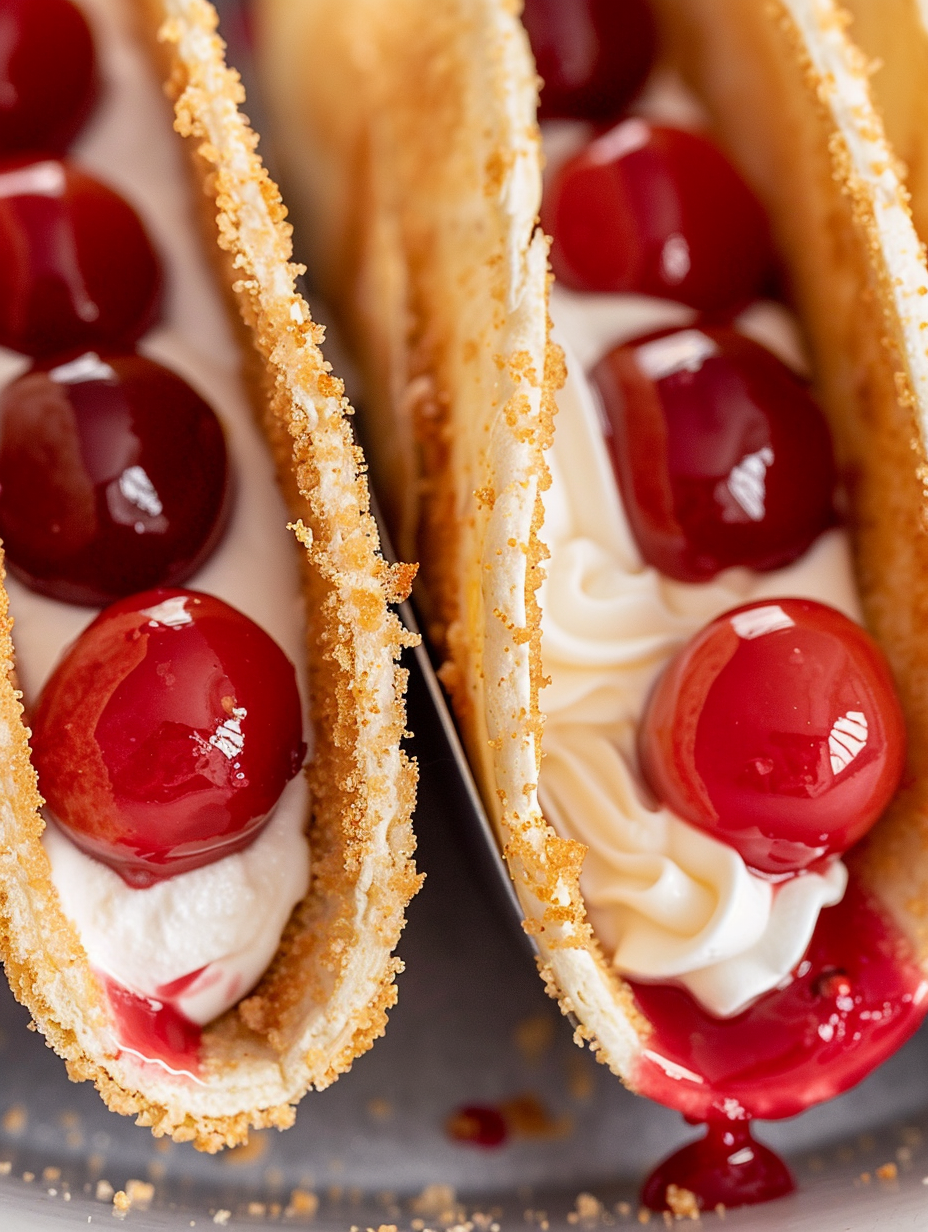
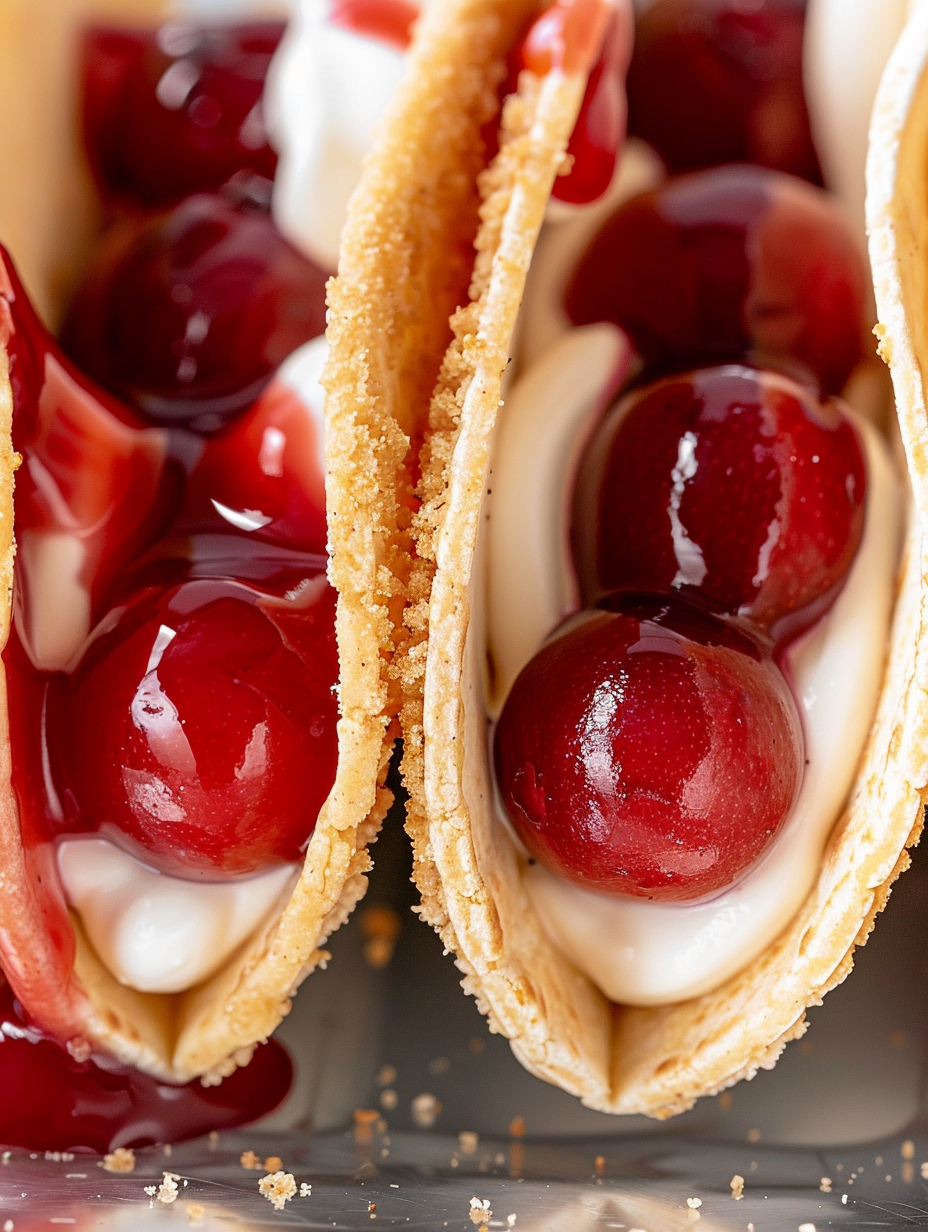
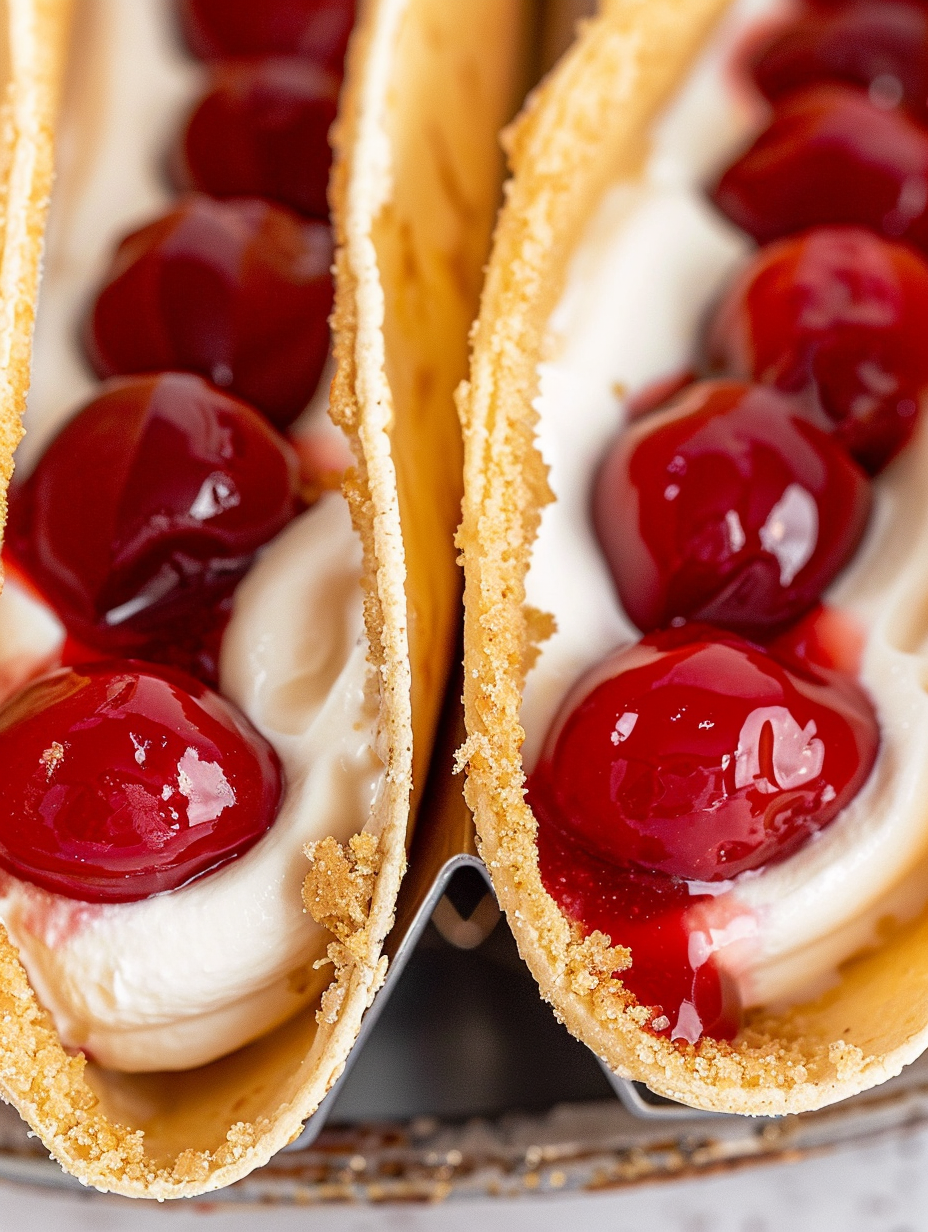
Crunchy street-taco shells filled with a fluffy cheesecake filling and finished with sweet cherry pie topping for an easy, crowd-pleasing dessert.
This dessert began as a playful experiment one summer when I wanted to bring a familiar childhood flavor to a party in a bite size package. I discovered Cheesecake Tacos while looking for a way to make cheesecake portable and low fuss. The result is a crunchy shell that still tastes like your favorite graham crust and a silky, sweet cheesecake filling topped with glossy cherry pie filling. It is light enough for warm weather gatherings and indulgent enough to disappear at potlucks.
The first time I made these I used street taco size flour tortillas which baked into crisp shells that held a generous dollop of filling without flaking apart. The texture contrast between the crispy shell and the creamy interior is what makes this treat memorable. Each bite has tangy cream cheese notes, vanilla sweetness, a hint of buttery graham coating, and a pop of bright cherry. They are simple, fast, and ideally served the day they are assembled for best crunch.
I first brought these to a backyard barbecue and they were gone within minutes. Friends asked for the recipe and took home secret tips like warming the tortillas briefly before shaping so they fold without cracking. Watching kids reach for seconds while adults debated whether to have one more was my favorite memory. They travel well and are an excellent dessert to bring to potlucks where refrigeration is available for the filling.
My favorite aspect is how forgiving they are to adapt. The first time I tried a lemon curd topping I learned that the filling pairs beautifully with tart fruit for balance. My family remembers the first backyard party when the kids lined up to make their own, choosing cherries or fresh berries of their choice. The hands on assembly makes this a fun activity for gatherings and a quick dessert solution when you want something playful yet familiar.
Store any leftover filling in an airtight container in the refrigerator for up to three days. Keep shells separate at room temperature in a sealed container for one to two days to maintain crispness. If you have filled tacos you plan to save, place them in a single layer on a tray covered loosely with plastic wrap and keep refrigerated for no more than eight hours. For longer storage freeze unfilled shells wrapped tightly in foil and placed in a freezer bag for up to three months. To refresh frozen shells, reheat in a 350 degrees F oven for five to seven minutes until crisp before filling.
If you need dairy free alternatives use a dairy free cream cheese substitute and a non dairy whipped topping which will change the richness and mouthfeel but keep the structure. For a gluten free version swap in gluten free graham crackers and gluten free small tortillas or gluten free crepe like shells. To reduce sugar use a powdered sugar substitute measured cup for cup and opt for a reduced sugar pie filling, though the final sweetness will be less pronounced. For a lighter filling use neufchatel cheese which has lower fat content and fold in extra whipped topping to maintain volume.
Arrange them on a long platter with fresh mint leaves, lemon zest, or toasted almonds sprinkled on top for texture. They go well with coffee, iced tea, or a cold dessert wine. For a brunch twist serve smaller versions as mini bites alongside fresh fruit and a berry coulis. For parties set up an assembly station where guests can pipe their filling and choose toppings such as crushed nuts, chocolate shavings, or different pie fillings for a festive touch.
This playful mash up draws on two American favorites, hand held tacos and classic cheesecake. While not traditional to any specific region, it borrows the convenience of street tacos and the creamy profile of New York style cheesecake. The idea of using tortillas as a shell is common in modern fusion cooking where cooks reuse familiar components to create novel presentations, and pantry pie fillings allow seasonal flavors to be enjoyed year round.
In summer swap the cherry pie filling for fresh berry compote or macerated peaches with a touch of lemon. In autumn top with warm apple pie filling and a sprinkle of toasted pecans. Around the holidays consider cranberry orange topping with a hint of cinnamon and serve with spiced whipped cream. Small changes to the topping make the treat feel seasonal while keeping the basic technique identical.
Make the filling up to two days ahead and refrigerate in an airtight container. Store shells separately at room temperature and assemble one hour before serving for optimal texture. If you are preparing for an event transport the shells and filling in separate containers and assemble on site using a piping bag. Freeze extra shells as a backup and thaw at room temperature before reheating briefly to refresh their crunch.
These Cheesecake Tacos are a joyful, simple dessert that invites experimentation and sharing. Whether you make them for a casual weeknight treat or a festive gathering they are designed to be accessible, adaptable, and unforgettable. Give them a try and make them your own with favorite toppings and seasonal fruit.
Make sure the cream cheese is at room temperature so it blends smoothly with no lumps.
Chill the filling for at least thirty minutes to firm it and make piping easier.
Coat both sides of the tortillas so the graham crumbs adhere evenly and create a crisp crust.
This nourishing cheesecake tacos recipe is sure to be a staple in your kitchen. Enjoy every moist, high protein slice — it is perfect for breakfast or as a wholesome snack any time.
Yes, you can prepare the filling up to 48 hours in advance and keep it refrigerated in an airtight container. Fill the shells just before serving for best texture.
If you cannot find street taco size tortillas, cut larger soft taco tortillas into 4 inch rounds with a cookie cutter or glass before coating and shaping.
This Cheesecake Tacos recipe makes perfectly juicy, tender, and flavorful steak every time! Serve with potatoes and a side salad for an unforgettable dinner in under 30 minutes.
Preheat oven to 400 degrees F. In a shallow bowl combine graham cracker crumbs and granulated sugar. Lightly prick each tortilla with a fork six to seven times to prevent air bubbles.
Brush both sides of each tortilla with melted butter. Press both sides into the graham mixture to coat evenly and tap off excess.
Place an upside down cupcake pan and fold tortillas in half, tucking them between the cups to hold shape. Bake for ten to eleven minutes until golden and crisp. Cool completely in the pan.
Beat softened cream cheese with powdered sugar and vanilla until smooth. Fold in thawed whipped topping until light and fluffy. Chill at least thirty minutes in refrigerator.
Transfer filling to a piping bag and pipe into cooled shells. Top each with three to four cherries and spoonable sauce from the cherry pie filling. Serve immediately.
Last Step: Please leave a rating and comment letting us know how you liked this recipe! This helps our business to thrive and continue providing free, high-quality recipes for you.
Leave a comment & rating below or tag
@flavest on social media!

Warm-spiced apple cider donuts with tender apple bits and a glossy cider glaze, fried crisp and irresistibly cozy for fall.

All-day slow cooking turns pork shoulder, potatoes, and carrots into a tender, savory classic with a rich homemade gravy everyone will love.

Tender layers of Yukon gold potatoes with seasoned beef in a creamy, cheddar sauce, baked until bubbly and irresistibly comforting.
Leave a comment & rating below or tag @flavest on social media!
Enjoyed this recipe? Share it with friends and family, and don't forget to leave a review!
This recipe looks amazing! Can't wait to try it.
Comments are stored locally in your browser. Server comments are displayed alongside your local comments.

Join to receive our email series which contains a round-up of some of our quick and easy family favorite recipes.
