
>>

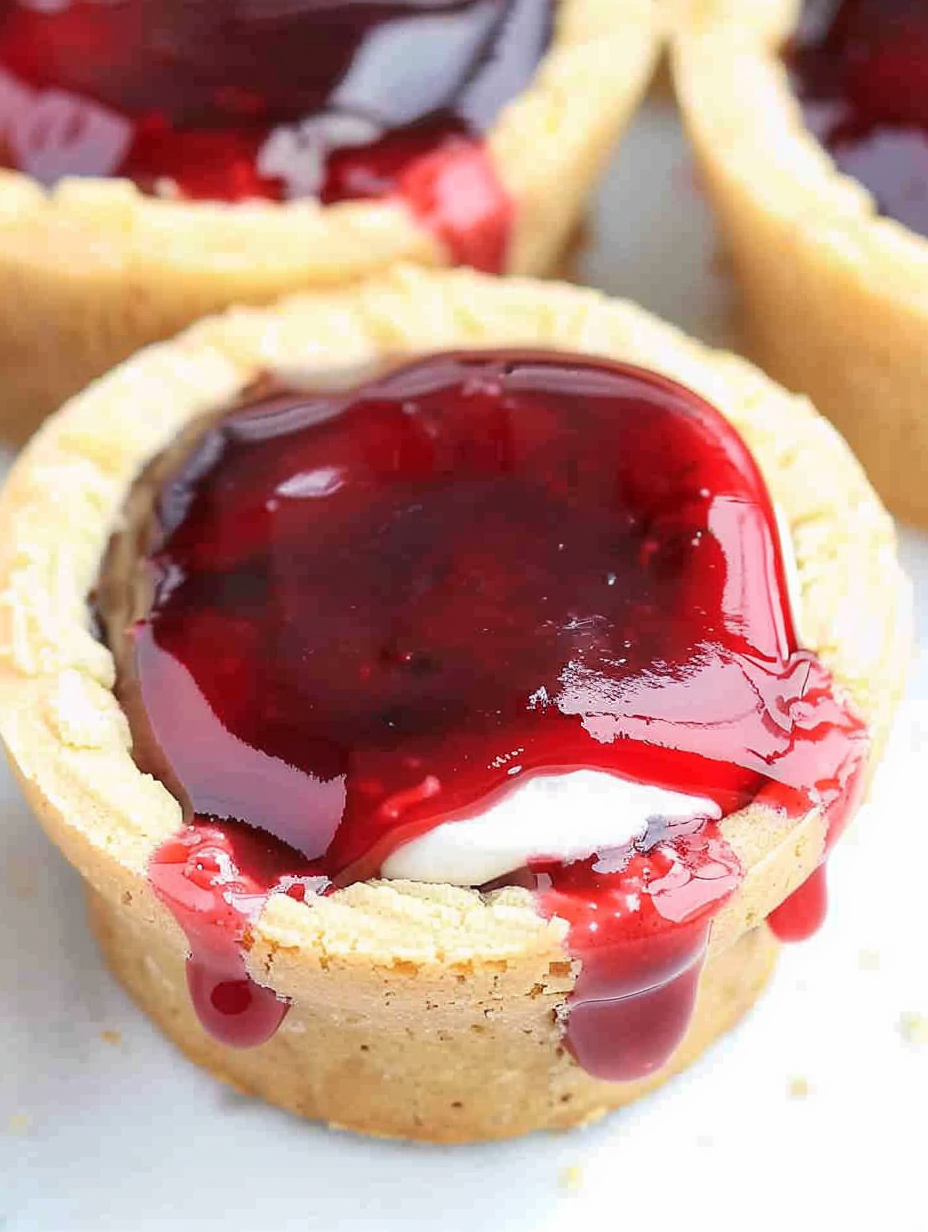
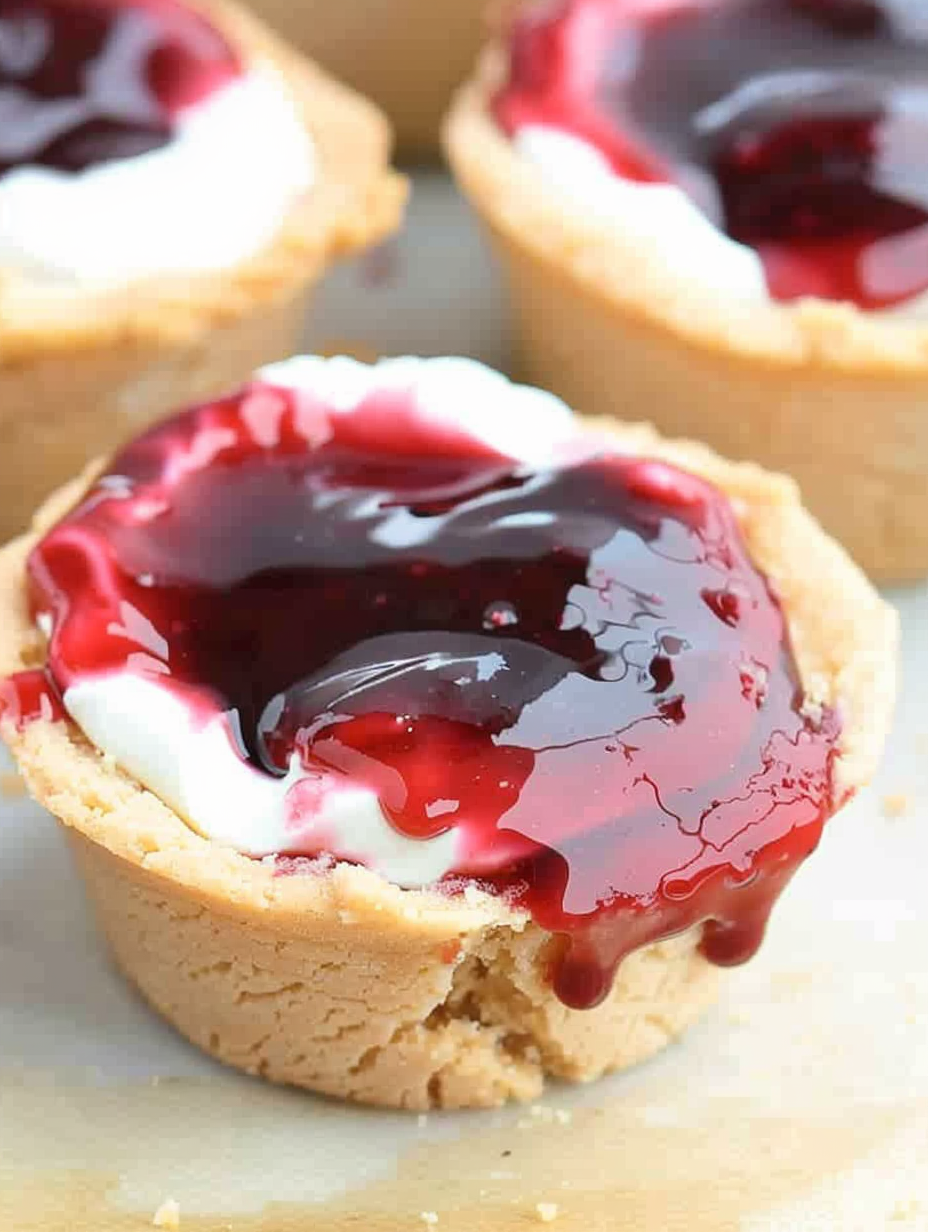
Bite-sized cherry cheesecake cookie cups—an easy semi-homemade dessert that combines a crisp sugar cookie shell with a creamy cream cheese filling and bright cherry topping.
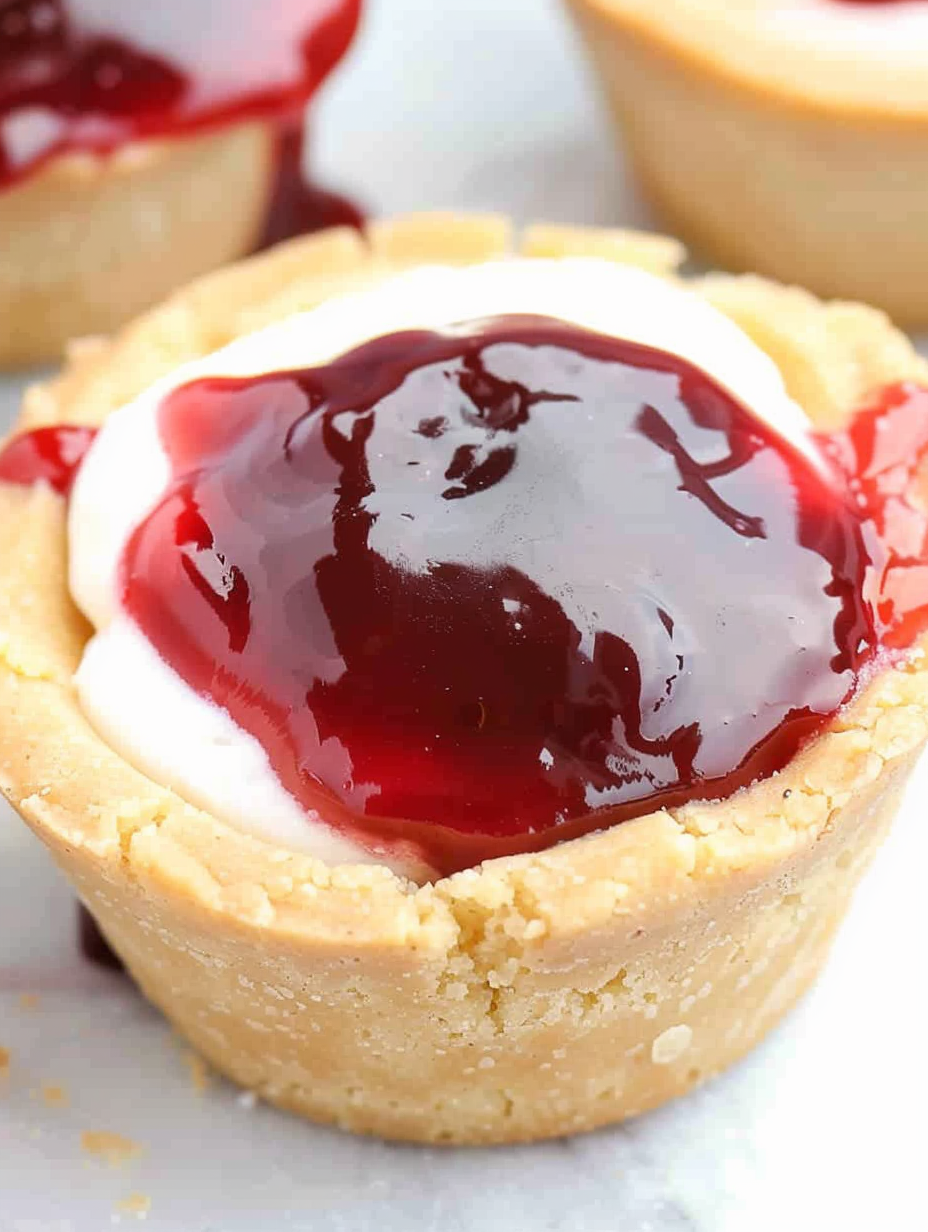
This Cherry Cheesecake Cups recipe is my go-to when I need a quick but impressive dessert. I first made these during a last-minute potluck when I discovered a package of sugar cookie dough hiding in the back of the freezer. With a tub of cream cheese and a can of cherry pie filling on the counter, I pressed the dough into a muffin tin, whipped the filling together, and in under an hour produced bite-sized treats that disappeared faster than I could plate them. They balance buttery cookie crunch, silky cream cheese, and the bright, syrupy cherries that make everyone smile.
What I love most is how adaptable these little cups are: you can use store-bought dough for speed or make the dough from scratch if you want a homemade touch. The textures are what keep me coming back—the cookie shell gives just enough structure, the filling is light but tangy, and the cherry topping adds a burst of color and acidity. They’re perfect for holidays, casual gatherings, or afternoon treats when you want something portion-controlled and delightful.
I remember when my niece declared these her new favorite dessert and stacked three on her plate at a birthday party. The simplicity is deceptive—while the technique is straightforward, the result feels celebratory. Friends often ask for the recipe because it looks impressive but takes very little effort, which is exactly the point.
My favorite part of these cups is the texture contrast—crisp, slightly chewy cookie exterior with a lush, tangy interior. At family gatherings, I often make a double batch of shells because guests will happily take the unfilled cups home to assemble later. The cherry topping adds that nostalgic diner cherry flavor which always sparks memories and compliments.
Store unfilled baked shells at room temperature in a sealed container for up to 48 hours to preserve crispness. Once filled, keep cups in a single layer inside an airtight container in the refrigerator for 2 to 3 days. If you need to save them longer, freeze unfilled shells in a zip-top bag for up to 1 month; thaw completely and re-crisp in a 325 degrees F oven for 3 to 5 minutes before filling. Reheat assembled cups only briefly at low temperature and expect some softening of whipped components.
For a lighter filling, substitute Greek yogurt (full-fat) for half of the cream cheese and reduce whipped topping to 1/2 cup, but expect a tangier and slightly looser texture. Make dairy-free by using vegan cream cheese and dairy-free whipped topping and choosing a gluten-free cookie dough or almond flour-based shell. Swap cherries for blueberry, strawberry, or lemon curd—use 1 tablespoon per cup. For a richer shell, use homemade dough made with real butter and chill for 30 minutes before shaping.
Arrange the cups on a decorative platter with mint leaves or thin lemon zest curls for color contrast. Pair with black coffee, champagne, or a dessert wine to complement the cherry sweetness. For a kid-friendly table, add sprinkles and mini chocolate chips. Serve as part of a dessert buffet alongside brownies and cookies for variety. For a fancier presentation, pipe the filling with a star tip and top each cup with a single whole cherry and a dusting of powdered sugar just before serving.
Miniature fruit-and-cream desserts are a staple in American baking traditions, drawing inspiration from classic pie and cheesecake flavors. The combination of cream cheese and cherry pie filling evokes diner-style desserts and nostalgic holiday pies. Bite-sized versions have become popular because they reflect modern entertaining trends that favor variety, easy portioning, and visual appeal while preserving the classic flavors people grew up with.
In summer, switch to fresh macerated berries or a homemade berry compote for a lighter topping. During winter holidays, swap cherries for spiced cranberry orange topping and add a sprinkle of toasted pecans for warmth. For spring showers, use lemon curd and decorate with candied lemon peel for a bright, refreshing twist. Each season's fruit can transform the cups while maintaining the same simple method.
Make shells up to 48 hours ahead and store unfilled; prepare the cream cheese filling the morning of your event and keep chilled. Assemble within an hour of serving to ensure the shells remain crisp if room temperature service is required. Use a piping bag to speed assembly and achieve a uniform look. Pack assembled cups in a single layer with parchment separators when transporting to keep toppings intact.
These cherry cheesecake cups are a small-batch delight that feel special and are forgiving for cooks of every level. Try them once and you’ll find dozens of reasons to make them again—simple, adaptable, and always a crowd-pleaser.
Soften cream cheese to room temperature for at least 30 minutes to avoid lumps in the filling.
Press dough evenly into muffin cups to ensure uniform baking and avoid thin spots that can tear.
Chill homemade dough for 30 minutes before shaping to make it easier to work with and to maintain cup shape during baking.
Use a small cookie scoop or tablespoon for consistent shell sizes and even baking.
If shells puff during baking, gently press centers with the back of a spoon while still warm to re-form the cup shape.
This nourishing cherry cheesecake cups recipe is sure to be a staple in your kitchen. Enjoy every moist, high protein slice — it is perfect for breakfast or as a wholesome snack any time.
This Cherry Cheesecake Cups recipe makes perfectly juicy, tender, and flavorful steak every time! Serve with potatoes and a side salad for an unforgettable dinner in under 30 minutes.
Preheat oven to 350 degrees F. Grease a 12-cup muffin tin lightly with nonstick spray or butter. If using refrigerated dough, allow it to sit for a few minutes to become pliable but not warm.
Break off 1 to 2 tablespoons of dough per cavity and press it along the bottom and up the sides to form a cup about 1/8 to 1/4 inch thick. Aim for even thickness to ensure uniform bake.
Bake the filled muffin tin for 8 to 12 minutes until edges turn golden and centers are set. Baking time varies by oven and cup size; watch closely after 8 minutes.
Let the cups cool in the tin for 10 minutes to stabilize, then transfer to a cooling rack to cool completely before filling to prevent sogginess.
Beat 8 ounces softened cream cheese with 1 teaspoon vanilla until smooth. Fold in 1 cup whipped cream topping gently until combined and light—do not overmix to retain airiness.
Spoon or pipe 1 to 2 tablespoons of filling into each cooled cup, top with approximately 1 tablespoon cherry pie filling, garnish with sprinkles if desired, and refrigerate for at least 30 minutes before serving.
Cream 1 cup softened butter with 1 cup sugar until light. Add 1 egg and 1 teaspoon vanilla. Combine 3 cups flour with 1 teaspoon baking powder and gradually add to wet ingredients. Form dough, wrap, refrigerate 30 minutes, then shape and bake as above.
Last Step: Please leave a rating and comment letting us know how you liked this recipe! This helps our business to thrive and continue providing free, high-quality recipes for you.
Leave a comment & rating below or tag
@flavest on social media!

Warm-spiced apple cider donuts with tender apple bits and a glossy cider glaze, fried crisp and irresistibly cozy for fall.

All-day slow cooking turns pork shoulder, potatoes, and carrots into a tender, savory classic with a rich homemade gravy everyone will love.

Tender layers of Yukon gold potatoes with seasoned beef in a creamy, cheddar sauce, baked until bubbly and irresistibly comforting.
Leave a comment & rating below or tag @flavest on social media!
Enjoyed this recipe? Share it with friends and family, and don't forget to leave a review!
This recipe looks amazing! Can't wait to try it.
Comments are stored locally in your browser. Server comments are displayed alongside your local comments.

Join to receive our email series which contains a round-up of some of our quick and easy family favorite recipes.
