
>>

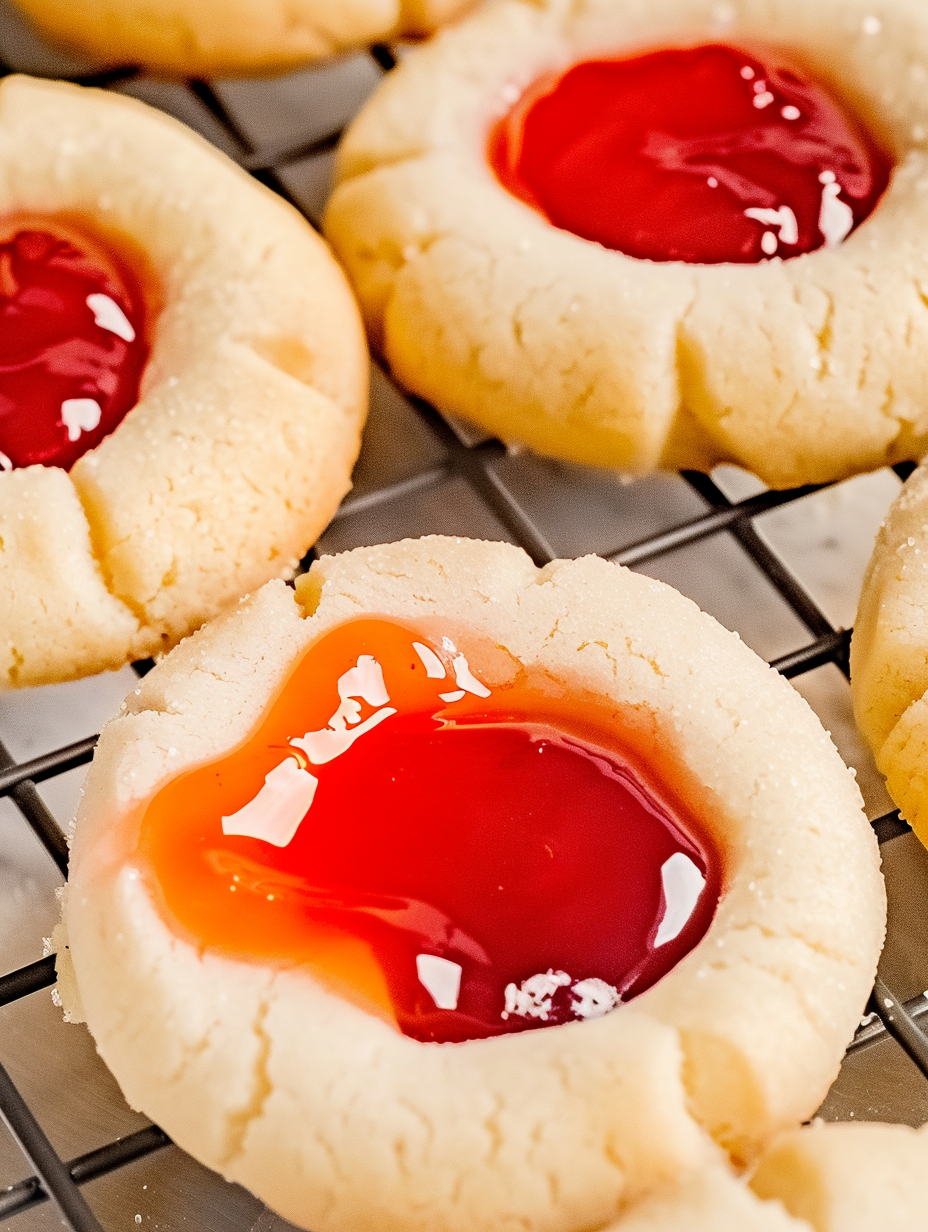
Buttery, tender thumbprint cookies filled with bright cherry pie filling. A simple, classic treat that is quick to make and perfect for gifting or holiday cookie trays.
This cherry thumbprint cookie recipe has been part of my weekend baking rotation for years. I first learned to make a version of these in my grandmother's tiny kitchen where jars of jam lined a sunlit windowsill. I simplified her approach to rely on pantry staples and a straightforward method that yields reliably tender cookies with a crisp edge and a soft center under glossy cherry filling. They are small, portable, and just sweet enough to pair with coffee or a glass of milk.
What makes this version special is the focus on texture and clarity in technique. The dough uses only yolks to keep the centers silky while the edges brown lightly for a satisfying bite. The cookie is shaped into small rounds, indented, and topped with a single cherry plus a little filling to give each cookie a jewel like appearance. These cookies are a staple for holiday trays, teacher gifts, and rainy afternoon baking when you want something cheerful and not fussy.
I remember bringing a tray to a neighborhood potluck where these vanished within minutes. People asked for the recipe and then texted photos of cookies on their kids lunchboxes days later. It is always a pleasure to see the glossy cherry in the center catch the light and to hear the small crunch as someone bites into the edge followed by a tender interior.
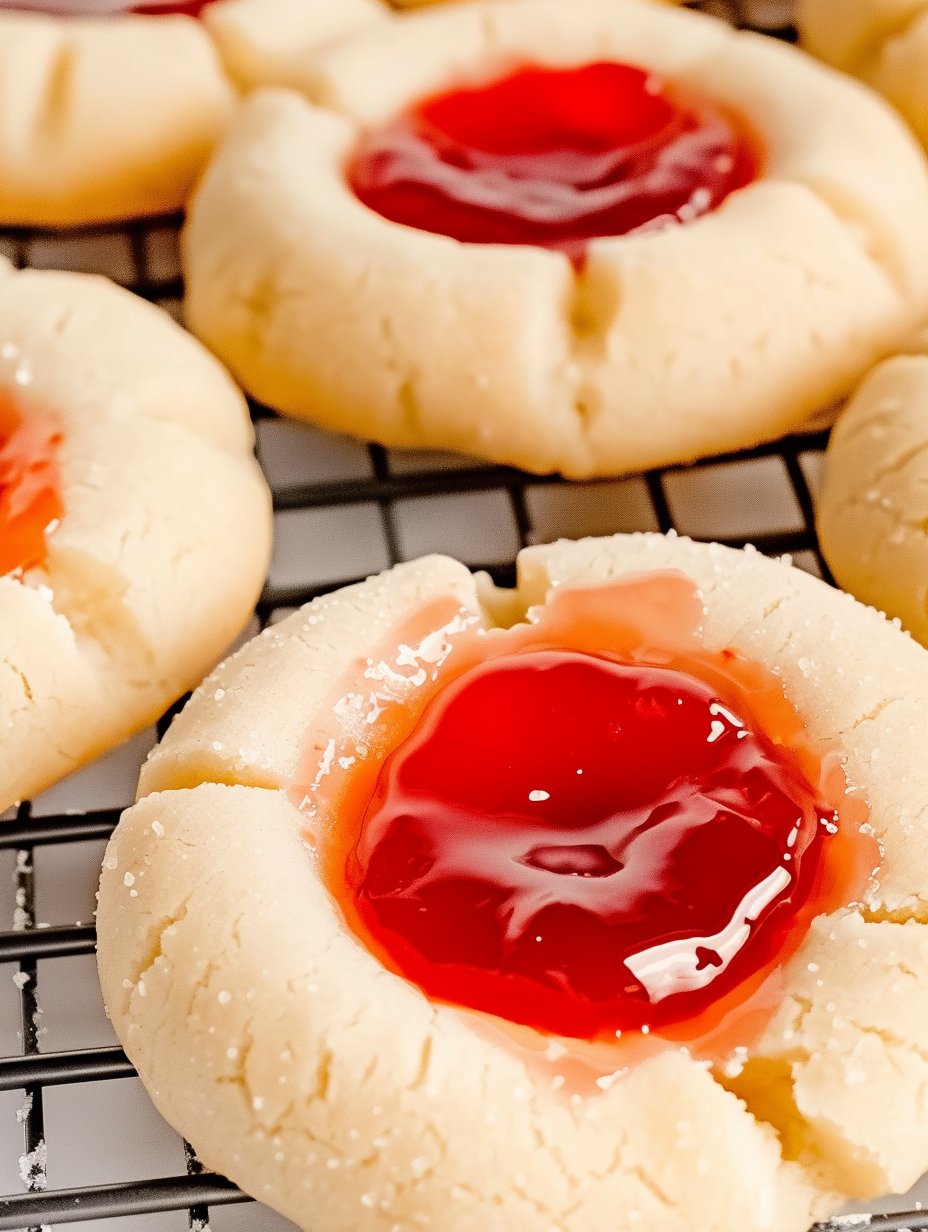
My favorite part is the ritual of pressing each thumbprint and placing a cherry in the middle; it feels almost meditative. Family members often help with the filling stage making it a communal activity. I love that a small change like rolling the dough in sugar before baking creates a festive sparkle for special occasions. Over the years I have experimented with small adjustments and found that keeping the dough slightly cool but pliable gives the most consistent shape and texture.
Store cooled cookies in an airtight container at room temperature for up to three days. For longer storage, freeze in a rigid container with layers of parchment paper between the rows to prevent sticking. Thaw at room temperature for about thirty minutes before serving. To refresh a slightly soft cookie, warm in a low oven at 275 degrees Fahrenheit for five minutes; this will re-crisp the edges while keeping the center tender.
If you need to switch ingredients, use a one to one cup based vegan butter for a dairy free version and replace egg yolks with two tablespoons of aquafaba per yolk to mimic richness, keeping in mind texture will differ. For gluten free, substitute a cup for cup flour blend and add a tablespoon of xanthan gum if the blend lacks it. Swap cherry pie filling with raspberry preserves for a tart variation; if using homemade preserves reduce added sugar slightly to compensate for sweetness.
Present these cookies on a simple platter with a dusting of powdered sugar or a light vanilla glaze drizzled across the tray for a festive look. They pair nicely with black coffee, Earl Grey tea, or a light dessert wine. For a holiday platter include a variety with different fillings like apricot and raspberry so guests can choose. Garnish with a small mint leaf or a thin lemon strip when serving to add contrast and freshness.
Thumbprint style cookies have roots in European baking where jam filled biscuits were a traditional way to preserve seasonal fruit. They evolved into many regional variations across the United States where fillings and techniques adapt to local ingredients and celebrations. The combination of a rich, buttery dough with preserved fruit reflects an old world approach to simple, long lasting desserts that were practical for gatherings and festive occasions.
In summer, substitute cherry filling with fresh macerated berries and a touch of honey for brightness. For winter holidays use spiced cranberry filling or apple butter with a sprinkle of cinnamon on top. Add finely chopped toasted nuts to the dough during autumn for extra warmth. Adjust fillings to match seasonal fruit and flavor profiles to keep the recipe feeling fresh throughout the year.
Prepare the dough up to two days ahead and keep wrapped in the refrigerator. For frozen prep, shape the balls, place them on a sheet, freeze until solid, then transfer to a freezer bag; bake from frozen adding one to two minutes to the bake time. Portion into gift tins or individual bags for quick hostess presents. Label containers with the bake date to track freshness when gifting or storing.
These small cookies are a joyful combination of buttery dough and bright cherry centers. I hope this version becomes a favorite in your home as it has in mine; they are simple, adaptable, and endlessly shareable.
Chill the dough for 15 minutes if it feels too soft; this makes rolling neater and prevents spreading.
Use a small cookie scoop for uniform sizes so they bake evenly.
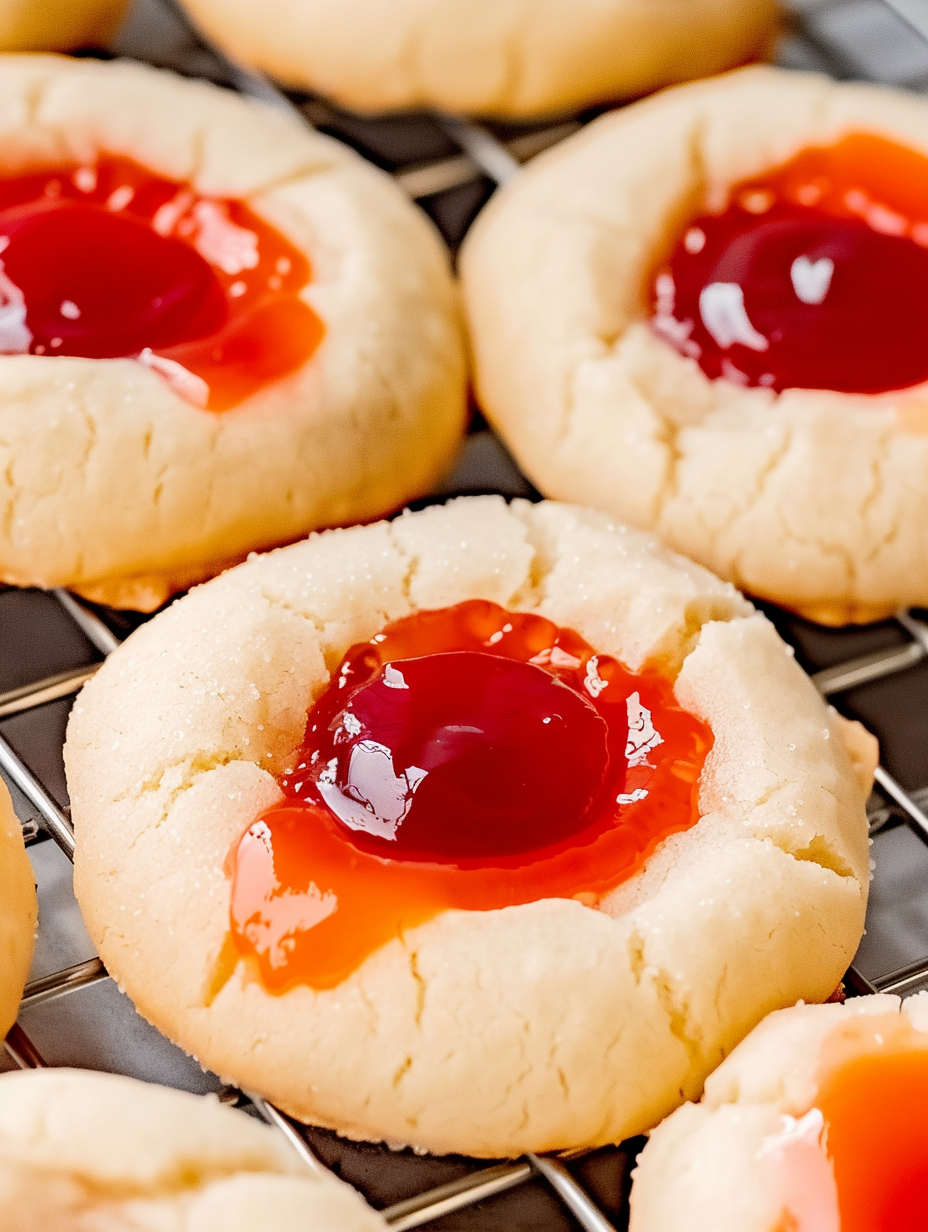
Place a single cherry and just a teaspoon of syrup in each indentation to prevent overflow during baking.
If you want a sparkly finish, roll the dough balls in granulated sugar before forming the thumbprint.
This nourishing cherry thumbprint cookies — clean recipe recipe is sure to be a staple in your kitchen. Enjoy every moist, high protein slice — it is perfect for breakfast or as a wholesome snack any time.
This Cherry Thumbprint Cookies — Clean Recipe recipe makes perfectly juicy, tender, and flavorful steak every time! Serve with potatoes and a side salad for an unforgettable dinner in under 30 minutes.
Preheat oven to 350 degrees Fahrenheit. Line a baking sheet with parchment paper. Having the sheet ready helps assemble and bake in a single flow.
In a large bowl cream 1 cup softened butter with 1/2 cup granulated sugar until pale and fluffy. This incorporates air which yields a lighter texture.
Beat in 2 egg yolks and 1 teaspoon vanilla extract until smooth. Yolks add richness and tenderize the crumb while vanilla rounds out flavor.
Stir in 2 cups all purpose flour and 1/4 teaspoon fine salt until a soft dough forms. Mix just until combined to avoid developing gluten.
Portion dough into one inch balls, arrange on the tray and press a shallow well into each ball using your thumb or a small spoon. Uniform size ensures even baking.
Place one cherry and a small amount of filling into each indentation. Bake for 12 to 14 minutes until edges are lightly golden. Cool on the sheet for five minutes, then transfer to a wire rack.
Last Step: Please leave a rating and comment letting us know how you liked this recipe! This helps our business to thrive and continue providing free, high-quality recipes for you.
Leave a comment & rating below or tag
@flavest on social media!

Warm-spiced apple cider donuts with tender apple bits and a glossy cider glaze, fried crisp and irresistibly cozy for fall.

All-day slow cooking turns pork shoulder, potatoes, and carrots into a tender, savory classic with a rich homemade gravy everyone will love.

Tender layers of Yukon gold potatoes with seasoned beef in a creamy, cheddar sauce, baked until bubbly and irresistibly comforting.
Leave a comment & rating below or tag @flavest on social media!
Enjoyed this recipe? Share it with friends and family, and don't forget to leave a review!
This recipe looks amazing! Can't wait to try it.
Comments are stored locally in your browser. Server comments are displayed alongside your local comments.

Join to receive our email series which contains a round-up of some of our quick and easy family favorite recipes.
