
>>

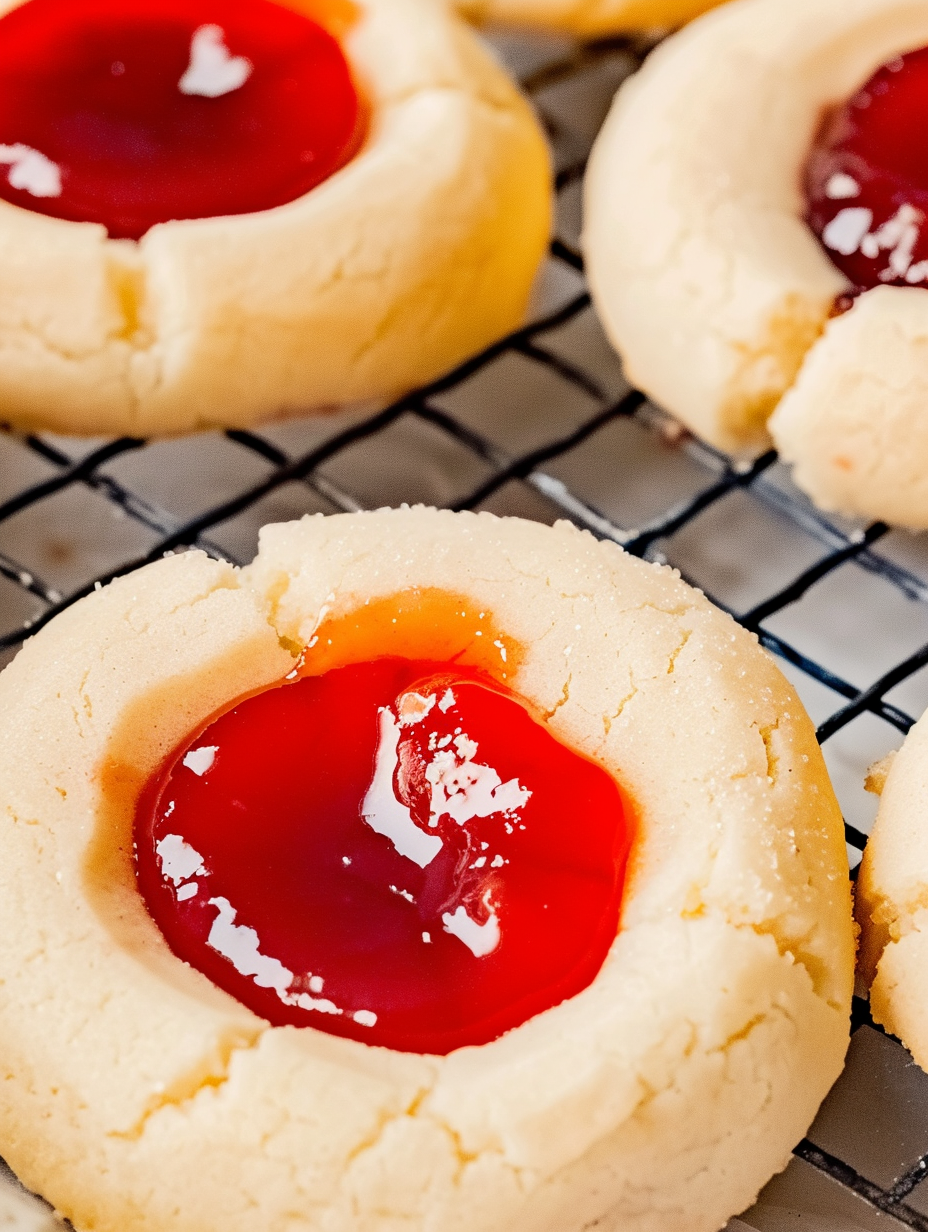
Classic buttery thumbprint cookies filled with bright cherry pie filling — a simple, nostalgic bake that's perfect for holidays and everyday treats.
This recipe for Cherry Thumbprint Cookies has been a go-to in my kitchen for years. I discovered this version while adapting a family recipe to be a little cleaner and less fussy — the result is a tender, buttery cookie with a crisp edge and a sweet-tart cherry center that always draws smiles. I remember making a batch the first winter after moving into my first apartment: the oven warmth, the sweet cherry aroma, and the way neighbors stopped by for a sample. It became the cookie I bring to potlucks and the one picky kids politely request again.
The texture is the star here: a short, slightly crumbly crumb from the butter and yolks, balanced by the glossy jammy cherry filling. Each cookie holds just one cherry and a spoonful of filling, so every bite has that pop of fruit. This version uses simple pantry staples, minimal fuss, and yields cookies that freeze well, travel beautifully, and pair perfectly with tea or a glass of milk. Read on for step-by-step details, tips, and ways to make these your own.
I first swapped in egg yolks only to get a richer, more tender crumb and immediately noticed the difference — a softer interior that still browns nicely at the edges. My family prefers these slightly warm from the oven with a cold glass of milk; friends often ask for the recipe after tasting them warm at a neighborhood holiday gathering. They’ve consistently been a hit whether I serve them at tea time or tucked into a cookie tin for gifting.
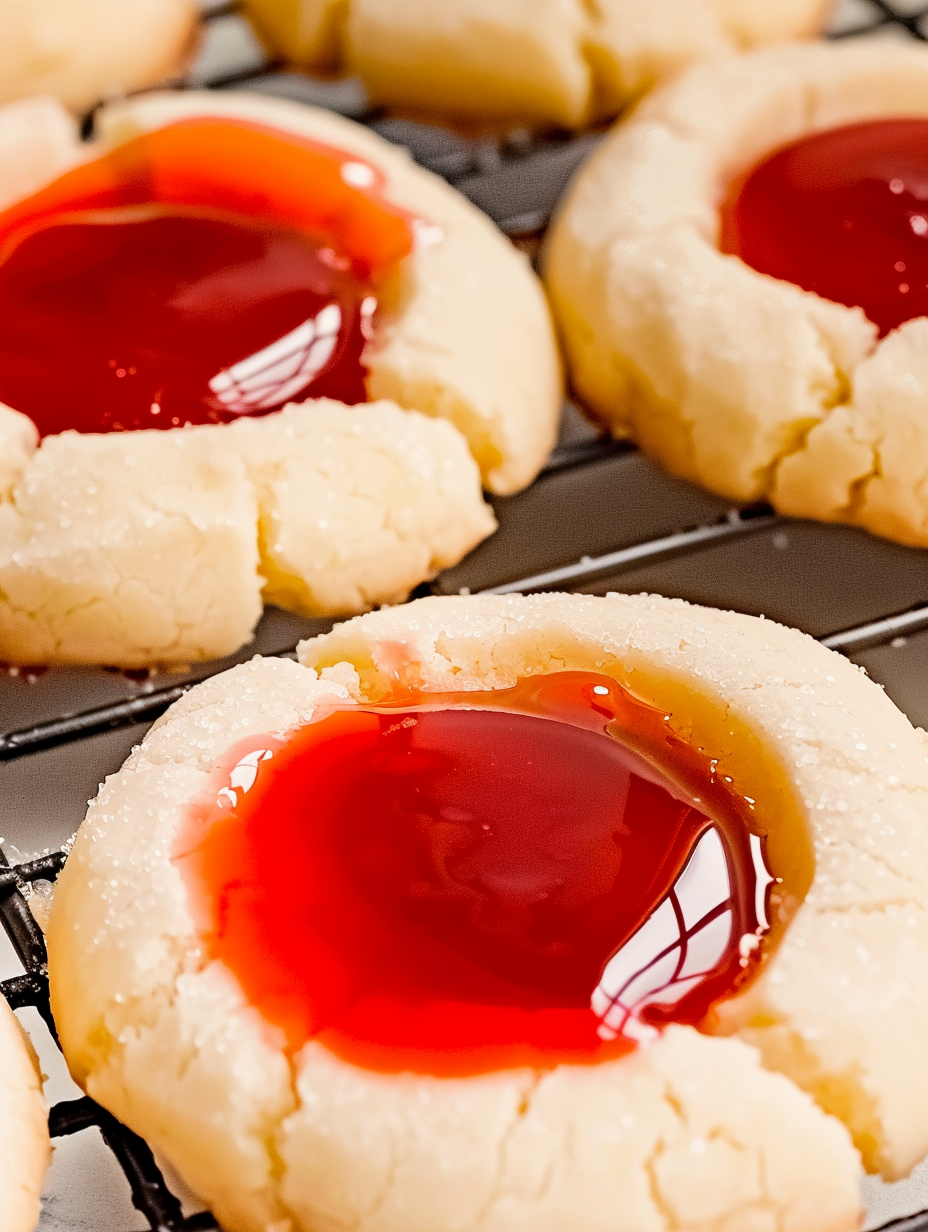
What I love most about these is the nostalgic ritual: rolling, pressing, and placing a single bright cherry in each thumbprint. One holiday season I made dozens and delivered tins down the block; neighbors compared notes on fillings and we all agreed that the simplicity of the recipe is its strength. The cherry center always feels a little celebratory without fuss.
To store freshly baked cookies, cool completely and place in an airtight container with parchment layers to avoid sticking. Keep at room temperature for up to 4 days. For longer storage, arrange cookies on a sheet and freeze until solid, then stack in a freezer-safe container with parchment between layers; they will keep for up to 3 months. To thaw, place in the refrigerator overnight or at room temperature for a few hours; warm gently in a 300°F (150°C) oven for 5 minutes if you want that just-baked feel. Avoid microwaving, which can make the dough gummy.
For a dairy-free version, substitute a quality vegan butter stick measured 1:1 and add a pinch more salt to compensate. To make the cookies egg-free, replace each yolk with 1 tablespoon of aquafaba condensed slightly, keeping in mind texture will be less rich. For a gluten-free option, use a 1:1 gluten-free all-purpose blend and add 1 tablespoon of cornstarch to mimic the tender crumb. If you prefer a lighter flavor, swap cherry pie filling for apricot preserves or raspberry jam—use a thicker jam to prevent spreading.
Serve these with tea, coffee, or hot chocolate for a cozy afternoon. For a holiday platter, arrange them with shortbread and spiced cookies; garnish the platter with fresh cherries or mint sprigs for color. They are also lovely tucked into small boxes as gifts—line tins with parchment and include a note with a best-before date. For a party display, arrange on a tiered stand to showcase the glossy cherry centers and add small labels with flavor descriptions if you make variations.
Thumbprint-style cookies trace back to Scandinavian baking traditions, where buttery, tender cookies are often filled with jam and served with coffee. The simplicity of the method—forming small rounds and pressing an indentation—made these popular in family kitchens across Europe and later in North America. Cherry preserves are a classic American favorite in this context, tying into the tradition of preserving summer fruit and using jarred fillings through colder months for festive baking.
In summer, use fresh cherry preserves or a quick compote made from fresh cherries for a fresher flavor; reduce added sugar in the compote to let the fruit shine. For winter holidays, add a pinch of cinnamon to the dough and use spiced cherry filling or top with a vanilla glaze and crushed pistachios for color. Swap the cherries for citrus curd in spring for a bright twist or for fig jam in autumn to match seasonal produce.
Prep the dough up to two days ahead and keep chilled in the refrigerator wrapped tightly. When ready to bake, portion into balls and press the indentations just before filling and baking; chilled dough holds shape better. For batch baking, use multiple prepared baking sheets so you can rotate pans without waiting for cooling. If freezing dough balls, flash-freeze on a sheet and store in a bag — bake frozen balls, adding 1 to 2 minutes to the bake time.
These cookies are a small joy that fit into many baking rhythms — quick enough for weeknight baking, charming enough for holidays. I hope you find as much pleasure in making and sharing them as I have.
Use room-temperature butter for easier creaming and a lighter texture.
Portion dough with a small cookie scoop for even cookies and uniform bake time.
Roll dough balls in granulated sugar before pressing for extra sparkle and a crisper edge.
If pie filling is thick, thin with a teaspoon of water so it nests in the indentation.
Flash-freeze on a sheet before storing in the freezer to keep shapes intact.
This nourishing cherry thumbprint cookies — clean recipe recipe is sure to be a staple in your kitchen. Enjoy every moist, high protein slice — it is perfect for breakfast or as a wholesome snack any time.
Yes. Cool completely before stacking and use parchment between layers. Freeze up to 3 months.
Use a tablespoon of dough per cookie and press a shallow indentation; over-pressing can cause filling to leak.
This Cherry Thumbprint Cookies — Clean Recipe recipe makes perfectly juicy, tender, and flavorful steak every time! Serve with potatoes and a side salad for an unforgettable dinner in under 30 minutes.
Preheat the oven to 350°F (175°C). Line a baking sheet with parchment paper or a silicone mat and position the oven rack in the center for even heat.
In a large bowl, cream together the softened butter and sugar until light and fluffy, about 2 to 3 minutes. Add the egg yolks and vanilla and mix until smooth. Gradually stir in the flour and salt until a soft dough forms; avoid overmixing to keep cookies tender.
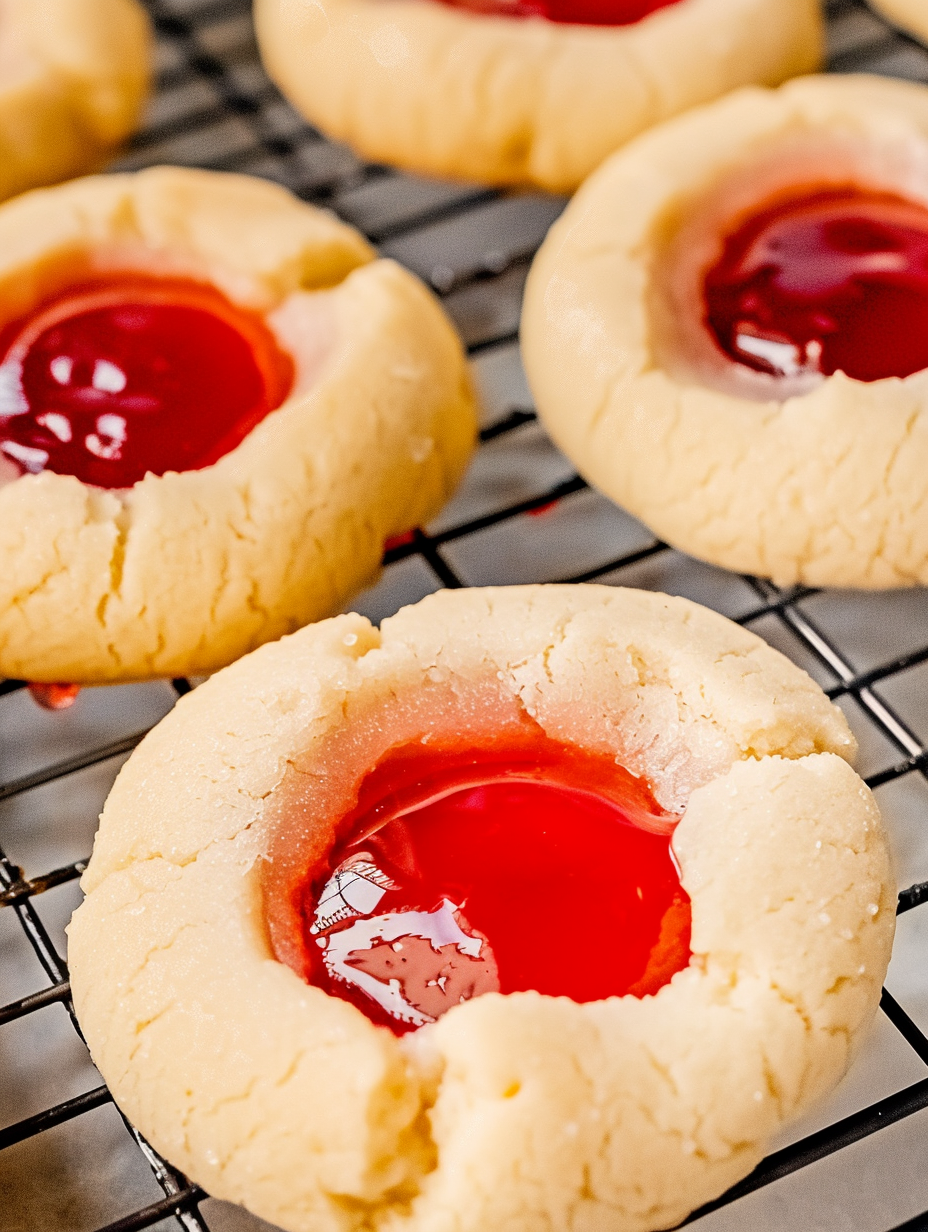
Portion the dough into 1-inch balls (about 1 tablespoon each). Place on the prepared sheet and use your thumb or the back of a small spoon to create a shallow 1/4-inch indentation in each ball.
Spoon one cherry and a teaspoon of cherry syrup into each indentation, taking care not to overfill. If the filling is thick, thin slightly with water so it nests nicely in the well.
Bake for 12 to 14 minutes, until edges are lightly golden and centers set. Cool on the baking sheet for 5 minutes, then transfer to a wire rack to cool completely.
Last Step: Please leave a rating and comment letting us know how you liked this recipe! This helps our business to thrive and continue providing free, high-quality recipes for you.
Leave a comment & rating below or tag
@flavest on social media!

Warm-spiced apple cider donuts with tender apple bits and a glossy cider glaze, fried crisp and irresistibly cozy for fall.

All-day slow cooking turns pork shoulder, potatoes, and carrots into a tender, savory classic with a rich homemade gravy everyone will love.

Tender layers of Yukon gold potatoes with seasoned beef in a creamy, cheddar sauce, baked until bubbly and irresistibly comforting.
Leave a comment & rating below or tag @flavest on social media!
Enjoyed this recipe? Share it with friends and family, and don't forget to leave a review!
This recipe looks amazing! Can't wait to try it.
Comments are stored locally in your browser. Server comments are displayed alongside your local comments.

Join to receive our email series which contains a round-up of some of our quick and easy family favorite recipes.
