
>>

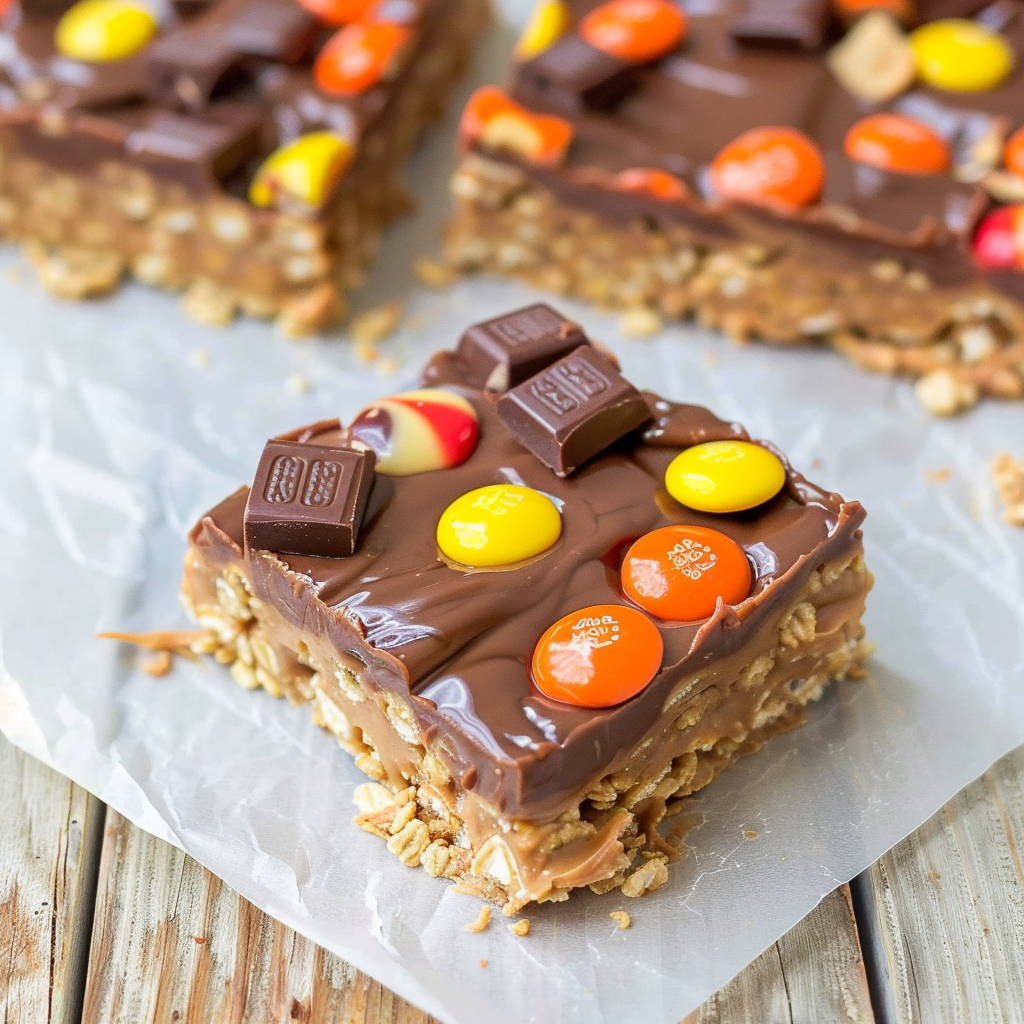
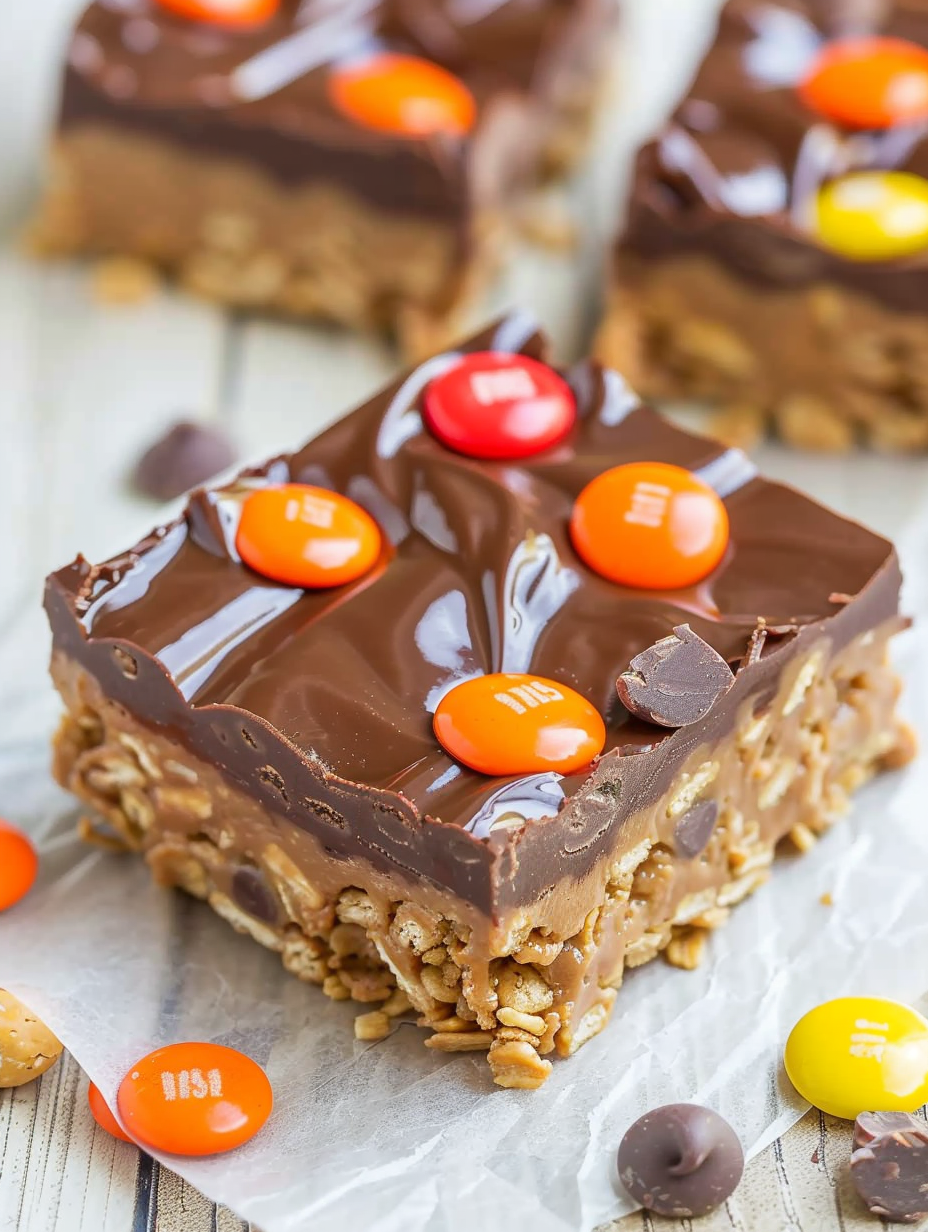
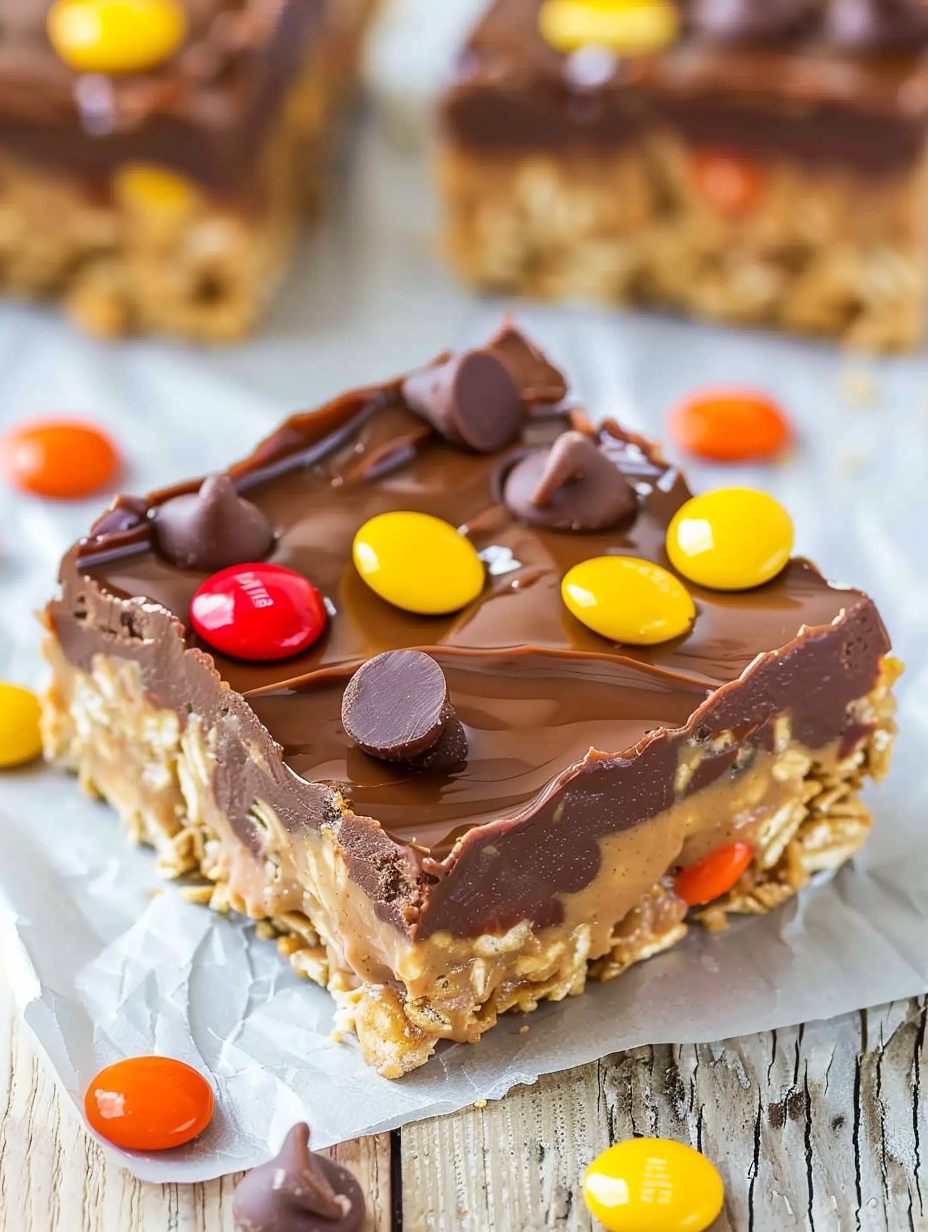
No-bake peanut butter candy bars layered with chewy, dense peanut butter cereal base, a glossy chocolate-peanut butter topping, and your favorite candy pieces on top — ready after a brief set time.
This recipe for Chocolate Peanut Butter Candy Bars is one of those quick, no-bake treats that I reach for when I want something indulgent without hauling out the oven. I first made these on a rainy afternoon when I wanted something nostalgic and simple: big peanut butter flavor, the satisfying crunch of cereal, and a glossy chocolate cap studded with candy. The result was instantly addictive — super soft, very dense, and chewy in the center with a pleasing snap at the chocolate edge. My family called them “grown-up peanut butter candy bars,” and they disappear faster than I can slice them.
I discovered the exact balance of sweet and salty after experimenting with different cereals and sweeteners. Using a light-colored corn syrup and a small blend of granulated and light brown sugar gives the base the right chew and sheen, while Special K adds sturdy body without overwhelming sweetness. The topping is uncomplicated but important: semi-sweet chocolate melted with a touch of creamy peanut butter makes a shiny, sliceable layer. Adding bite-sized candy pieces on top turns each square into a mini celebration — Rolos, mini peanut butter cups, or Butterfinger cups add texture and nostalgia.
When I first served these at a small family gathering, everyone asked for the recipe. The combination of chewy peanut butter base and the chunky, chocolate-studded top sparked lots of enthusiastic comments — especially from anyone who loves a PB-chocolate combo. I like to make extra and keep a small stash in the freezer for unexpected guests.
What I love most about these bars is their comfort-food quality — one bite feels like a blend of a candy bar and a homemade treat. Family gatherings turn into debates over which candy pieces are best; I always get called the “person who brings the good bars.” They carry well to potlucks and make a reliable treat for last-minute guests.
Store the bars in an airtight container at room temperature for up to one week. Lay parchment between layers to prevent sticking. For longer storage, refrigerate in an airtight container for up to one month; allow to come to room temperature before serving to avoid a hard bite. For the longest shelf life, freeze in single layers on a baking sheet until solid, then wrap tightly and place in a freezer-safe container for up to six months. Thaw in the refrigerator or at room temperature; avoid microwaving frozen bars to defrost as the chocolate can separate.
If you need to avoid corn syrup, a light honey works in a pinch but will alter the flavor and texture slightly — the bars will be a touch stickier and more golden. Swap Special K for Rice Krispies or corn flakes for a different chew and texture; note that rice cereal will be lighter and less dense. If you require dairy-free chocolate, choose a certified dairy-free dark chocolate; ensure your candy pieces are dairy-free or omit them. Natural peanut butters are not recommended because they separate and won’t set the mixture properly. For a lower-sugar option, experiment with reduced-sugar chocolate and a modest reduction in sugar, but expect a softer set.
Cut into 9 generous squares and serve at room temperature for the best chew. Garnish with flaky sea salt for a sophisticated salty-sweet counterpoint or drizzle with a little warm caramel for extra decadence. Pair with strong coffee or a cold glass of milk. These bars also make a fun addition to dessert boards alongside cookies and fruit, or individually wrapped for party favors and gift boxes.
Peanut butter and chocolate is a classic American pairing with roots in 20th-century candy innovation — think peanut butter cups and layered confections. No-bake cereal bars evolved as a quick, pantry-driven dessert that families embraced during busy times and when ovens were less convenient. These bars are a modern, candy-studded iteration that celebrates convenience with nostalgic flavors that many Americans grew up eating.
In winter, swap in peppermint candies or crushed peppermints on top for a holiday twist; in summer, go tropical with chopped dried banana chips and mini chocolate chips. For Halloween, pick seasonal candies like mini Snickers or Milky Way miniatures. Spring gatherings are a great time to use pastel M&M-style candies for color. Adjust candy choices to reflect seasonal availability and guests’ preferences.
These bars are excellent for make-ahead planning. Prepare the base and topping up to one day in advance, store covered at room temperature, and add the candy pieces shortly before serving to maintain a fresh look. For easy portion control, slice the cooled slab into 9 squares and wrap each individually in plastic wrap or parchment for grab-and-go snacks. Label and date containers if freezing, and rotate through the freezer stash so the oldest get used first.
In short, these chocolate peanut butter candy bars are one of my favorite quick no-bake treats: forgiving, adaptable, and reliably crowd-pleasing. Try them with different candies and enjoy the process of making them your own.
Warm the peanut butter slightly if it’s very stiff to help it incorporate more easily into the corn syrup and sugars.
Pack the cereal base firmly into the pan to create dense, sliceable bars; use the bottom of a measuring cup for even pressure.
When melting chocolate, stir often and use short microwave bursts to avoid scorching; add a teaspoon of neutral oil if you want extra shine.
Allow bars to come to room temperature before serving if they were refrigerated to regain ideal chewiness.
Use foil overhang to lift the whole slab from the pan for clean, straight cuts.
This nourishing chocolate peanut butter candy bars recipe is sure to be a staple in your kitchen. Enjoy every moist, high protein slice — it is perfect for breakfast or as a wholesome snack any time.
This Chocolate Peanut Butter Candy Bars recipe makes perfectly juicy, tender, and flavorful steak every time! Serve with potatoes and a side salad for an unforgettable dinner in under 30 minutes.
Line an 8x8-inch square pan with aluminum foil, spray lightly with cooking spray, and set aside.
In a large microwave-safe bowl combine the peanut butter, corn syrup, granulated sugar, and brown sugar. Microwave on high for 1 minute, stir, microwave 1 more minute and stir, then microwave 30 seconds and stir (about 2 1/2 minutes total). Stir in vanilla, fold in the cereal, and pack evenly into the prepared pan.
In a medium microwave-safe bowl, combine chocolate chips and 1/4 cup peanut butter. Microwave 30 seconds, stir, then heat in 20–30 second bursts stirring each time until smooth (about 1 1/2–2 minutes total). Pour over the cereal layer and smooth.
Place bite-sized candy pieces evenly over the warm chocolate. Cover loosely and let set at room temperature until firm, about 4 hours. For faster setting, refrigerate briefly but allow bars to return to room temp before serving for the best texture.
Last Step: Please leave a rating and comment letting us know how you liked this recipe! This helps our business to thrive and continue providing free, high-quality recipes for you.
Leave a comment & rating below or tag
@flavest on social media!

Warm-spiced apple cider donuts with tender apple bits and a glossy cider glaze, fried crisp and irresistibly cozy for fall.

All-day slow cooking turns pork shoulder, potatoes, and carrots into a tender, savory classic with a rich homemade gravy everyone will love.

Tender layers of Yukon gold potatoes with seasoned beef in a creamy, cheddar sauce, baked until bubbly and irresistibly comforting.
Leave a comment & rating below or tag @flavest on social media!
Enjoyed this recipe? Share it with friends and family, and don't forget to leave a review!
This recipe looks amazing! Can't wait to try it.
Comments are stored locally in your browser. Server comments are displayed alongside your local comments.

Join to receive our email series which contains a round-up of some of our quick and easy family favorite recipes.
