
>>

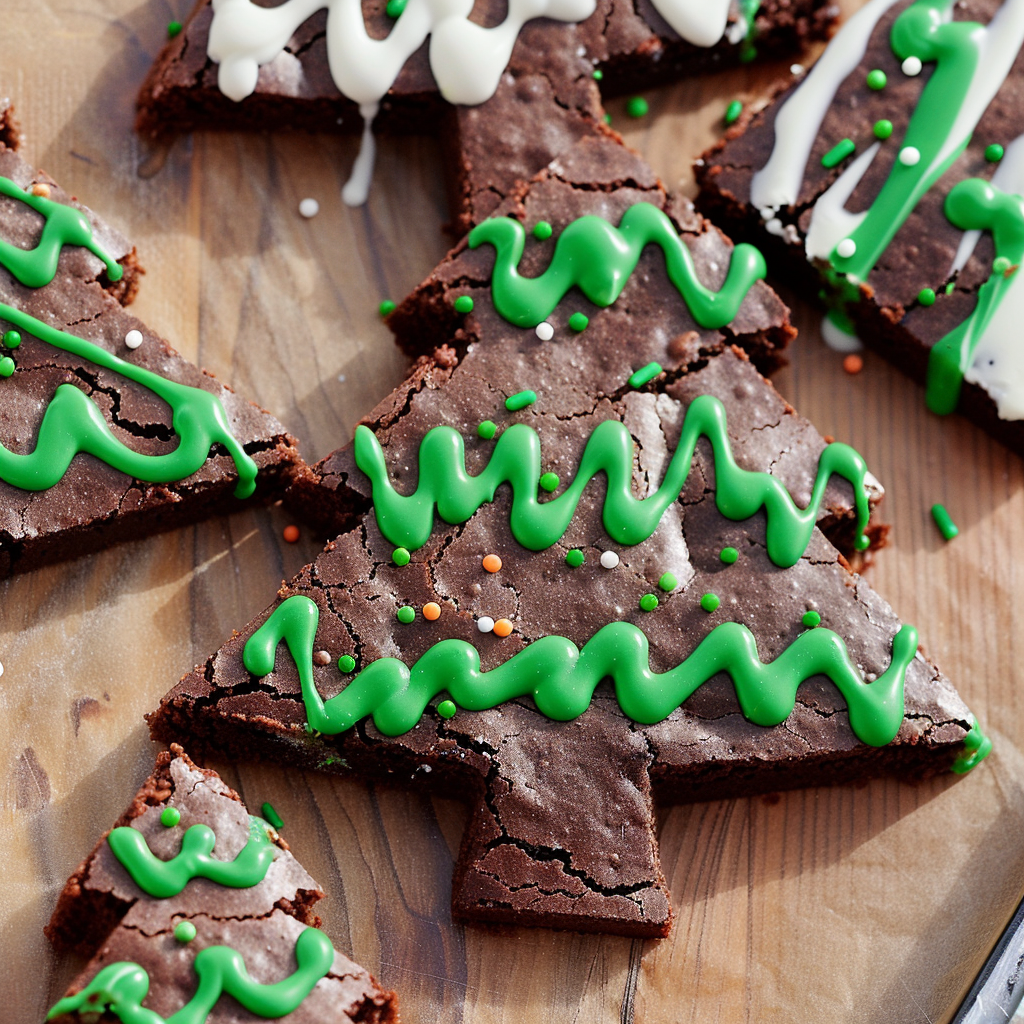
Fudgy brownies cut into festive tree shapes and iced with green and white frosting — a fun holiday activity to decorate with kids and a show-stopping dessert for gatherings.
This is the Christmas treat I reach for every year when I want dessert and an activity rolled into one. These Christmas Tree Brownies are rich, fudgy, and cut into tiny evergreen silhouettes that beg to be decorated. I first made them on a rainy December afternoon when the kids needed a kitchen project; the batter filled the kitchen with chocolate scent and the decorating turned into a lively family tradition. What began as a quick project has become our holiday ritual: bake, cool, cut, and decorate while carols play in the background.
The texture is intentionally dense and moist so each tree holds its shape and supports the piped frosting and sprinkles. The cocoa gives a deep chocolate flavor, balanced with butter and vanilla, and the simple powdered-sugar frosting creates a sweet contrast that’s easy for little hands to pipe. These are excellent for classroom parties, cookie exchanges, or just a cozy night at home. When I serve them, relatives comment on how whimsical they look; the kids beam because they helped create something that tastes as good as it looks.
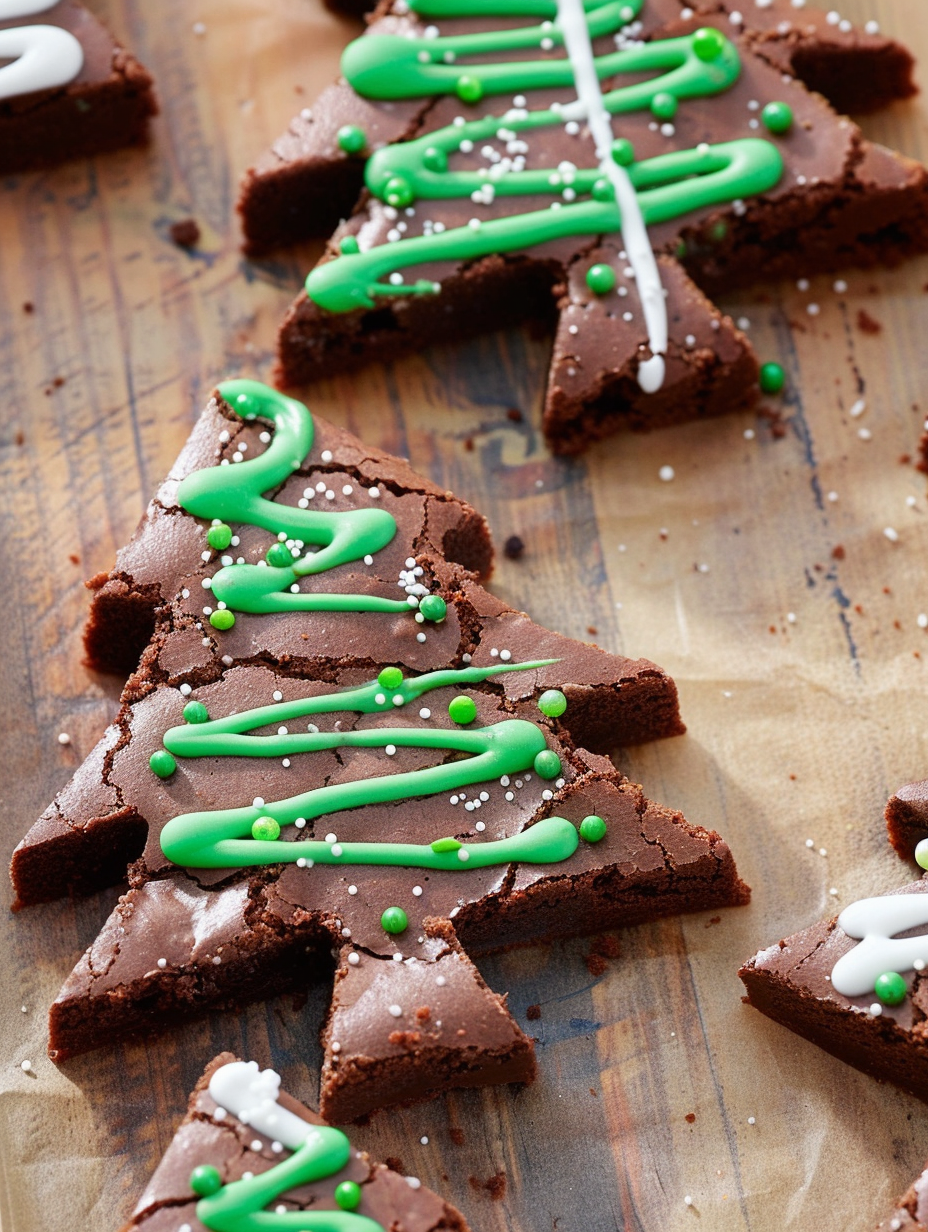
From my experience, the most memorable moments come during the decorating phase — my niece insists on a “sprinkle storm” while my husband loves piping perfectly spaced garlands. We discovered that chilled brownies cut cleaner and piping with a small zip-top bag gives kids success without the mess of store-bought tubes. Each year, neighbors comment on the creativity of a tiny tree with a marshmallow star or a sprinkle garland; it’s that kind of dessert that creates memories as much as it satisfies a sweet tooth.
My favorite thing about this project is how it brings everyone together — simple components but a lot of joy in the finishing touches. We once made a dozen trees in under an hour when friends popped in unexpectedly; the kids each grabbed a design theme and we ended up with a tray that looked like a tiny forest. Those evenings remind me that the ease and playfulness of this treat are as important as the flavor.
Store decorated trees in a single layer in an airtight container at room temperature for up to 24 hours; after that, refrigerate to maintain freshness and limit condensation on the icing. If stacking is necessary, place parchment or wax paper between layers. For longer storage, freeze undecorated cut shapes in a single layer on a tray until solid, then transfer to a freezer-safe container; decorate after thawing for best appearance. Reheat frozen brownies briefly at room temperature or a 200°F oven for a few minutes to refresh texture before piping icing.
To make these trees gluten-free, swap in a 1-to-1 gluten-free baking flour and check bake time; some blends absorb more moisture so you may need an additional tablespoon of liquid. For dairy-free, replace butter with vegan margarine or coconut oil (measure by volume) and use plant-based milk in the icing. For richer chocolate notes, replace 1/4 cup of the granulated sugar with brown sugar or add 1/2 cup chopped bittersweet chocolate into the batter. Egg replacements are tricky here because eggs help set the fudgy interior; for an egg-free version, try a commercial egg replacer per package directions or a flax-egg though texture will be slightly different.
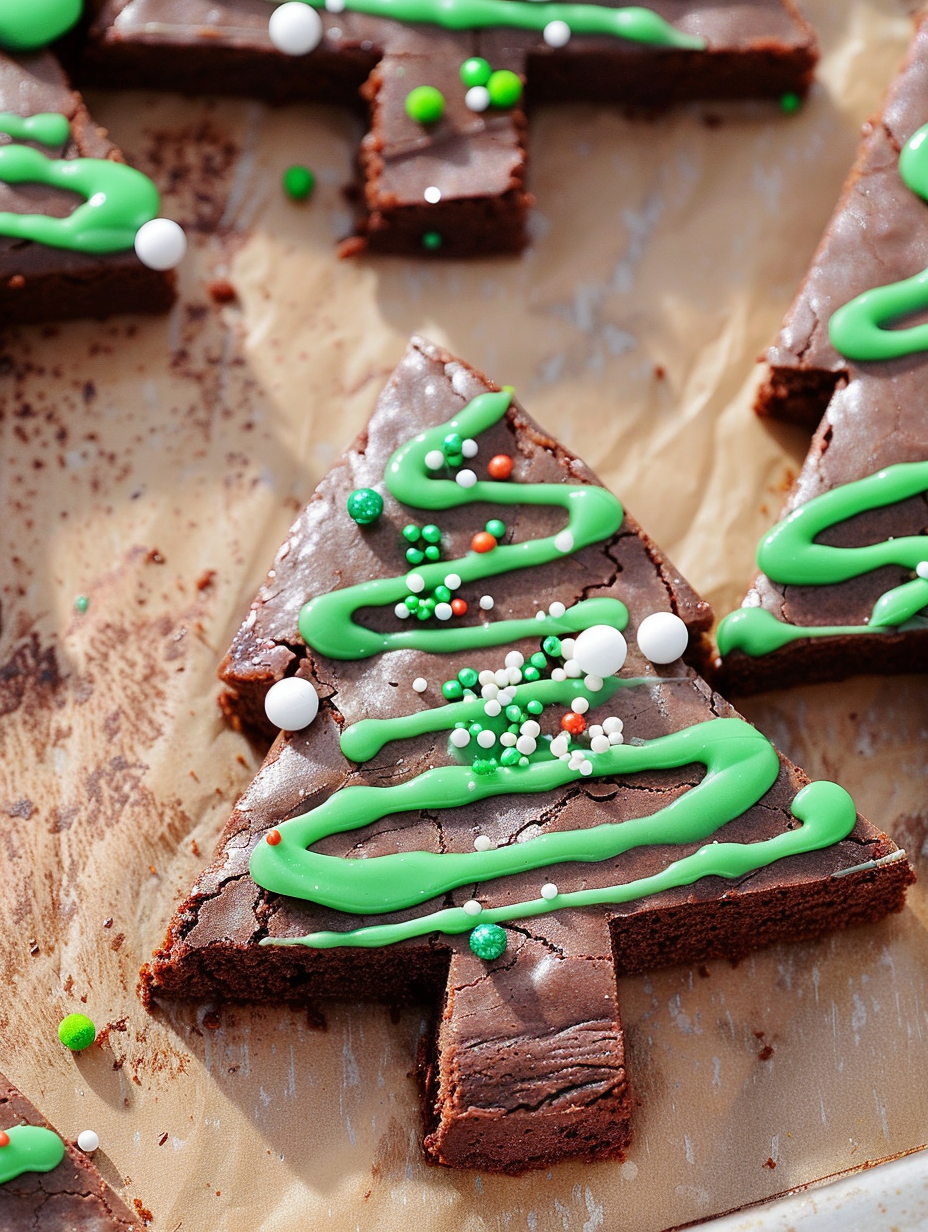
Serve these trees on a festive platter lined with evergreen sprigs or powdered sugar “snow.” They pair beautifully with hot cocoa, mulled cider, or a scoop of vanilla ice cream if you want a plated dessert. For a party, arrange assorted decorated trees with labels describing flavor variations (dark chocolate, extra fudgy) and provide small tongs so guests can serve themselves. Garnish with a dusting of cocoa or edible gold dust on special occasions for a bit of sparkle.
Decorative shaped confections have long been part of holiday traditions across many cultures, and cutting brownies into seasonal silhouettes is a modern American twist on that idea. Similar to gingerbread decorating traditions, the creative aspect turns baking into a communal craft. The brownie itself traces back to early 20th-century America; pairing that beloved format with festive shapes makes it accessible for families and classroom festivities without complex doughs or advanced techniques.
In winter, add warming spices to the batter — 1/2 teaspoon cinnamon or a pinch of ginger — to give a holiday aroma. For spring or other holidays, switch the cutter and icing colors: pastel frosting for Easter or orange and black for Halloween ghosts. Swap the sprinkles seasonally — red and green for Christmas, silver and blue for Hanukkah — and try a peppermint-flavored icing by adding 1/4 teaspoon peppermint extract to the white portion.
To prep for a large event, bake multiple slabs ahead and freeze wrapped tightly. On the day, thaw in the refrigerator, cut, and set up a decorating station with bowls of sprinkles, two pre-filled piping bags (white and green), napkins, and trays. Assign kids to different tasks: one group for piping garlands, one for adding sprinkles, and one for arranging on platters. This speeds service and keeps the process organized, minimizing sticky fingers on finished trees.
These tiny evergreen treats are equal parts practical and playful — easy enough for a weekday holiday activity, special enough for a party centerpiece. I hope you’ll make the batter once and let decorating become the family ceremony that accompanies lights, music, and laughter.
Chill the cooled slab before cutting to get clean tree edges and maximize the number of shapes you can cut from the slab.
Use a small snip in a zip-top bag for piping; test the flow on a plate to control line thickness.
Start cutting from the edges and place cookie cutter shapes close together to reduce waste and increase yield.
Sift powdered sugar before making frosting to avoid lumps and get a silky consistency.
This nourishing christmas tree brownies recipe is sure to be a staple in your kitchen. Enjoy every moist, high protein slice — it is perfect for breakfast or as a wholesome snack any time.
Yes — bake the slab fully and cool completely, then chill 20–30 minutes before cutting; chilled brownies cut much cleaner and preserve the tree shape.
Freeze undecorated cut shapes on a tray until firm, then transfer to a freezer container for up to 3 months. Thaw in the refrigerator before decorating.
This Christmas Tree Brownies recipe makes perfectly juicy, tender, and flavorful steak every time! Serve with potatoes and a side salad for an unforgettable dinner in under 30 minutes.
Preheat oven to 325°F. Grease a 9×13-inch pan and line with parchment paper so the slab can be lifted out after baking.
Whisk together the flour, cocoa powder, and kosher salt in a medium bowl until evenly combined and lump-free.
In a large bowl or mixer, combine melted butter, sugar, and vanilla. Beat briefly, then add eggs one at a time until the mixture is glossy and emulsified.
Fold the dry ingredients into the wet on low speed or by hand until just combined. Avoid overmixing to keep the brownies fudgy.
Pour batter into the prepared pan, smooth the top, and bake for about 30 minutes. Look for a set center with a few moist crumbs on a toothpick.
Cool completely, then refrigerate for 20–30 minutes. Use a tree-shaped cutter starting from the edges to cut the maximum number of shapes.
Whisk powdered sugar with 1–2 tablespoons milk until pipeable. Split the icing, tint one portion green, transfer each to a zip-top bag, snip a small corner, and pipe zigzags. Add sprinkles immediately.
Last Step: Please leave a rating and comment letting us know how you liked this recipe! This helps our business to thrive and continue providing free, high-quality recipes for you.
Leave a comment & rating below or tag
@flavest on social media!

Warm-spiced apple cider donuts with tender apple bits and a glossy cider glaze, fried crisp and irresistibly cozy for fall.

All-day slow cooking turns pork shoulder, potatoes, and carrots into a tender, savory classic with a rich homemade gravy everyone will love.

Tender layers of Yukon gold potatoes with seasoned beef in a creamy, cheddar sauce, baked until bubbly and irresistibly comforting.
Leave a comment & rating below or tag @flavest on social media!
Enjoyed this recipe? Share it with friends and family, and don't forget to leave a review!
This recipe looks amazing! Can't wait to try it.
Comments are stored locally in your browser. Server comments are displayed alongside your local comments.

Join to receive our email series which contains a round-up of some of our quick and easy family favorite recipes.
