
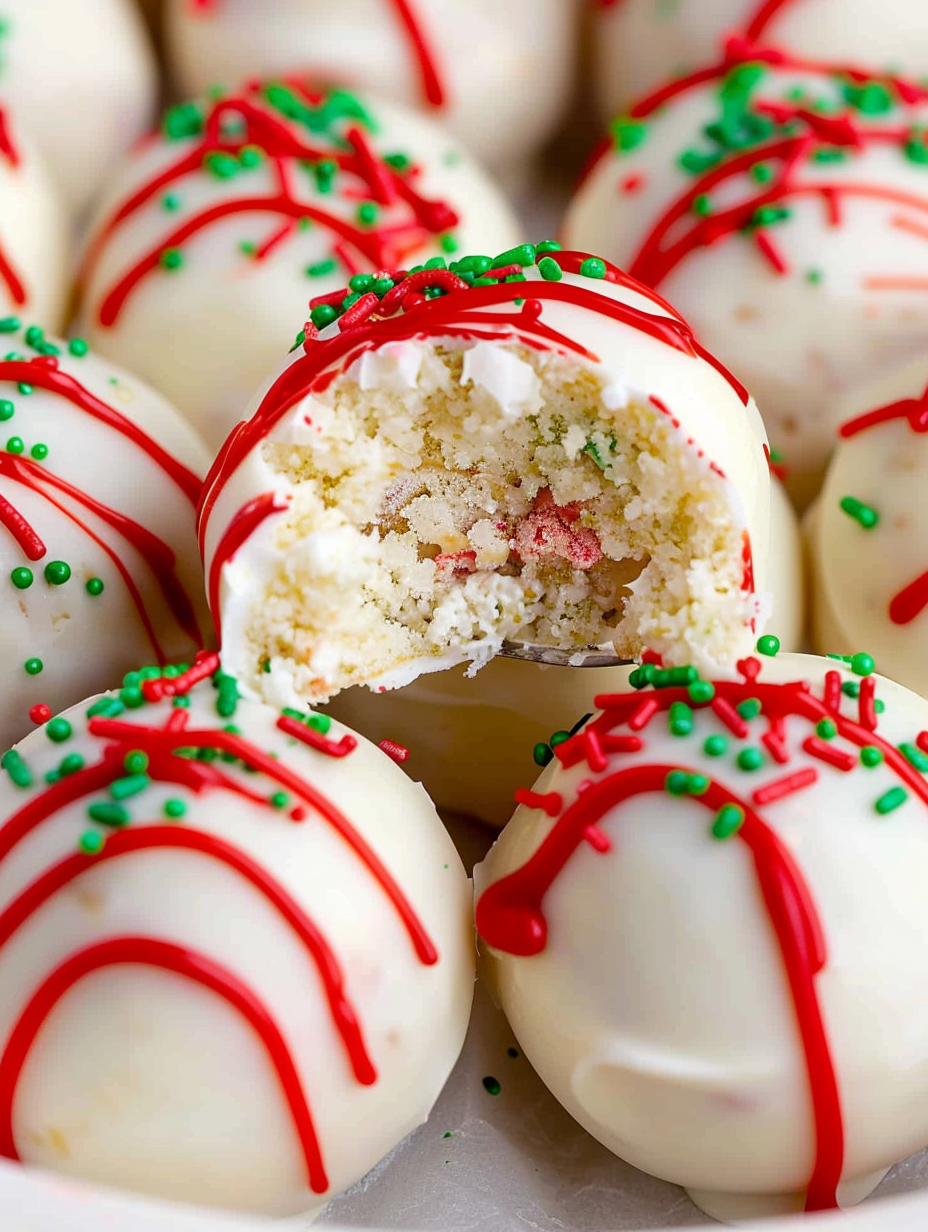
Christmas Tree Cake Truffles

No-bake festive truffles made from Little Debbie Christmas Tree Cakes and cream cheese, coated in vanilla bark and decorated for holiday gifting.
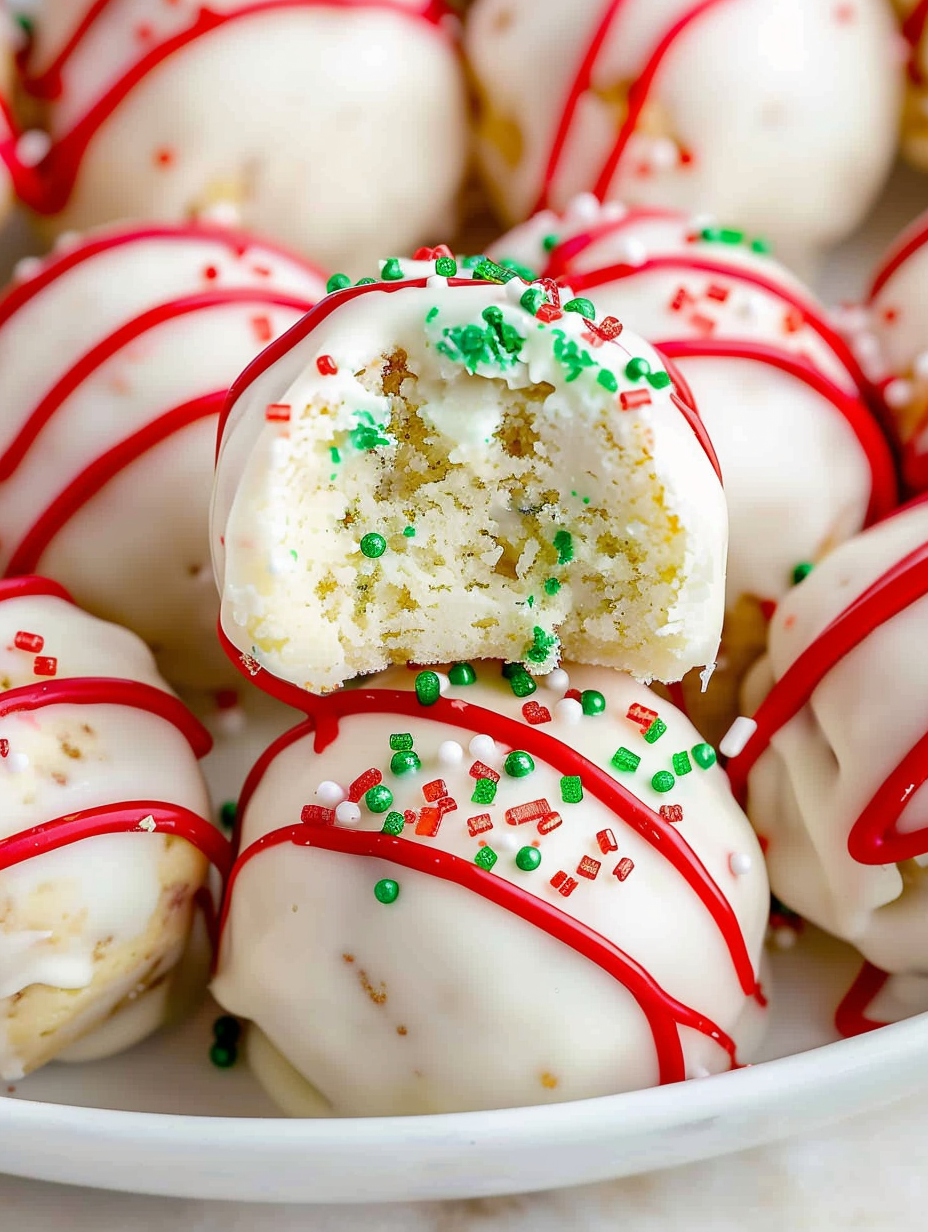
These Christmas Tree Cake Truffles are my favorite last-minute holiday treat to make when the calendar suddenly fills with parties and cookie exchanges. I first discovered this simple combination during a busy December when I wanted a pretty holiday bite that didn’t demand hours in the kitchen. Using Little Debbie Christmas Tree Cakes as the base gives each truffle a soft, spongy cake interior flavored with that classic vanilla and coconut coating; the addition of cream cheese turns the crumbs into a creamy, tangy center that holds its shape yet melts in your mouth.
I love that they’re no-bake, quick to assemble, and perfect for prepping ahead for gifts. The little green sugar sprinkles mimic the look of a tiny decorated tree, and a bright red candy drizzle adds the finishing touch. These bites are nostalgic, playful, and endlessly adaptable — I’ve brought them to potlucks, handed them out in holiday tins, and even made cookie trays for neighbors. They’re particularly useful when you want a homemade feel without complicated techniques, and they always disappear fast.
Why You'll Love This Recipe
- Ready with only five main ingredients and about 30 minutes of active prep time, making it easy to assemble between errands or while a roast is in the oven.
- Uses pantry and grocery-staple items like snack cakes and cream cheese — no specialty equipment or baking skills required.
- Make-ahead friendly: the truffles freeze well for up to three months, so you can assemble batches for gifts or parties in advance.
- Crowd-pleasing appearance: the vanilla almond bark sets shiny and smooth while green sugar sprinkles and red candy drizzles create an instant festive presentation.
- Flexible foundation: swap the Little Debbie Christmas Tree Cakes for chocolate snack cakes or turn the coating to chocolate almond bark for a richer version.
- Perfect for gifting: they store neatly in small boxes or tins and travel well when chilled, making them a reliable edible gift option.
In my kitchen these have become a holiday staple because they require minimal babysitting and maximum visual payoff. My kids love to help roll the balls and sprinkle the green sugar — it turns assembly into a quick family activity. When I bring a tray to a party, someone always asks for the recipe, which I happily share because it’s so forgiving.
Ingredients
- Little Debbie Christmas Tree Cakes: Use two 5-count boxes (10 snack cakes total). Look for fresh cakes with intact frosting — they provide the flavorful cake base and mild coconut-vanilla notes. Brand consistency helps with texture.
- Cream cheese: 8 ounces brick-style, softened to room temperature. Brick-style holds together better than spreadable tubs and gives a tangy richness that balances the sweetness.
- Vanilla almond bark: 1 pound, for coating. This melts smoothly and sets with a glossy finish; choose a brand labeled for dipping or candy coating for best results.
- Green sugar sprinkles: Enough to generously top each coated truffle immediately after dipping — they stick to the wet coating and create the tree effect.
- Red candy melts: 1/2 cup for drizzle. These provide the bright red 'ornament' accents and melt easily for piping.
Instructions
Unwrap and break apart the snack cakes: Remove the cakes from their wrappers and break them into pieces directly into a large mixing bowl. Use your hands to tear them into smaller bits so the mixer can process them evenly; you want no large chunks so the centers are uniformly textured. Add cream cheese and blend: With the cream cheese at room temperature, add it to the bowl and use an electric beater on medium speed. Beat until the mixture is smooth and combined — it should look like a pliable, slightly sticky dough. Scrape the bowl once or twice to ensure even mixing. Portion and roll: Use a one-tablespoon cookie scoop (or a tablespoon measure) to portion the mixture. Roll each portion between your palms into a tidy ball and place them on a parchment-lined baking sheet about 1/2 inch apart. If the mixture sticks to your hands, dampen them slightly with water or a light coating of neutral oil. Firm up in the freezer: Place the tray in the freezer for 30–60 minutes until the balls are firm but not rock-hard — this helps them hold their shape when dipped. Melt the coating: Melt the vanilla almond bark according to package directions, usually in 20–30 second bursts in the microwave stirring between intervals, or gently over a double boiler. Heat until smooth and fluid but not hot. Dip and decorate: Using a fork, dip each chilled truffle into the melted bark, letting excess drip back into the bowl. Return the coated truffle to the parchment. Immediately sprinkle with green sugar before the coating sets, so the sprinkles adhere. Add red drizzle: Melt the red candy melts per package instructions, transfer to a small piping bag or zip-top with the corner snipped, and drizzle a thin strand of red across each truffle to resemble ornaments. Allow the coating to fully harden at room temperature or chill briefly in the fridge. Store or gift: Once set, store in an airtight container in the refrigerator for up to one week or freeze for up to three months. For gifting, place candies in mini liners and pack in tins with parchment separators.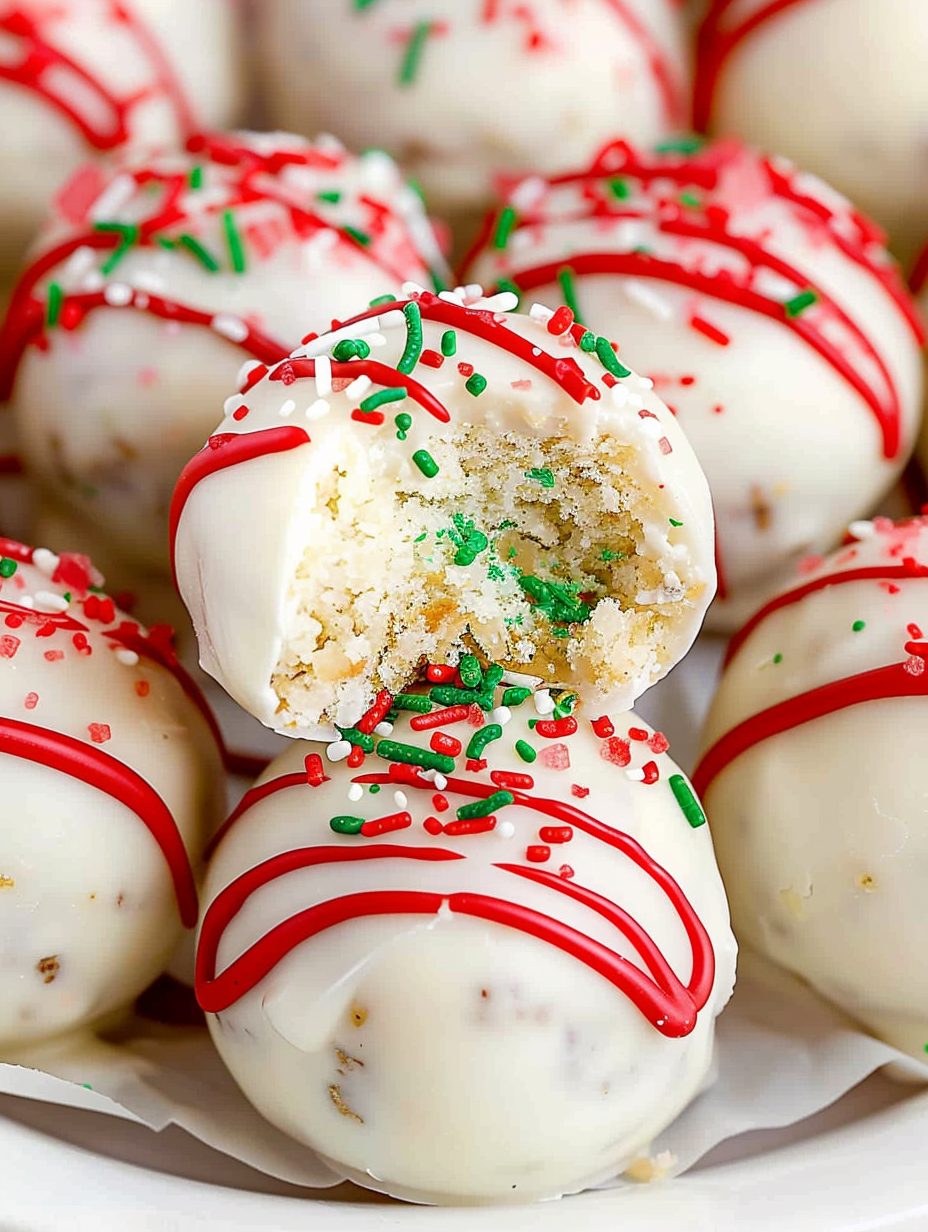
You Must Know
- Nutrition: Each truffle is approximately 132 calories with about 17 g carbohydrates and 6 g fat — a small, sweet holiday indulgence.
- Storage: Keep refrigerated in an airtight container for up to 1 week, or freeze for up to 3 months. Thaw in the fridge before serving.
- Make-ahead: Assemble and freeze before coating; dip directly from frozen and finish decorations for quick assembly day.
- Allergens: Contains dairy, wheat (gluten), and may contain tree nuts from almond bark; check labels if serving to guests with allergies.
My favorite thing about these truffles is how they bring the holiday nostalgia of a classic snack cake into a more elevated little confection. Friends always comment on the festive look, and they’re reliably one of the first things to disappear from a party tray. When I’m short on time, I’ll make a double batch and freeze half for last-minute hostess gifts.
Storage Tips
Store these truffles in a single layer or separated by parchment to avoid sticking. Refrigerate in an airtight container for up to 7 days; they keep their texture best when chilled rather than left at room temperature for prolonged periods. For longer storage, freeze on a tray until solid, then transfer to a sealed freezer-safe container with parchment layers. Label with date; frozen truffles are best within 3 months. To thaw, move to the refrigerator overnight — allow the coating to come to cool room temperature for best flavor before serving.
Ingredient Substitutions
If you can’t find the Little Debbie Christmas Tree Cakes, use any small, individually wrapped vanilla snack cake of similar size; adjust the cream cheese slightly if the alternate cake is moister. For a chocolate variation, use the chocolate version of the snack cakes and swap the vanilla almond bark for chocolate almond bark. If you prefer a less sweet center, reduce cream cheese by 1–2 tablespoons and add 1–2 tablespoons of powdered sugar to balance texture. For a nut-free coating, choose a candy coating brand labeled nut-free instead of almond bark.
Serving Suggestions
Arrange truffles on a festive platter with mini cupcake liners and scatter edible glitter or nonpareils for extra sparkle. They pair nicely with strong coffee or a spiced holiday tea and make a pretty addition to cookie trays. For gifting, nestle truffles in small tins with tissue and ribbon; include a label with storage instructions and a little note about potential allergens.
Cultural Background
Transforming snack cakes into truffles is an example of turning store-bought items into elevated homemade confections — a practice common in many home kitchens where convenience meets creativity. While not tied to a traditional holiday recipe, these truffles borrow from the American tradition of holiday baking and confection gifting. Using festive packaged cakes is a modern twist that nods to nostalgic flavors while streamlining production for busy celebratory seasons.
Seasonal Adaptations
For winter, add a pinch of ground cinnamon or nutmeg to the center for warm spice notes. In spring, swap green sugar for pastel sprinkles and use pink candy melts for floral accents. For a Hanukkah variation, omit green sprinkles, coat in white chocolate, and add blue sugar or edible silver stars. Changing coatings and sprinkle colors allows this quick technique to adapt to any holiday palette.
Meal Prep Tips
Make an assembly line: crumble cakes, beat with cream cheese, portion, and freeze in batches. Label freezer containers with date and intended use. When you need treats quickly, melt coating and decorate straight from frozen. For large quantities, enlist helpers to roll, dip, or sprinkle — the simple steps are easy to divide among helpers so you can produce trays efficiently.
These little bites are one of those recipes that prove thoughtful, homemade gifts don't have to be complicated. They deliver nostalgia, convenience, and a festive look with minimal effort — perfect for busy holiday schedules and anyone who wants a reliable, crowd-pleasing sweet.
Pro Tips
Soften the cream cheese to room temperature for a smooth, lump-free center.
Use a one-tablespoon scoop for uniform truffles that set evenly during freezing and coating.
Dip truffles while they are still well chilled to prevent them from falling apart in the coating.
This nourishing christmas tree cake truffles recipe is sure to be a staple in your kitchen. Enjoy every moist, high protein slice — it is perfect for breakfast or as a wholesome snack any time.
FAQs about Recipes
Can I freeze these before coating?
Yes. Freeze the uncoated truffle balls on a baking sheet until solid, then transfer to a sealed container. Dip directly from frozen and finish decorating.
How long do they keep?
Store in an airtight container in the refrigerator for up to 1 week or freeze for up to 3 months. Thaw in the fridge before serving.
Can I make a chocolate version?
Yes; swap to chocolate snack cakes and chocolate coating. Adjust cream cheese slightly if the base is moister.
Tags
Christmas Tree Cake Truffles
This Christmas Tree Cake Truffles recipe makes perfectly juicy, tender, and flavorful steak every time! Serve with potatoes and a side salad for an unforgettable dinner in under 30 minutes.
Instructions
Break apart the snack cakes
Unwrap the Christmas Tree Cakes and break them into pieces in a large mixing bowl so they can be evenly processed when mixed with cream cheese.
Mix with cream cheese
Add the softened cream cheese and mix with an electric beater until smooth and fully combined, scraping the bowl as needed to eliminate lumps.
Portion and roll
Use a one-tablespoon scoop to portion the mixture, roll into balls between your palms, and place them on a parchment-lined baking sheet.
Freeze until firm
Freeze the balls for 30–60 minutes until firm enough to dip without losing shape.
Melt coating
Melt the vanilla almond bark according to package directions, stirring until smooth and fluid.
Dip and sprinkle
Dip each truffle into the melted bark using a fork, let the excess drip off, return to the parchment, and immediately top with green sugar sprinkles.
Drizzle with candy melts
Melt the red candy melts per package instructions and drizzle over the coated truffles with a piping bag or zip-top bag.
Set and store
Let the coating fully harden at room temperature or in the fridge before storing in an airtight container in the refrigerator for up to 1 week or freezing for up to 3 months.
Last Step: Please leave a rating and comment letting us know how you liked this recipe! This helps our business to thrive and continue providing free, high-quality recipes for you.
Nutrition
Did You Make This?
Leave a comment & rating below or tag
@flavest on social media!
Categories:
You might also like...

Glazed Apple Cider Donuts
Warm-spiced apple cider donuts with tender apple bits and a glossy cider glaze, fried crisp and irresistibly cozy for fall.

Slow Cooker Pork Pot Roast
All-day slow cooking turns pork shoulder, potatoes, and carrots into a tender, savory classic with a rich homemade gravy everyone will love.

Cheesy Hamburger Potato Casserole
Tender layers of Yukon gold potatoes with seasoned beef in a creamy, cheddar sauce, baked until bubbly and irresistibly comforting.
Did You Make This?
Leave a comment & rating below or tag @flavest on social media!
Rate This Recipe
Share This Recipe
Enjoyed this recipe? Share it with friends and family, and don't forget to leave a review!
Comments (1)
This recipe looks amazing! Can't wait to try it.
Comments are stored locally in your browser. Server comments are displayed alongside your local comments.

Hi, I'm Maria!
What's Popular

30-Minute Meals!
Join to receive our email series which contains a round-up of some of our quick and easy family favorite recipes.