
>>

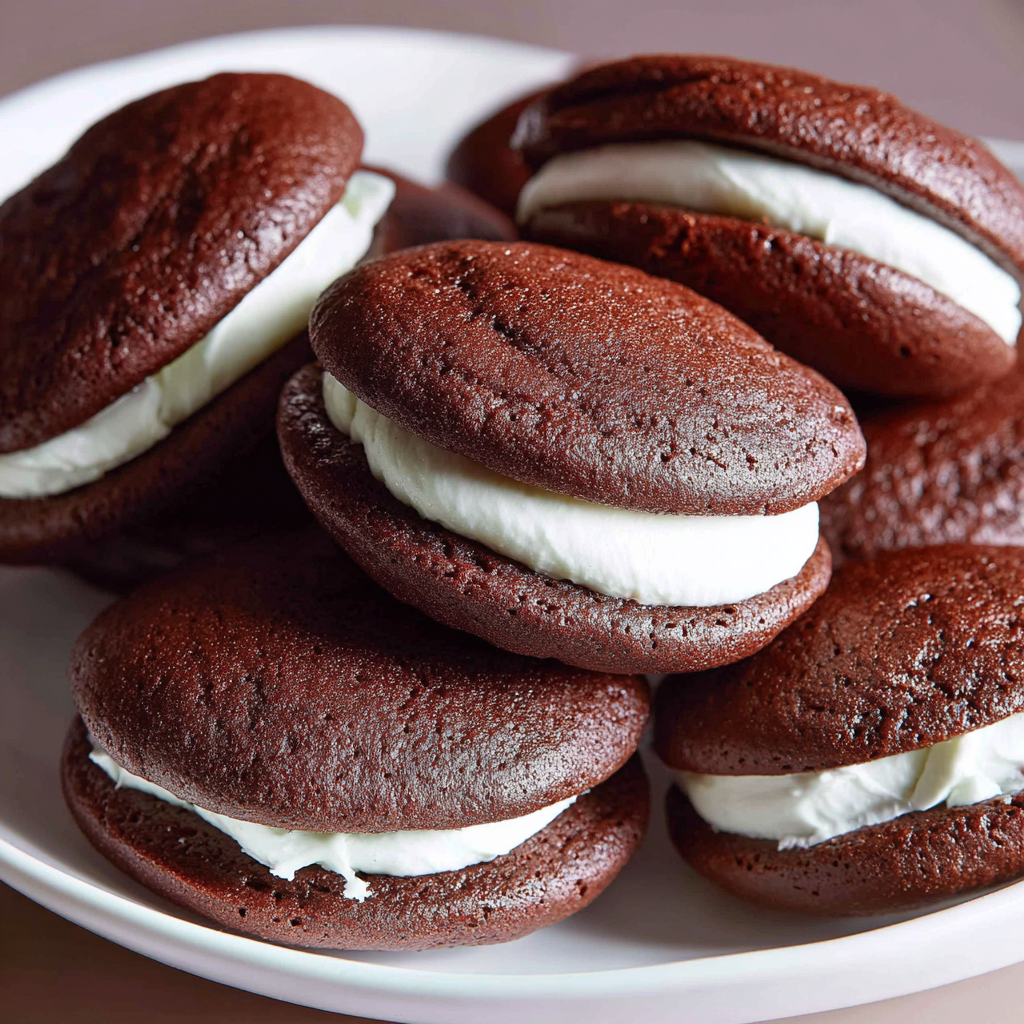
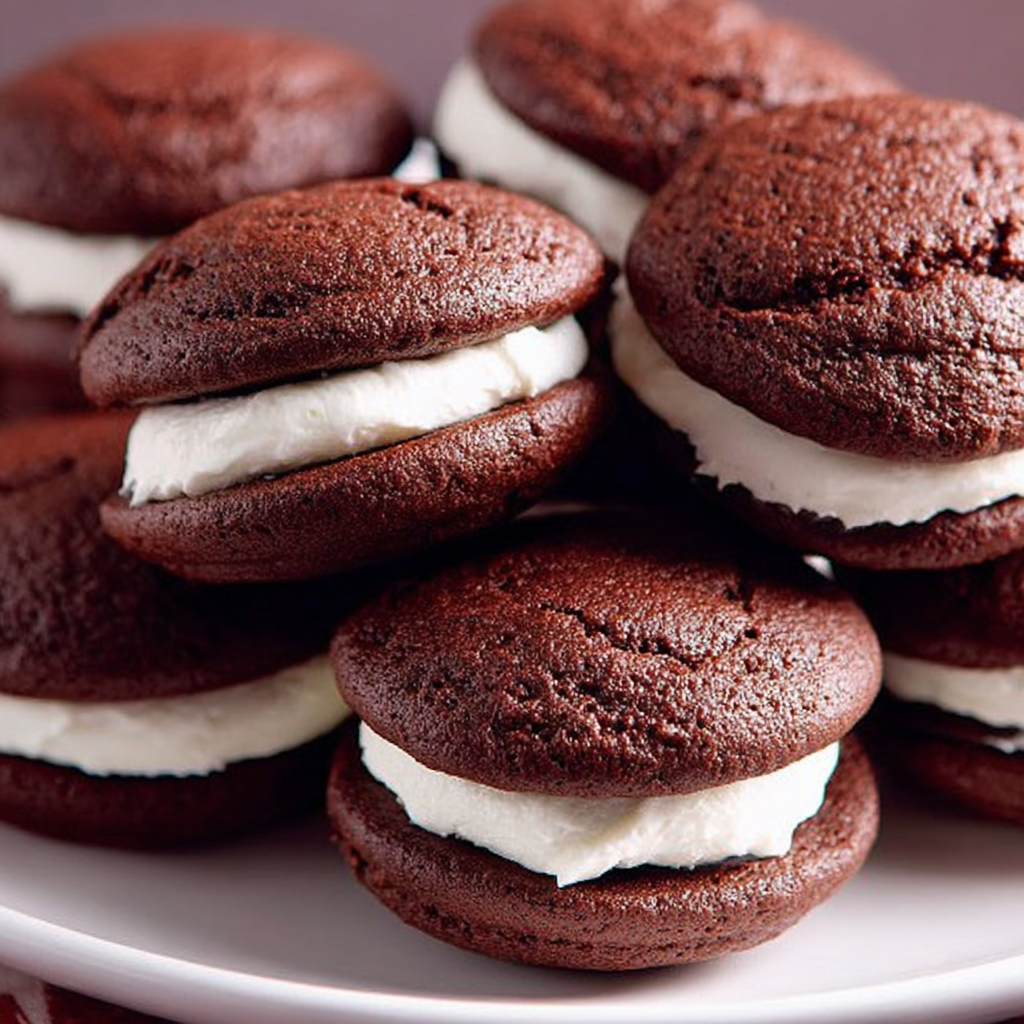
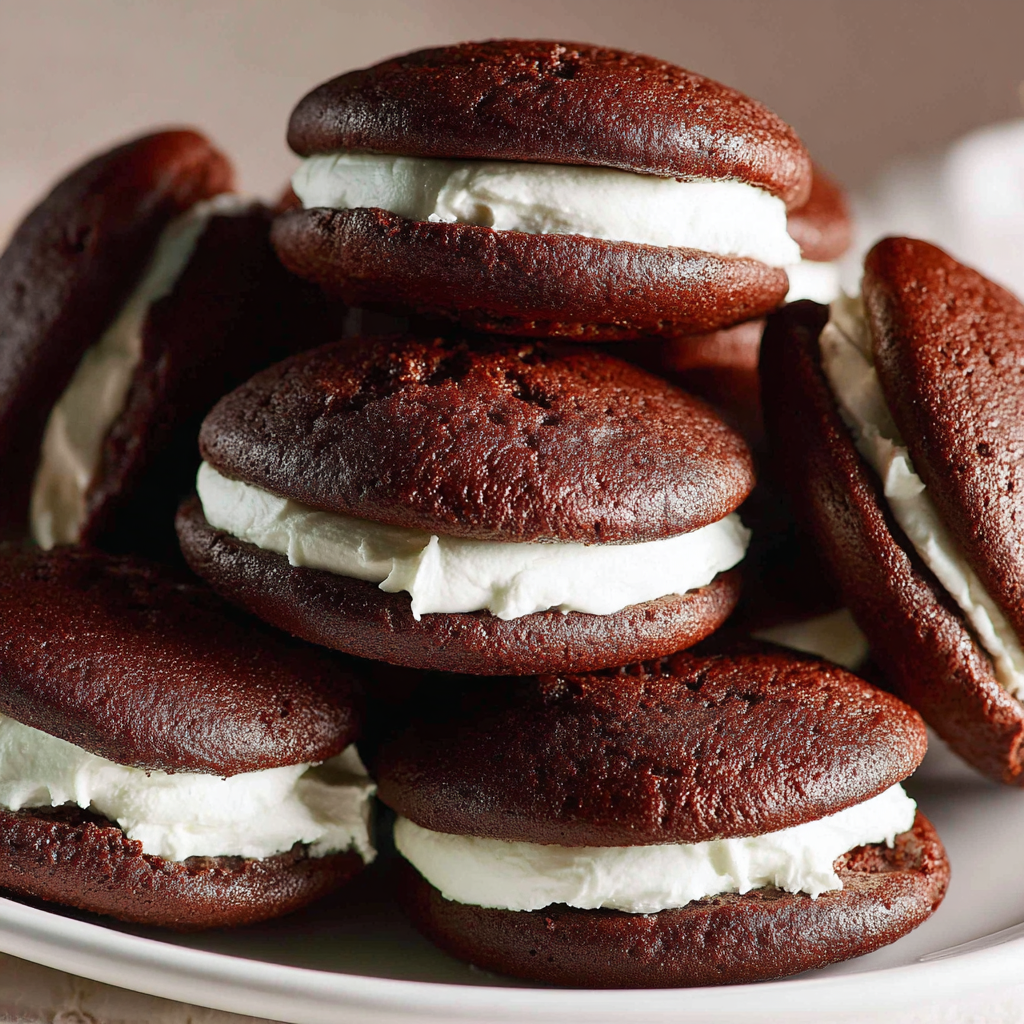
Soft chocolate cakes sandwiching fluffy vanilla marshmallow filling, these whoopie pies are nostalgic, crowd-pleasing, and easy enough for weeknights.
When I serve these, everyone wants the one with the tallest swirl of filling. My family always calls dibs before they have even cooled down. Over time I learned to chill the filling just a bit, which keeps the sandwiches neat without losing that cloud-like bite. It is the little trick that makes these feel bakery-worthy at home.
My favorite part is the first bite through the soft dome into that cloud of vanilla. It transports me to bake sales and family birthdays where someone always tried to split a sandwich and sneak an extra filling bite. Over time I learned to pipe modest swirls, press gently, and let the chill do the rest. That patience makes the cleanest, prettiest sandwiches and keeps the texture just right.
Let assembled whoopie pies chill until the filling sets, then wrap each one tightly in plastic wrap to preserve moisture. At room temperature, they stay fresh for about 1 to 2 days, though the filling softens and can become a bit messy. For best results, refrigerate for up to 5 days; the chill keeps the cakes tender and the filling stable. For longer storage, freeze individually wrapped pies in a zip-top bag or airtight container for up to 3 months. Thaw overnight in the refrigerator to keep condensation from making the cakes sticky. To serve, unwrap and let rest at room temperature for 15 to 20 minutes.
Unsalted butter works fine; add 1/2 teaspoon kosher salt to the batter and a pinch to the filling. If you are out of chocolate syrup, use 1 tablespoon extra brown sugar and 2 tablespoons brewed coffee for depth. No heavy cream? Substitute whole milk plus 1 tablespoon melted butter for similar richness. If you skip the marshmallow fluff, try a light American buttercream: 1/2 cup butter, 1 1/2 to 2 cups powdered sugar, and 1 teaspoon vanilla, whipped until fluffy. Note that buttercream is a bit firmer and will taste slightly richer and less bouncy than the marshmallow filling. For spice, adjust cinnamon and nutmeg to taste or omit for a straight chocolate profile.
Present whoopie pies on a pedestal stand or layer them in parchment-lined boxes for gifting. A dusting of powdered sugar looks pretty, but a clean edge with visible filling is classic. Pair with cold milk, hot coffee, or a scoop of vanilla ice cream for a plated dessert. For parties, make mini pies with a 1-tablespoon scoop and bake 10 to 12 minutes. Around the holidays, roll the edges in crushed peppermint or colorful sprinkles. In summer, serve well chilled with fresh berries; the fruity brightness plays beautifully with the cocoa and vanilla.
Whoopie pies trace their roots to the Northeastern United States, particularly Pennsylvania and Maine, where they are a beloved bakery staple. Lore says they were created to use leftover cake batter, sandwiched with a creamy filling for portability. The original versions were often quite large, wrapped in parchment and tucked into lunch pails. Today you will find fun twists everywhere, but the hallmark remains the soft, domed chocolate cakes and sweet, fluffy center. This version nods to tradition with a classic cocoa base and a marshmallow-forward filling, the style many New England bakeries still champion.
For autumn, add 1/2 teaspoon extra cinnamon and a pinch of cloves to the batter, and roll edges in cinnamon-sugar. In winter, swap the vanilla in the filling for 1/2 teaspoon peppermint extract and roll edges in crushed candy canes. Spring loves citrus: add 1 teaspoon orange zest to the batter and a couple drops of orange extract in the filling. Summer suggests a swirl of strawberry jam in the filling; chill well before assembling so it stays neat. Each tweak keeps the texture intact while tailoring the flavor to the season.
Bake the cakes a day ahead and store them in an airtight container at room temperature with parchment between layers. Make the filling the same day you assemble so it stays fresh and fluffy. For grab-and-go treats, assemble and wrap the pies individually, then refrigerate for up to 5 days or freeze. If freezing, label with the date and flavor variations. Thaw in the fridge to avoid condensation. For lunchboxes, move a wrapped pie from the freezer to the fridge overnight; it will be perfectly chilled by midday and hold its shape nicely.
Whether you are baking for a birthday, a bake sale, or just a cozy weekend treat, these whoopie pies deliver that nostalgic magic. Take a moment to enjoy the aroma as they cool, then share them generously. They never fail to bring smiles.
Spoon and level flour to prevent dense, dry cakes.
Rotate baking sheets halfway through to promote even doming.
Chill the filling 10 to 20 minutes for the cleanest sandwiching.
Underfill slightly; gentle pressure will push filling to the edge.
Use a 2-tablespoon scoop for uniform size and even baking.
Cool cakes completely before assembling to prevent melting the filling.
This nourishing classic chocolate whoopie pies recipe is sure to be a staple in your kitchen. Enjoy every moist, high protein slice — it is perfect for breakfast or as a wholesome snack any time.
They can sit at room temperature for a day or two, but the filling may soften and turn messy. For best texture, wrap each pie individually and refrigerate for up to 5 days. To freeze, keep them individually wrapped in an airtight container for up to 3 months. Thaw in the refrigerator to avoid condensation making the cakes sticky.
Yes, but the filling must be firm enough to support the cakes while still soft and pleasant to bite. If you do not use the marshmallow mixture here, try a light buttercream or similar frosting. Expect some squeeze-out as you eat; whoopie pies are delightfully messy by nature.
This Classic Chocolate Whoopie Pies recipe makes perfectly juicy, tender, and flavorful steak every time! Serve with potatoes and a side salad for an unforgettable dinner in under 30 minutes.
Preheat the oven to 350°F. Line large baking sheets with parchment and position racks in the upper and lower thirds for even airflow.
Whisk together flour, cocoa, baking soda, cinnamon, nutmeg, and salt in a large bowl until fully combined.
Beat softened butter with granulated and brown sugars on medium speed until light and fluffy, 1 to 2 minutes. Scrape the bowl.
Add eggs, heavy cream, chocolate syrup, and vanilla to the creamed mixture. Beat on medium about 1 minute until smooth.
With the mixer on low, add dry ingredients just until combined. Scoop 2-tablespoon mounds 2 inches apart. Bake 16 to 18 minutes, rotating once.
Beat marshmallow fluff, 1 cup powdered sugar, butter, vanilla, and lemon juice until fluffy. Add more sugar for thicker consistency. Chill 10 minutes. Cool cakes, sandwich with filling, and chill to set.
Last Step: Please leave a rating and comment letting us know how you liked this recipe! This helps our business to thrive and continue providing free, high-quality recipes for you.
Leave a comment & rating below or tag
@flavest on social media!

Warm-spiced apple cider donuts with tender apple bits and a glossy cider glaze, fried crisp and irresistibly cozy for fall.

All-day slow cooking turns pork shoulder, potatoes, and carrots into a tender, savory classic with a rich homemade gravy everyone will love.

Tender layers of Yukon gold potatoes with seasoned beef in a creamy, cheddar sauce, baked until bubbly and irresistibly comforting.
Leave a comment & rating below or tag @flavest on social media!
Enjoyed this recipe? Share it with friends and family, and don't forget to leave a review!
This recipe looks amazing! Can't wait to try it.
Comments are stored locally in your browser. Server comments are displayed alongside your local comments.

Join to receive our email series which contains a round-up of some of our quick and easy family favorite recipes.
