
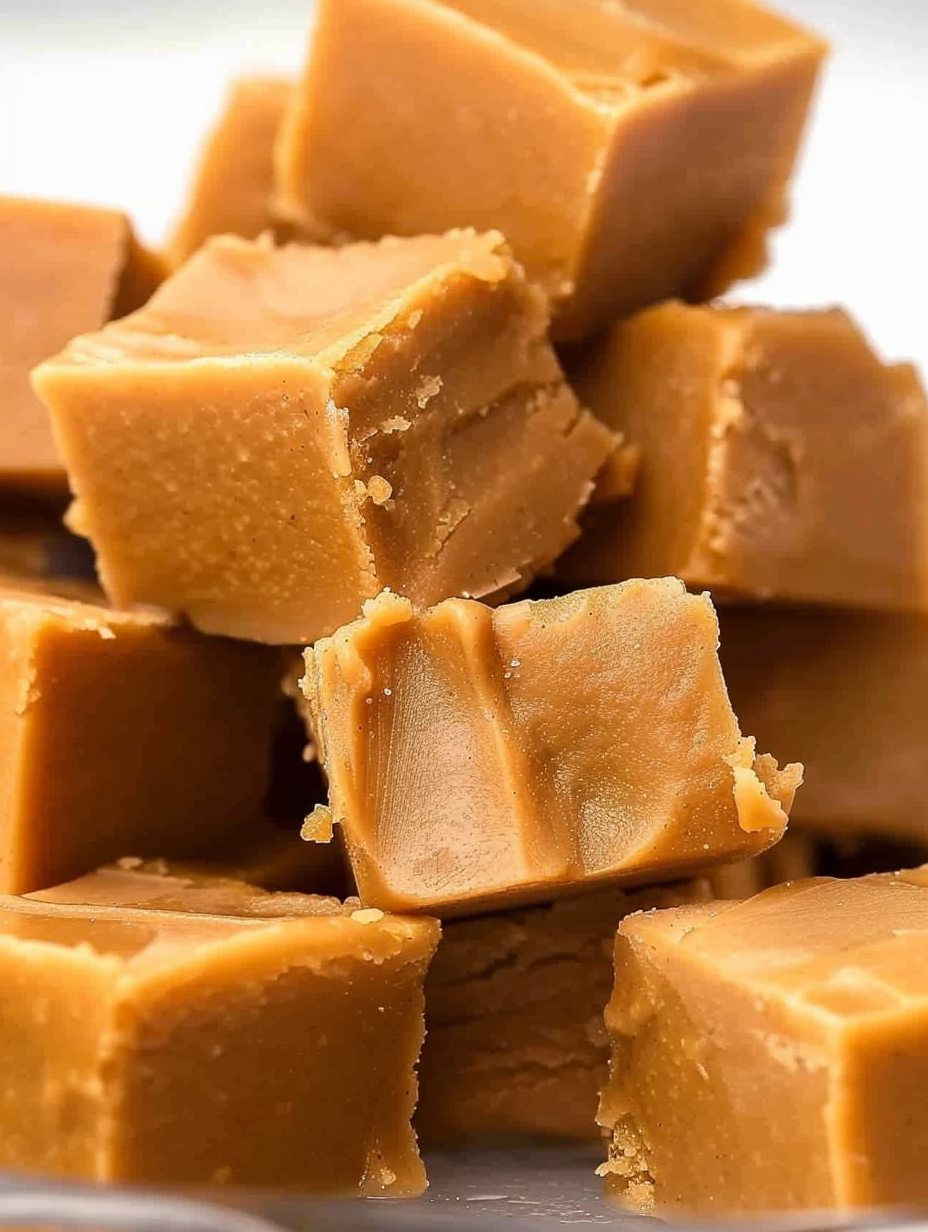
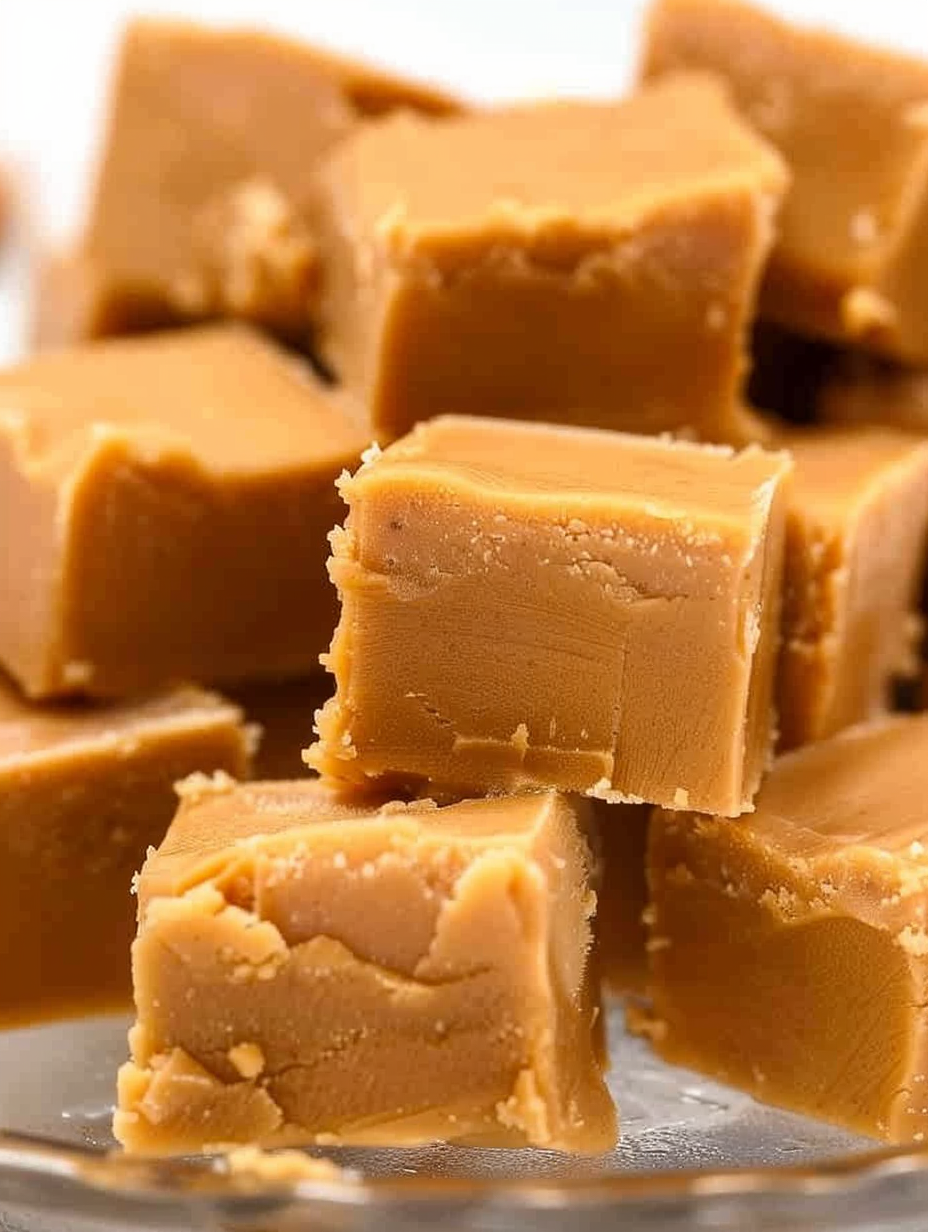
Creamy Peanut Butter Fudge

A rich, creamy peanut butter fudge that's unbelievably simple to make and perfect for gifts, holiday parties, or cozy nights in.
Why You'll Love This Recipe
- This comes together in about 15 minutes of active time and finishes chilling in the refrigerator, so you can make it while prepping other holiday dishes.
- It uses pantry staples: powdered sugar, brown sugar, butter, milk, and peanut butter—no candy thermometer required.
- Make-ahead friendly: you can cut and store squares up to two weeks refrigerated or freeze for months, making it perfect for gifting.
- Highly adaptable: mix in chopped nuts, chocolate chips, or colorful candies for texture and color without changing the basic method.
- Kid-friendly and crowd-pleasing—soft enough for little ones but rich enough for adults to savor with coffee.
- Excellent for portion control: slice into 20 even squares for consistent servings and presentation.
I first shared this at a winter cookie exchange and watched it disappear faster than any cutout cookie. Over the years I’ve tested different peanut butter brands and milks; the consistent favorite is a classic creamy, jarred peanut butter and whole milk for the smoothest finish. Family members often request I double the batch when they know I’m coming to a gathering.
Ingredients
- Powdered sugar (1 1/2 cups): Provides structure and sweetness. Sift if lumpy; choose a trusted brand like Domino or C&H for predictable texture.
- Light brown sugar (1 1/2 cups): Adds caramel notes and moisture. Pack it lightly into the cup for best measurement; darker varieties will deepen the flavor.
- Butter (2 tablespoons + extra to grease pan): Use unsalted European-style butter if you like a richer finish; add a touch more if your peanut butter is dry.
- Whole milk (1 cup): The fat in whole milk gives the fudge its creaminess—avoid low-fat or plant-based milks to preserve texture.
- Creamy peanut butter (1 1/2 cups): Use a standard creamy peanut butter (Jif or Skippy recommended); all-natural separates and can make the fudge grainy.
- Vanilla extract (1 teaspoon): Rounds the flavor and balances the sugars; use pure vanilla extract for the best aroma.
Instructions
Prepare the pan: Lightly grease a 9" x 9" glass pan with butter or nonstick spray, then line with a strip of parchment for easy removal. This helps keep the sides smooth when you lift the set fudge out to slice. Combine sugars, butter, and milk: In a medium saucepan, stir together the powdered sugar, light brown sugar, 2 tablespoons butter, and 1 cup whole milk over low heat. Stir constantly until the sugars dissolve and the mixture is smooth—about 3 to 4 minutes. Dissolving completely prevents graininess in the final texture. Bring to a boil: Increase to medium heat and bring the mixture to a gentle rolling boil. Once boiling, reduce to a slow, steady boil and cook for 5 minutes, stirring constantly. The constant stirring prevents scorching and encourages even caramelization of the brown sugar. You’re looking for a slightly thickened syrup that coats the back of a spoon. Finish off the base: Remove the saucepan from the heat immediately. Stir in 1 1/2 cups creamy peanut butter and 1 teaspoon vanilla, mixing until perfectly smooth and glossy. Work quickly so the peanut butter melts evenly into the hot base without separating. Pour and set: Pour the mixture into the prepared pan and spread evenly with a spatula. Allow the pan to cool to room temperature on the counter, then transfer to the refrigerator to finish setting. Chill for at least 4 hours before slicing into 20 squares.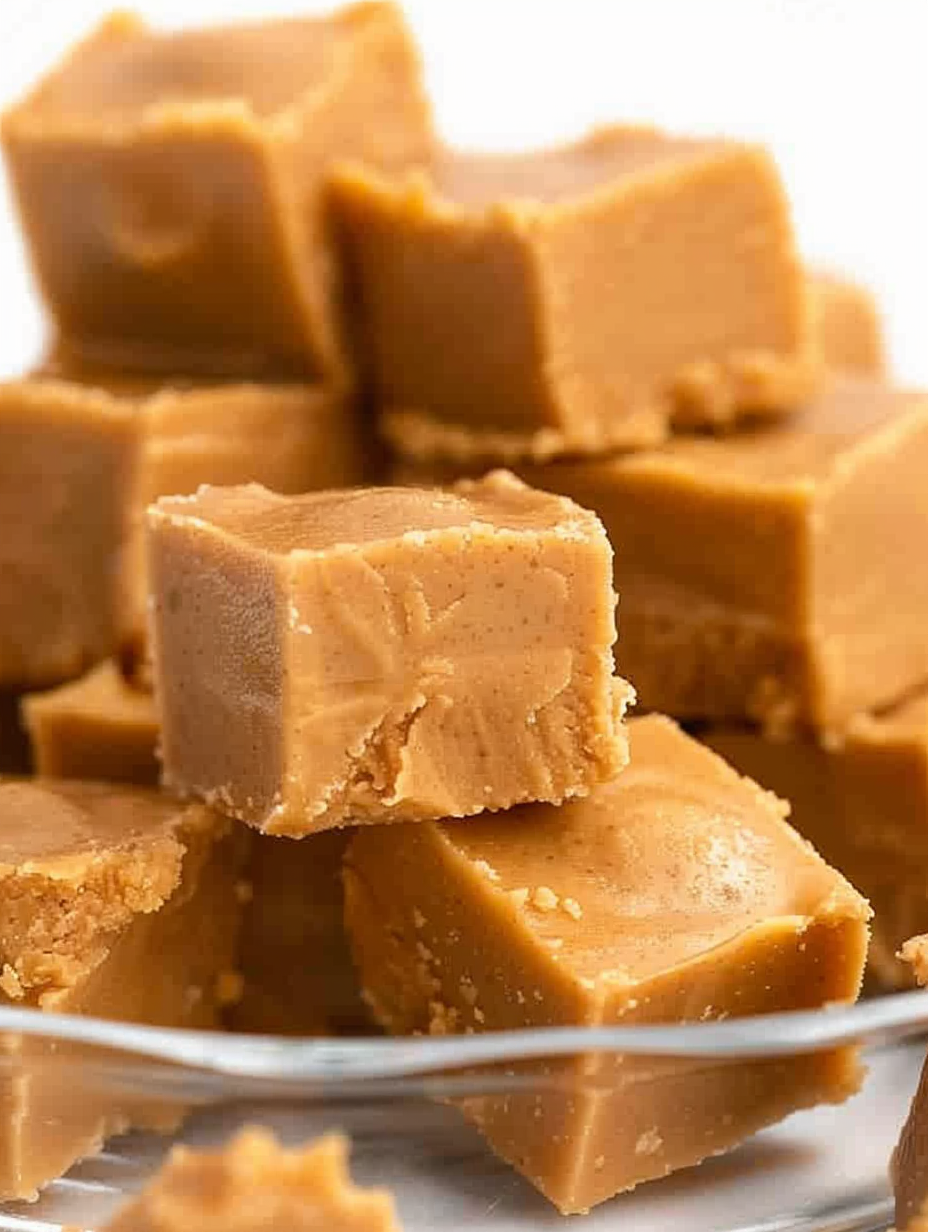
You Must Know
- This keeps refrigerated for up to two weeks in an airtight container; you can freeze for up to 6 months—thaw in the refrigerator overnight before serving.
- Do not use all-natural peanut butter for this particular method; the oil separation changes texture and can lead to a greasy finish.
- Whole milk is essential: lower-fat milks produce a firmer, less creamy fudge and can make the texture more brittle.
- Optional add-ins (chopped nuts, M&M's, or chips) should be folded in just after adding peanut butter and vanilla, before the mixture has fully cooled, or sprinkled on top while still warm.
- If your sugar mixture scorches or smells burnt, discard and start over to avoid an off-flavor in the final pieces.
My favorite part of this treat is how reliably it transports—packaged in small boxes with parchment, it makes an instant gift that looks and tastes homemade. Over the years I’ve gifted hundreds of squares, and people often comment that the texture is more like a creamy candy than a traditional dense fudge.
Storage Tips
Store finished squares in an airtight container layered between sheets of parchment or wax paper to prevent sticking. Keep refrigerated for up to two weeks; if you’re planning to freeze, place the squares in a single layer on a tray until firm, then transfer to a freezer-safe bag or container. For best texture, thaw in the refrigerator overnight—bringing them to room temperature for 15 to 30 minutes before serving restores the creamy mouthfeel. Avoid prolonged room-temperature storage in warm climates, as the high butter and peanut oil content can soften the pieces.
Ingredient Substitutions
While I strongly recommend a standard creamy peanut butter and whole milk for best results, there are safe substitutions. To reduce sweetness slightly, swap 1/4 cup of powdered sugar for an additional 1/4 cup of finely ground roasted peanuts (blended to a powder)—this adds depth and texture. For a nut-free version, replace peanut butter with tahini or sunflower seed butter and label clearly; note the flavor will be different but the technique remains the same. Avoid plant-based milks and low-fat dairy in this method; they tend to yield a grainy or crumbly texture.
Serving Suggestions
Serve squares on a festive platter layered with sprigs of fresh herbs or citrus slices for color contrast. These pair wonderfully with strong coffee, a glass of cold milk, or robust black tea in winter. For a party, offer small bites alongside dark chocolate truffles or salted caramels to balance the sweet peanut flavor. Add a pinch of flaky sea salt on top right after pouring for a sweet-salty kick that elevates each bite.
Cultural Background
Fudge has deep roots in American confectionery tradition, popularized in the late 19th and early 20th centuries as a quick, buttery candy made by stirring sugar and dairy to a soft-ball stage. Peanut-flavored confections became popular as affordable peanuts and peanut butter rose in availability mid-20th century. This variation blends classic fudge technique with the ubiquitous American love of peanut butter, creating a nostalgic yet modern treat often handed down at family gatherings and holiday exchanges.
Seasonal Adaptations
In winter, stir in chopped roasted pecans or sprinkle crushed peppermint candies on top for a festive twist. For summer gatherings, fold in mini chocolate chips and a handful of freeze-dried raspberries for brightness. Around Halloween, mix in orange M&Ms; for Valentine’s Day, press heart-shaped sprinkles into the top while warm. Small swaps like these let one basic method feel new each season without changing the core approach.
Meal Prep Tips
Double the batch and pour into two pans if you’re planning multiple events; store one in the freezer for later. Use a ruler to score the top lightly right after chilling begins (about 45 minutes in) to make perfectly even squares once fully set—this is easier than cutting through very firm fudge. Label containers with the date and any add-ins to keep track of variations when gifting or serving at potlucks.
When guests ask for my secret, I always share the same two tips: use full-fat ingredients and stir with patience. Those small choices make all the difference between an ordinary sweet and a truly memorable treat. Now go make a pan—then slice and share the joy.
Pro Tips
Use whole milk and standard creamy peanut butter for the creamiest texture.
Stir constantly while boiling to avoid scorching and graininess.
Line the pan with parchment for easy removal and neat slices.
If adding mix-ins, fold them in while the mixture is warm but before it has fully set.
This nourishing creamy peanut butter fudge recipe is sure to be a staple in your kitchen. Enjoy every moist, high protein slice — it is perfect for breakfast or as a wholesome snack any time.
FAQs about Recipes
How long does the fudge keep?
Yes. Store in an airtight container in the refrigerator for up to two weeks, or freeze for up to 6 months.
Can I use natural peanut butter?
Use classic creamy peanut butter. All-natural varieties separate and can alter texture, causing a grainy or oily finish.
Tags
Creamy Peanut Butter Fudge
This Creamy Peanut Butter Fudge recipe makes perfectly juicy, tender, and flavorful steak every time! Serve with potatoes and a side salad for an unforgettable dinner in under 30 minutes.
Ingredients
Main
Instructions
Prepare the pan
Grease a 9x9 inch glass pan with butter or nonstick spray and line with parchment for easy removal.
Combine sugars, butter, and milk
In a medium saucepan over low heat, stir powdered sugar, light brown sugar, butter, and whole milk until the sugars dissolve and the mixture is smooth, about 3 to 4 minutes.
Boil gently
Bring to a gentle rolling boil over medium heat, then maintain a slow boil for 5 minutes, stirring constantly to prevent scorching.
Add peanut butter and vanilla
Remove from heat and stir in creamy peanut butter and vanilla until fully blended and glossy.
Pour and chill
Pour into the prepared pan, let cool to room temperature, then refrigerate for at least 4 hours before slicing into 20 squares.
Last Step: Please leave a rating and comment letting us know how you liked this recipe! This helps our business to thrive and continue providing free, high-quality recipes for you.
Nutrition
Did You Make This?
Leave a comment & rating below or tag
@flavest on social media!
Categories:
You might also like...

Glazed Apple Cider Donuts
Warm-spiced apple cider donuts with tender apple bits and a glossy cider glaze, fried crisp and irresistibly cozy for fall.

Slow Cooker Pork Pot Roast
All-day slow cooking turns pork shoulder, potatoes, and carrots into a tender, savory classic with a rich homemade gravy everyone will love.

Cheesy Hamburger Potato Casserole
Tender layers of Yukon gold potatoes with seasoned beef in a creamy, cheddar sauce, baked until bubbly and irresistibly comforting.
Did You Make This?
Leave a comment & rating below or tag @flavest on social media!
Rate This Recipe
Share This Recipe
Enjoyed this recipe? Share it with friends and family, and don't forget to leave a review!
Comments (1)
This recipe looks amazing! Can't wait to try it.
Comments are stored locally in your browser. Server comments are displayed alongside your local comments.

Hi, I'm Maria!
What's Popular

30-Minute Meals!
Join to receive our email series which contains a round-up of some of our quick and easy family favorite recipes.