
>>

A simple, crowd-pleasing fried mushrooms method from Jessica Burgess with two breading thickness options—thin and thick—ready in about 10 minutes.
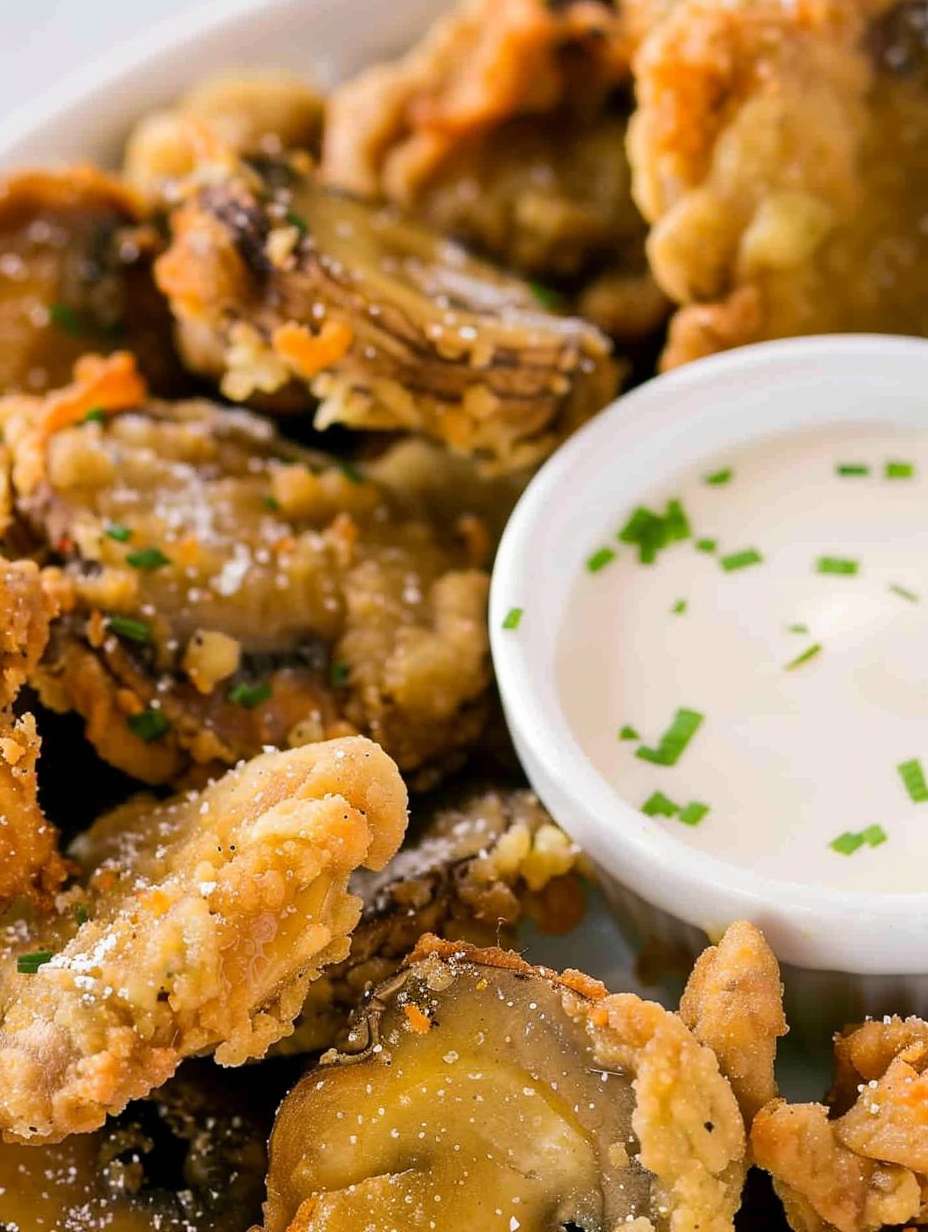
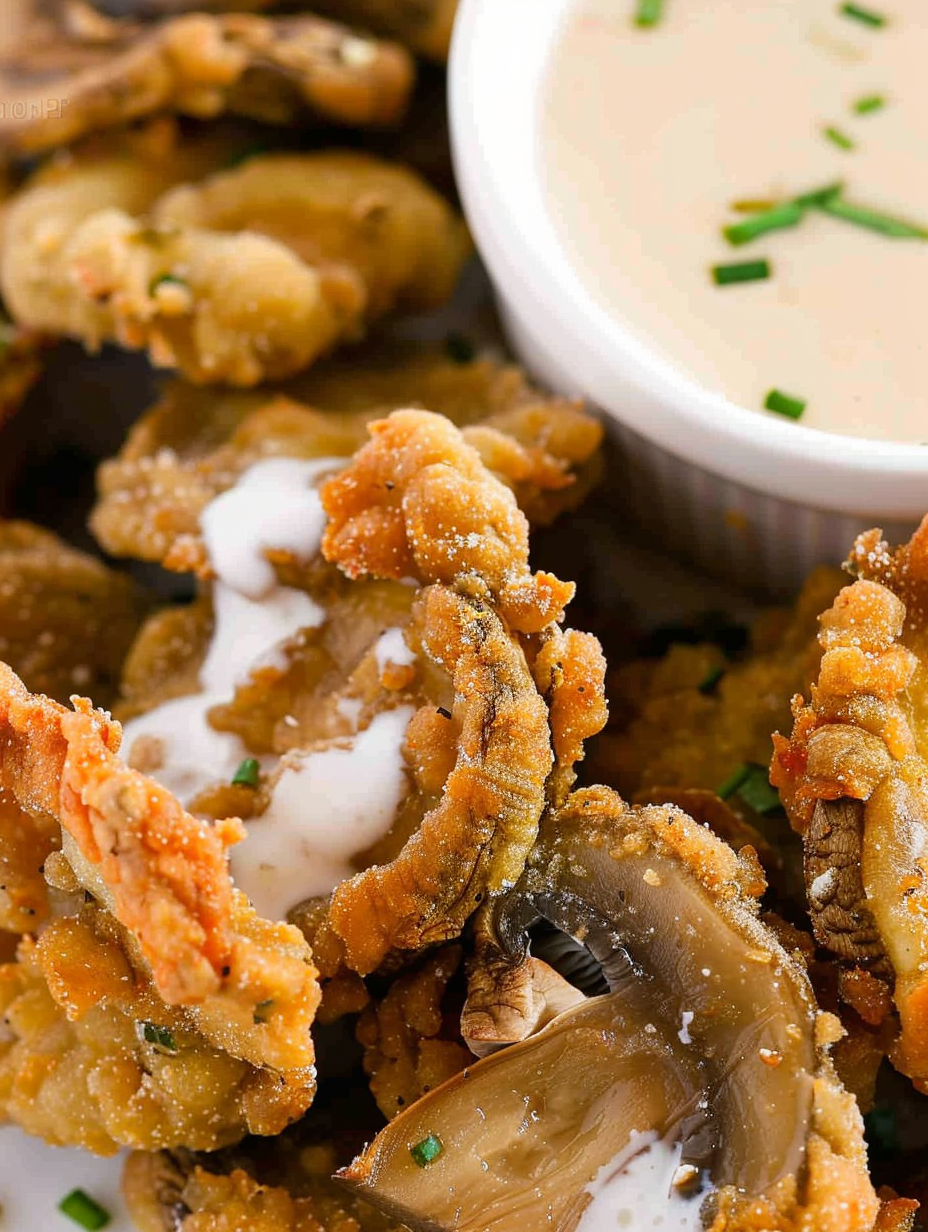
This fried mushrooms recipe has been one of my most-requested small-plate ideas ever since I first made it at a backyard potluck. I discovered this approach when I wanted a quick, crunchy snack using a single package of sliced mushrooms from the market. The result was an addictive golden exterior with a tender, juicy interior—the contrast of textures that makes people reach for seconds. I especially love how this recipe gives you two easy paths: a quick, thin coating for a lighter bite, or a thicker, more batter-like crust when you want something hearty.
I remember serving these at a family game night: the platter disappeared before the first round finished. The mushrooms get a subtle savory lift from seasoned salt and the neutral frying oil keeps the mushroom flavor front and center. Because the method is forgiving, it’s a go-to when friends drop by unexpectedly, and because it uses basic pantry ingredients, it’s one of those reliable recipes I share with new cooks. The timing is short—about 10 minutes total—so you can have a hot appetizer on the table faster than many takeout options.
In my kitchen these are a test of patience because they’re impossible to resist straight from the pan. When I tried the thicker breading for the first time, guests loved the extra crunch; the thin coating remains my pick when I want the mushroom to shine through. Both methods have become staples depending on the occasion.

What I love most is how versatile this method is—thin breading for when mushrooms should be the star, thicker breading when you crave crunch. At potlucks, people often ask for the thicker version because it pairs well with heavier dips; at weeknight dinners, the thin coating is my pick because it keeps the prep fast and the plate light.
Store cooled mushrooms in a shallow airtight container in the refrigerator for up to 48 hours. Place a paper towel in the container to absorb residual oil and keep the crust from getting soggy. To re-crisp, arrange in a single layer on a baking sheet and reheat in a 375°F oven for 6–10 minutes, flipping halfway through. Avoid microwaving as it will make the crust limp. For longer storage, you can freeze raw, breaded slices on a sheet pan until firm, then transfer to a freezer bag; cook from frozen in hot oil or a 375°F oven until golden.
If you need to cut sodium, replace seasoned salt with 1 teaspoon kosher salt plus 1/2 teaspoon smoked paprika and 1/4 teaspoon garlic powder. For gluten-free needs, use a 1-to-1 gluten-free flour blend or rice flour; note the texture will be slightly different, often more delicate. Replace eggs with a 1:1 mixture of 2 tablespoons milk alternative and 1 tablespoon cornstarch to help the flour adhere for a thicker coating—this makes it egg-free but not vegan unless you also use vegan flour. Swap white mushrooms for cremini or shiitake for deeper flavor; adjust frying time for larger or thicker slices.
Serve warm with lemon-garlic aioli, spicy sriracha mayo, or a classic ranch dip. For a heartier plate, accompany with a simple green salad, roasted potatoes, or place over buttered toast with melted cheese for a rustic open-faced snack. Garnish with chopped parsley, a squeeze of lemon, or a dusting of grated Parmesan for added richness. These make an excellent side for burgers or fried chicken, balancing heavier mains with an earthy, crunchy contrast.
Fried mushrooms are a popular American appetizer rooted in broader frying traditions that celebrate simple batter and breading techniques. While many cultures enjoy fried vegetables, the American take tends to favor straightforward seasoned flour and quick frying for maximum crunch and fast service. Variations across regions might use different spice blends or pairings—think Southern buttermilk-style coatings or Midwestern large-batch pan frying for parties.
In autumn, use a mix of wild mushrooms—chanterelles or oyster mushrooms work beautifully—toss them in a light dusting of seasoned flour and adjust frying time for larger caps. In spring, try thinly sliced morels if available, and finish with a lemon-herb gremolata to cut through the richness. For holiday gatherings, add a pinch of nutmeg and finely grated aged cheese to the flour for a festive twist.
If prepping ahead, slice mushrooms and store in a sealed container in the refrigerator for up to one day. Combine flour and seasoning in a zip-top bag ahead of time to save a minute or two. For buffet service, fry in batches and keep warm on a wire rack in a 200°F oven—avoid covering them, which will trap steam and soften the crust. Label containers with date and method (thin or thick) if making both styles.
These fried mushrooms have become my dependable answer when guests say, 'Bring something easy and tasty.' Whether thin and light or thick and crunchy, they’re a small comfort that’s quick to share and even quicker to disappear. I hope you make them your own and enjoy handing out that steaming platter of crisp, savory mushrooms.
Dry mushrooms thoroughly on paper towels after rinsing; excess water prevents browning and creates oil splatter.
Don’t overcrowd the pan—fry in small batches to maintain oil temperature and ensure even crisping.
Test oil temperature with a kitchen thermometer or a sprinkle of flour; the ideal frying range is 350–375°F.
If you want extra crunch, double-dredge: flour, egg, then flour again for an ultra-crispy shell.
This nourishing crispy fried mushrooms (two breading options) recipe is sure to be a staple in your kitchen. Enjoy every moist, high protein slice — it is perfect for breakfast or as a wholesome snack any time.
This Crispy Fried Mushrooms (Two Breading Options) recipe makes perfectly juicy, tender, and flavorful steak every time! Serve with potatoes and a side salad for an unforgettable dinner in under 30 minutes.
Pour oil into a heavy skillet to about 1 inch depth or fill your deep fryer. Heat to 350–375°F. Test with a pinch of flour—if it sizzles, the oil is ready.
Combine 1 cup all-purpose flour and 2 tablespoons seasoned salt in a large bowl or zip-top bag. Whisk or shake to mix evenly.
Toss sliced mushrooms directly in the flour mixture to lightly coat. Shake off excess flour and fry in small batches for 2–3 minutes until edges are golden.
Beat 2 eggs in a shallow bowl. Dip mushrooms into egg, then dredge in seasoned flour to coat. Fry 2–3 minutes per batch until deep golden, turning as needed.
Transfer fried mushrooms to a paper towel-lined plate to drain excess oil. Sprinkle additional seasoning or grated cheese immediately if desired, and serve warm.
Last Step: Please leave a rating and comment letting us know how you liked this recipe! This helps our business to thrive and continue providing free, high-quality recipes for you.
Leave a comment & rating below or tag
@flavest on social media!

Warm-spiced apple cider donuts with tender apple bits and a glossy cider glaze, fried crisp and irresistibly cozy for fall.

All-day slow cooking turns pork shoulder, potatoes, and carrots into a tender, savory classic with a rich homemade gravy everyone will love.

Tender layers of Yukon gold potatoes with seasoned beef in a creamy, cheddar sauce, baked until bubbly and irresistibly comforting.
Leave a comment & rating below or tag @flavest on social media!
Enjoyed this recipe? Share it with friends and family, and don't forget to leave a review!
This recipe looks amazing! Can't wait to try it.
Comments are stored locally in your browser. Server comments are displayed alongside your local comments.

Join to receive our email series which contains a round-up of some of our quick and easy family favorite recipes.
