
>>

Little crunchy taco cups made in a muffin tin — perfect for weeknight dinners, parties, or lunchboxes. Ready in about 32 minutes and irresistibly hands-on.
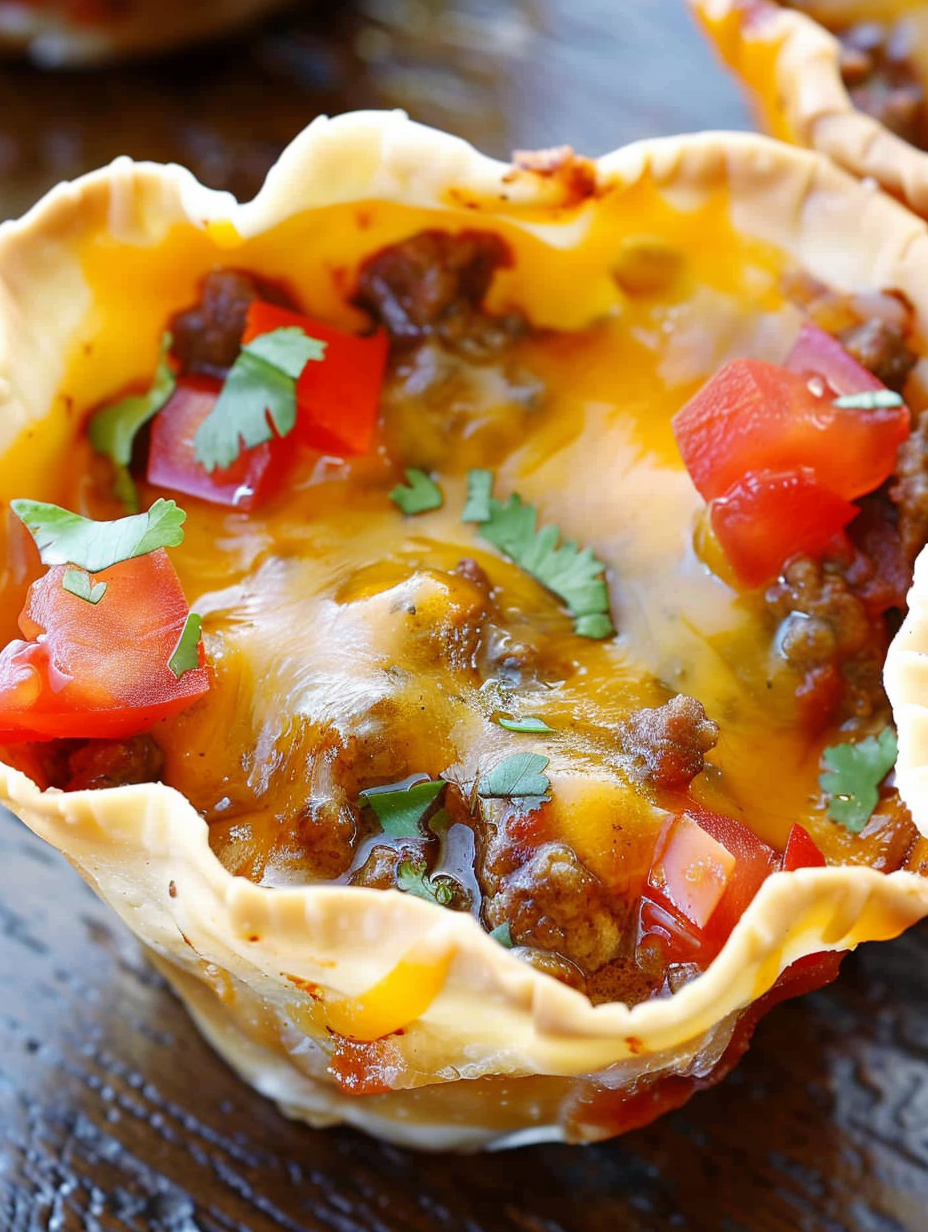
This recipe for Crunchy Taco Cups has been a go-to in my kitchen since I first tried turning dinner into something playful and handheld. I discovered this idea one busy weeknight when the kids wanted tacos but also wanted to help with dinner; shaping taco fixings into tiny cups in a muffin tin turned the meal into an activity and a taste sensation. The combination of a crispy wrapper edge, savory seasoned beef, pockets of juicy tomato, and melted sharp cheddar creates a satisfying contrast of texture and bright, comforting flavor. Every time I make a batch, neighbors and family hover around the oven, eager for a still-warm bite.
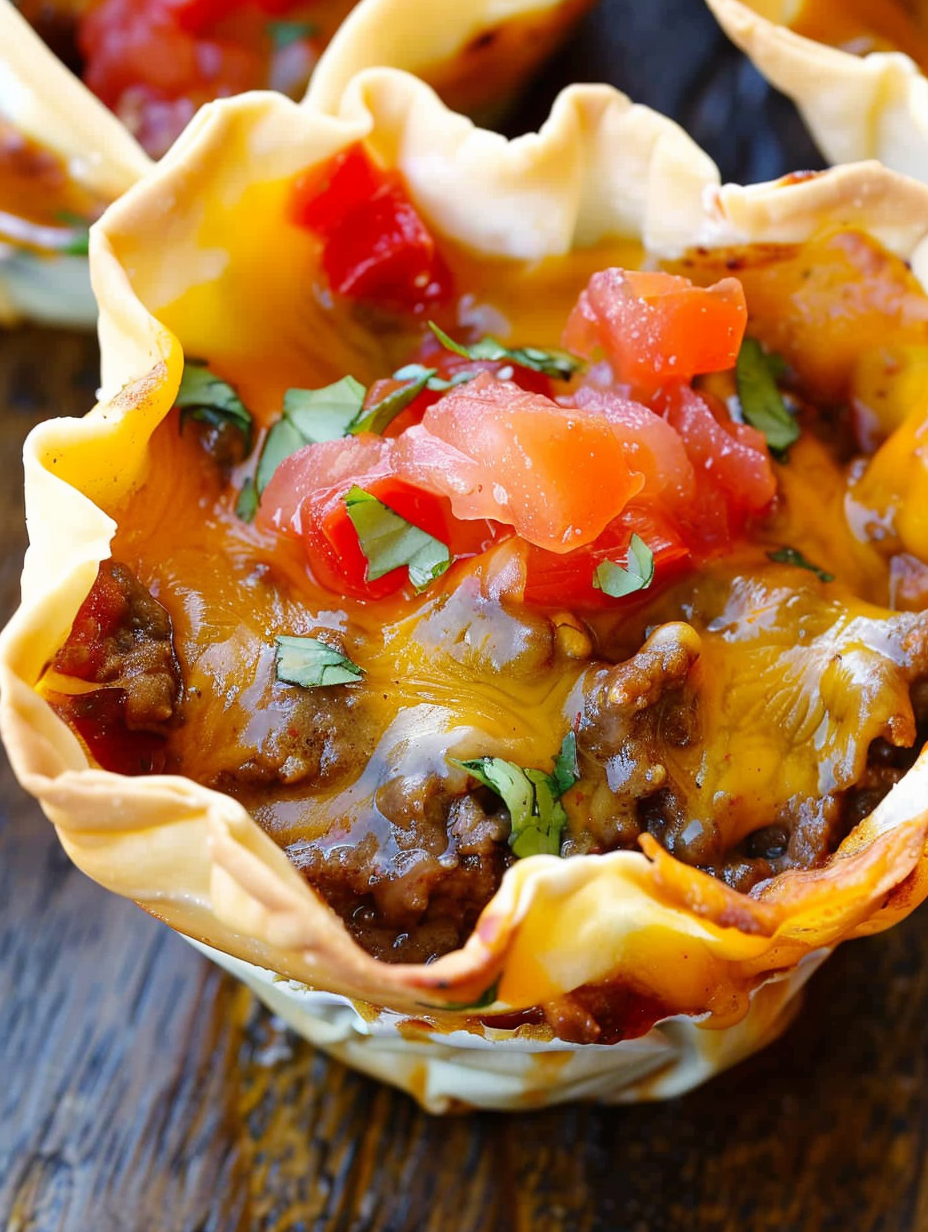
What I love most about these is how adaptable they are. They come together quickly — about 20 minutes of prep and roughly 12 minutes in the oven — and use pantry-friendly ingredients: ground beef, a taco seasoning packet, a can of diced tomatoes with green chiles, shredded cheese, and wonton wrappers. The result is familiar taco flavor in a sturdy, crunchy shell that holds up to dipping and stacking. I first served these at a casual game-night gathering and they vanished within minutes; the crunchy rim and cheesy center make them utterly addictive. They’re equally welcome as an easy weeknight dinner, a party appetizer, or a fun option for lunchboxes when cooled completely.
In my experience these always create friendly kitchen moments — kids love pressing the wonton wrappers into the tin and sprinkling the cheese. One Thanksgiving I brought a platter of these as an appetizer and had guests asking for the recipe; the crunchy texture and little pockets of seasoned meat made them feel festive and fun, a delightful twist on classic tacos.

One of my favorite aspects is how this recipe encourages involvement: kids can help line the cups and sprinkle the cheese, making dinner a shared experience. At a summer potluck, a friend told me these were the first to disappear because they tasted like miniature, crunchy tacos — familiar but elevated. The melty pockets are what people remember most.
Store cooled cups in an airtight container in the refrigerator for up to 3 days. To retain crispness, arrange them in a single layer or separate layers with parchment paper. For longer storage, freeze in a single layer on a rimmed baking sheet until solid, then transfer to a labeled freezer bag for up to 3 months. Reheat from frozen in a 350°F oven for 8–10 minutes, or until heated through and edges are crisp. Avoid microwaving from frozen unless you prefer a softer texture — the oven is best to bring back the crunch.
If you need alternatives, ground turkey or chicken work well — brown them fully and add a splash of oil if they are very lean. For a meatless version, use a 15-oz can of black beans, rinsed and lightly mashed, then season as you would the meat. Swap the Ro-Tel for a drained 10-oz can of diced tomatoes plus 1–2 tablespoons of chopped green chiles if Ro-Tel isn’t available. For a gluten-free option, use small corn tortillas cut to size or gluten-free wonton wrappers if you can source them; watch cooking times and crispness as they may vary.
Serve warm alongside classic taco toppings such as sour cream, guacamole, chopped cilantro, pico de gallo, or a squeeze of lime. For a party tray, arrange cups with small bowls of salsa, crema, and pickled jalapeños for guests to customize. These pair nicely with a simple Mexican-style slaw, cilantro-lime rice, or a bright green salad to balance the richness. Garnish with chopped green onions or a sprinkle of cotija for added texture and color.
While not a traditional Mexican dish, these cups are inspired by the flavors of Tex-Mex cuisine — a borderland cuisine that blends Mexican ingredients with American formats and convenience. Using wonton wrappers as a shell is a playful kitchen hack that borrows from global pantry staples to create a hybrid, hand-held snack. This kind of fusion reflects modern home cooking, where practicality and flavor take center stage and where cooks adapt textures and formats to create something both nostalgic and novel.
In summer, swap canned tomatoes for 1 cup of diced fresh tomatoes or fire-roasted tomatoes drained well and add fresh corn kernels for sweetness. In winter, fold in a spoonful of chipotle in adobo for warming spice and swap sharp cheddar for smoked gouda for a cozy flavor. Around holidays, top with pickled red onions or a drizzle of crema spiked with lime and hot sauce to make them feel more festive.
Assemble the cups ahead of time and keep them covered in the refrigerator for up to 24 hours before baking; this is perfect for weeknight prep or party planning. If you’re making multiple batches, bake them on two rimmed baking sheets to ensure even heat circulation. Use a small ice cream scoop or tablespoon to portion the filling evenly so bake time and presentation remain consistent. Label frozen batches with the date and reheat straight from frozen to retain the shells’ crunch.
These Crunchy Taco Cups combine quick, pantry-friendly ingredients with a playful presentation that becomes a favorite at any table. Whether you’re making them for a busy weeknight or a lively gathering, they bring familiar flavors into a format that’s fun to assemble, easy to customize, and impossible to resist.
Drain canned tomatoes thoroughly to avoid soggy shells.
Use a small scoop or 1.5 tablespoons per cup for even filling and consistent baking.
Let cups rest for 2–3 minutes after baking before removing to keep bottoms crisp.
If using lean meat, add a teaspoon of oil when cooking to add mouthfeel and prevent dryness.
This nourishing crunchy taco cups recipe is sure to be a staple in your kitchen. Enjoy every moist, high protein slice — it is perfect for breakfast or as a wholesome snack any time.
Yes — assemble the cups and refrigerate covered for up to 24 hours before baking. If frozen, bake from frozen at 350°F for 8–10 minutes to re-crisp.
Use small corn tortillas cut to fit or look for gluten-free wonton wrappers. Expect slight differences in crispness and bake time.
This Crunchy Taco Cups recipe makes perfectly juicy, tender, and flavorful steak every time! Serve with potatoes and a side salad for an unforgettable dinner in under 30 minutes.
Preheat oven to 375°F. Generously coat a standard 12-cup muffin tin with nonstick spray or brush lightly with oil so wontons don’t stick.
In a skillet over medium-high heat, brown 1 lb lean ground beef until no pink remains (about 6–8 minutes). Drain excess fat and return to heat.
Stir in 1 envelope (3 tablespoons) taco seasoning and the drained 10-oz can of Ro-Tel. Add a splash of water if needed and simmer 1–2 minutes to combine without making the mixture overly wet.
Line each muffin cup with a wonton wrapper. Spoon about 1.5 tablespoons of the taco mixture into each. Top with 1 tablespoon shredded cheese, press another wrapper on top, add another 1.5 tablespoons filling, and finish with a final tablespoon of cheese.
Bake at 375°F for 11–13 minutes until edges are golden and cheese is bubbly. Cool in the pan 2–3 minutes before transferring to a rack to keep bottoms crisp.
Last Step: Please leave a rating and comment letting us know how you liked this recipe! This helps our business to thrive and continue providing free, high-quality recipes for you.
Leave a comment & rating below or tag
@flavest on social media!

Warm-spiced apple cider donuts with tender apple bits and a glossy cider glaze, fried crisp and irresistibly cozy for fall.

All-day slow cooking turns pork shoulder, potatoes, and carrots into a tender, savory classic with a rich homemade gravy everyone will love.

Tender layers of Yukon gold potatoes with seasoned beef in a creamy, cheddar sauce, baked until bubbly and irresistibly comforting.
Leave a comment & rating below or tag @flavest on social media!
Enjoyed this recipe? Share it with friends and family, and don't forget to leave a review!
This recipe looks amazing! Can't wait to try it.
Comments are stored locally in your browser. Server comments are displayed alongside your local comments.

Join to receive our email series which contains a round-up of some of our quick and easy family favorite recipes.
