
>>

Tender, cinnamon-sweet baked apples stuffed with brown sugar and butter—an effortless, nostalgic dessert ready in minutes and perfect topped with vanilla ice cream.
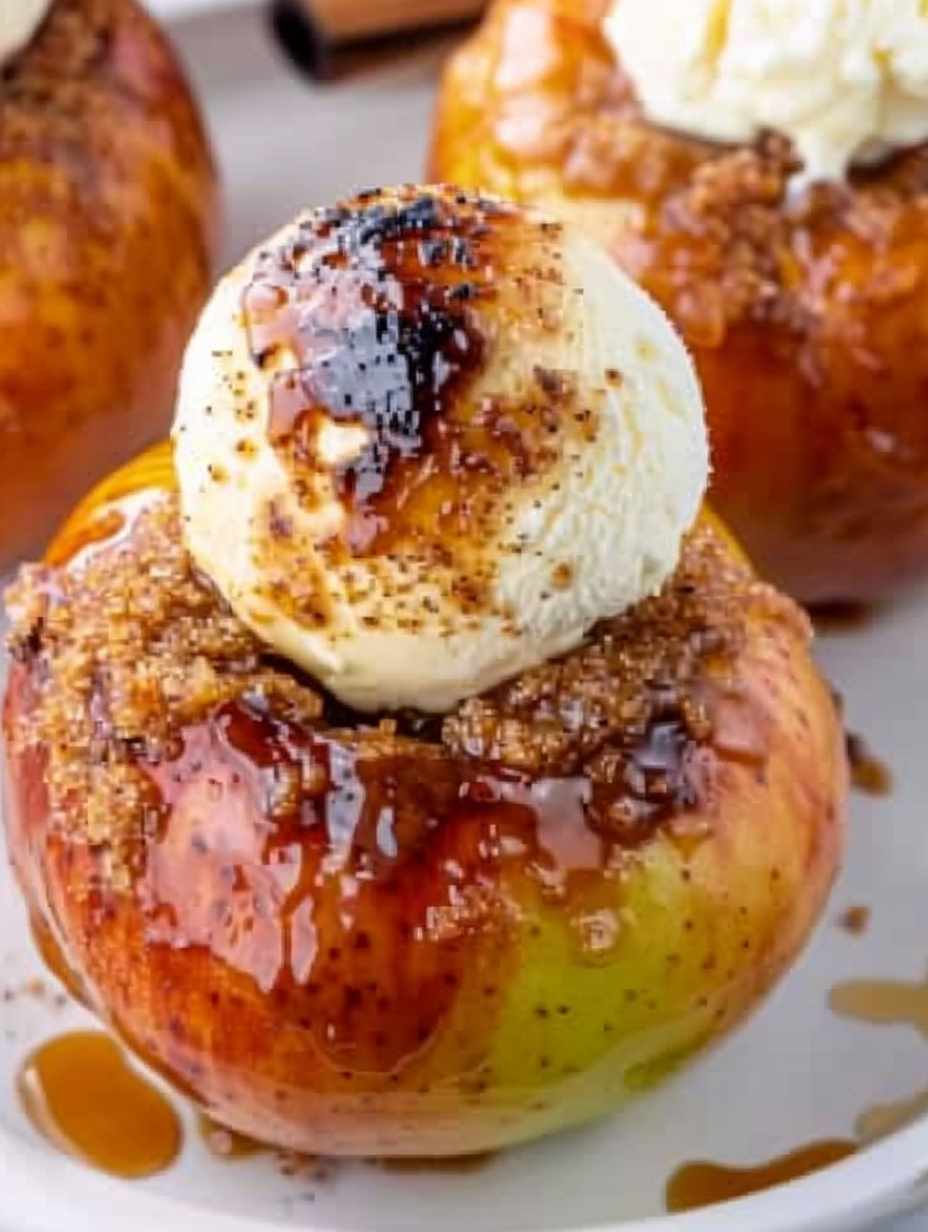
This dessert has been my quick go-to when I want something warm, comforting, and impossibly simple: tender apples baked until their skins just split and the sugar inside caramelizes into a sticky, fragrant syrup. I first discovered this combination on a rainy autumn afternoon when I had a bag of slightly past-prime apples and a handful of pantry staples. The result—apples softened but still holding their shape, brown sugar bubbling with butter and cinnamon—felt like a small kitchen miracle. It became an instant favorite for family dinners and impromptu guests because it looks elegant but takes almost no effort.
I love how adaptable this preparation is: it works with everyday apples from the supermarket or with a flashy heirloom apple if you're entertaining. The texture is what makes these special —the fruit becomes tender and slightly jammy while the filled center becomes a saucy, caramel-like pocket. Serve them warm with a scoop of vanilla ice cream or a dollop of plain yogurt for contrast, and you have a dessert that tastes more sophisticated than the time it takes to make it. These are ideal when you want something homey and nostalgic without fussing over details.
In my house, these always spark memories—my partner insists on extra cinnamon and my kids argue over who gets the crispiest edge. One holiday, I doubled the batch for guests and they returned to the kitchen like moths to a flame, convinced I had forgone the recipe in favor of something store-bought. The simplicity of this dish makes those moments feel effortless and warm.
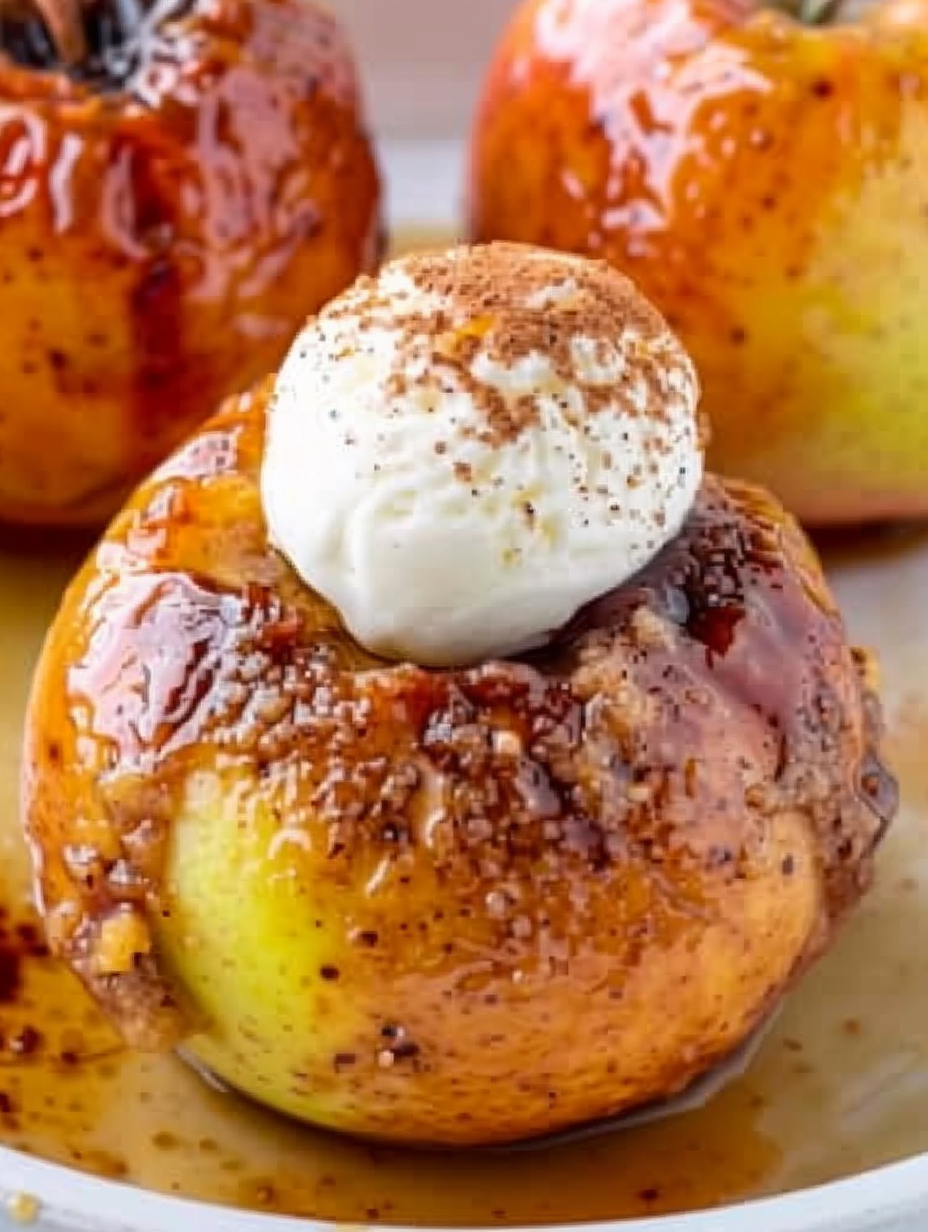
My favorite part of this preparation is the aroma—while the apples bake the house fills with warm cinnamon and caramel notes that instantly feel like a holiday. Guests often tell me the smell alone makes the dessert irresistible, and I’ve learned that a tiny extra pat of butter on top just before serving creates a glossier, more indulgent sauce. Over the years I’ve swapped in different spices and found that a small splash of bourbon in the pan juices deepens the flavor for grown-up gatherings.
To store leftovers, cool the fruit to room temperature, then transfer to an airtight container and refrigerate for up to 3 days. For long-term storage, bake without any ice cream topping, cool completely, wrap each apple tightly in plastic wrap and then aluminum foil, and freeze for up to 3 months. When reheating, thaw overnight in the refrigerator and reheat in a 325°F oven until warmed through; microwave reheating works in a pinch but risks making the apple too soft. Check for quality by smelling—if the aroma is off or the texture is excessively mushy, it’s time to discard.
If you’re dairy-free, replace the butter with a vegan butter or coconut oil; coconut will impart a faint tropical note that pairs nicely with cinnamon. Swap brown sugar for maple syrup or coconut sugar for a different sweetness profile—use about 2 tablespoons of syrup per apple and reduce other liquids slightly. For a lower-sugar option, use a sugar substitute designed for baking and combine with a pinch of molasses to mimic brown sugar complexity. If you don’t have cinnamon, a mix of 3/4 teaspoon ground ginger and 1/4 teaspoon nutmeg makes a warm-spiced alternative.
Serve these warm with a scoop of vanilla ice cream or vanilla frozen yogurt to add creaminess and temperature contrast; a drizzle of salted caramel elevates the presentation. For a lighter finish, pair with plain Greek yogurt, a sprinkle of toasted chopped walnuts or pecans, and a scattering of pomegranate arils for color and acidity. For a brunch twist, serve alongside pancakes or French toast as a fruit topping, or accompany with coffee and a small slice of nut bread to create a cozy spread.
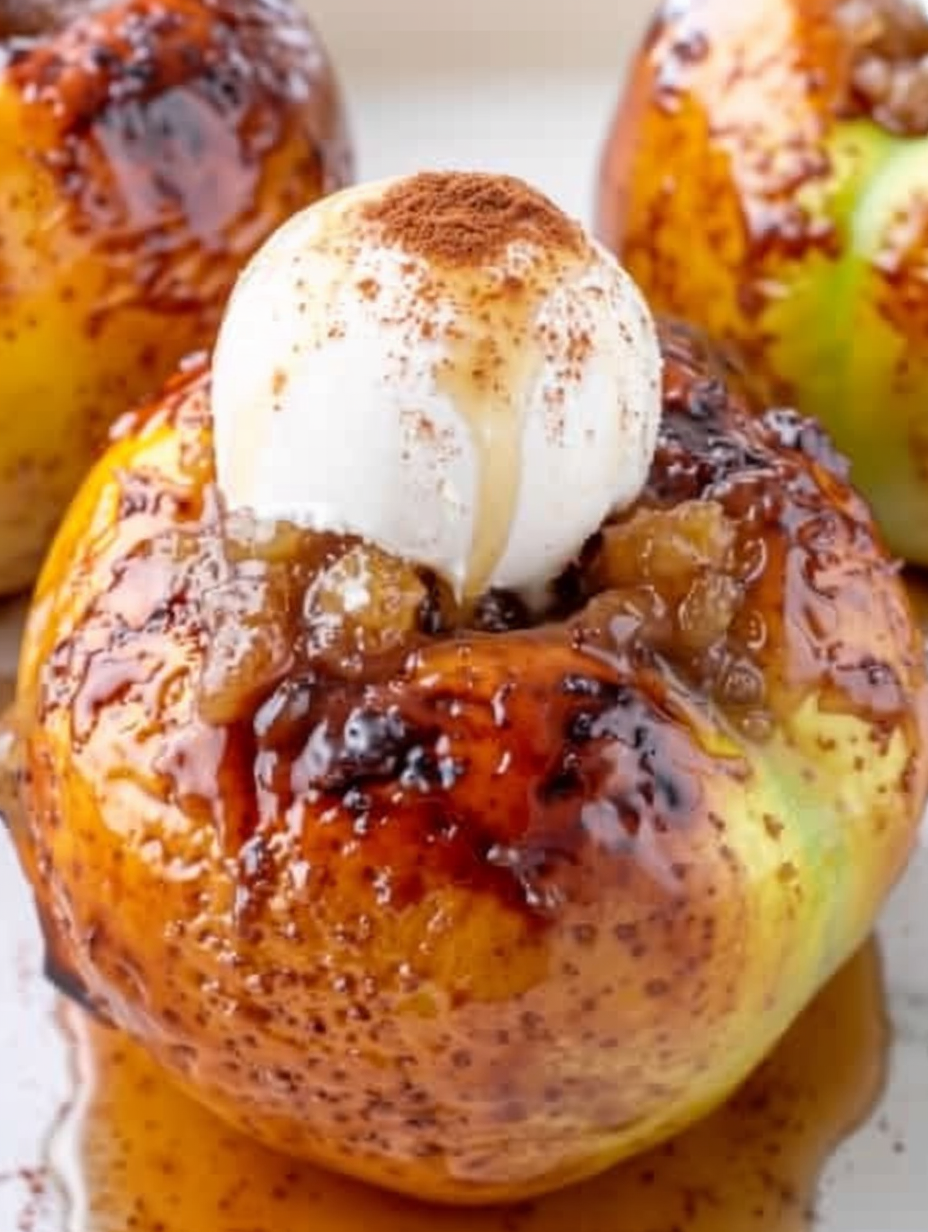
Baked fruit desserts have a long history in American and European home cooking—this particular preparation of cored apples filled with butter and sugar is a classic that dates back to simple hearth cooking when whole fruits were baked to concentrate flavors. Many regions have variations: in parts of Europe, apples are stuffed with marzipan or nuts; in the American South, a nut and spice mixture is common. The appeal is universal: baking intensifies natural sugars and softens the flesh, turning everyday fruit into a comforting, nearly custard-like dessert without complex technique.
Autumn is ideal—use freshly harvested apples for crisp texture. In winter, add warm spices like clove or allspice and tuck in dried cranberries. For spring and summer, use slightly underripe apples to preserve a firmer bite and lighten the filling by reducing sugar and adding lemon zest for brightness. For holiday menus, increase the filling with chopped toasted nuts and a splash of brandy or rum; top with whipped cream flavored with citrus zest.
Assemble the apples by coring and filling them up to 24 hours in advance and keep them covered in the refrigerator; bake when ready. For batch entertaining, bake multiple dishes at once and keep finished apples warm in a low 200°F oven for up to 30 minutes before serving. Use shallow baking dishes so apples sit upright and heat evenly. Label and date any frozen batches and thaw overnight in the fridge to maintain texture. Portion into individual containers if preparing for grab-and-go desserts.
These baked apples are simple, forgiving and endlessly adaptable—an ideal dessert to make your own. Serve one, two or four; adjust the filling and toppings according to taste, and enjoy the simple pleasure of warm, spiced fruit shared with people you love.
For even baking, choose apples of similar size so they cook at the same rate.
If juices bubble over, place the baking dish on a rimmed sheet pan to catch drips.
Allow baked apples to rest 5 minutes before serving so the filling thickens slightly.
Use unsalted butter to control salt; add a pinch of flaky sea salt at the end for contrast.
This nourishing easy baked apples recipe is sure to be a staple in your kitchen. Enjoy every moist, high protein slice — it is perfect for breakfast or as a wholesome snack any time.
Yes. Core the apple leaving the bottom intact so the filling stays inside. Alternatively, use an apple corer for a cleaner hole.
Refrigerate in an airtight container for up to 3 days and reheat in a 325°F oven for 8–10 minutes.
This Easy Baked Apples recipe makes perfectly juicy, tender, and flavorful steak every time! Serve with potatoes and a side salad for an unforgettable dinner in under 30 minutes.
Preheat oven to 350°F (175°C) and position the rack in the center for even heat.
Wash and dry apples. Core from the top leaving about 1/2-inch at the bottom to prevent leaking. Trim the bottom if necessary to stabilize.
Place apples upright in a shallow baking dish. Stuff each apple with approximately 2 tablespoons brown sugar and 1 tablespoon butter, then sprinkle with cinnamon.
Bake in the preheated oven for 15–20 minutes, checking at 15 minutes. Apples should be tender but still hold shape and the sugar should begin to caramelize.
Remove from oven and rest 5 minutes. Spoon pan juices over apples and serve warm with vanilla ice cream or frozen yogurt, and optional caramel drizzle.
Last Step: Please leave a rating and comment letting us know how you liked this recipe! This helps our business to thrive and continue providing free, high-quality recipes for you.
Leave a comment & rating below or tag
@flavest on social media!
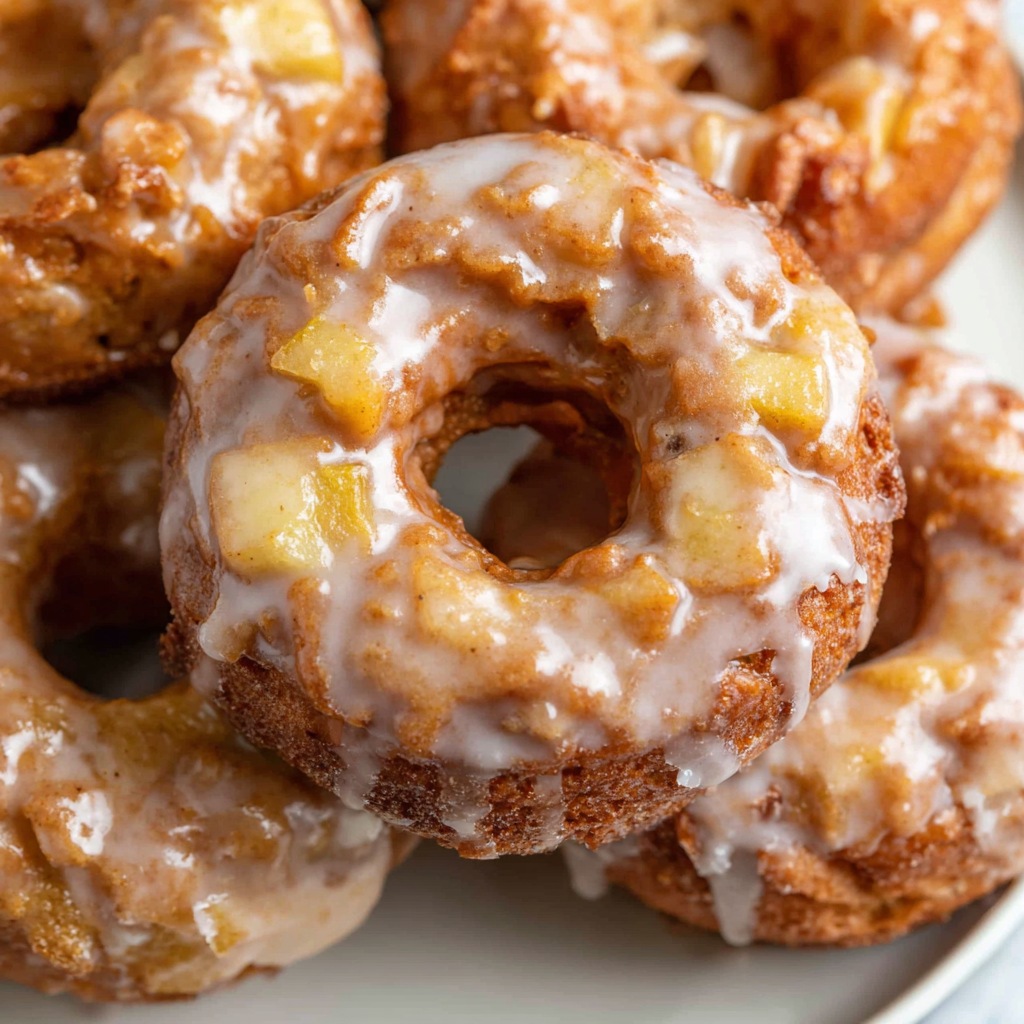
Warm-spiced apple cider donuts with tender apple bits and a glossy cider glaze, fried crisp and irresistibly cozy for fall.
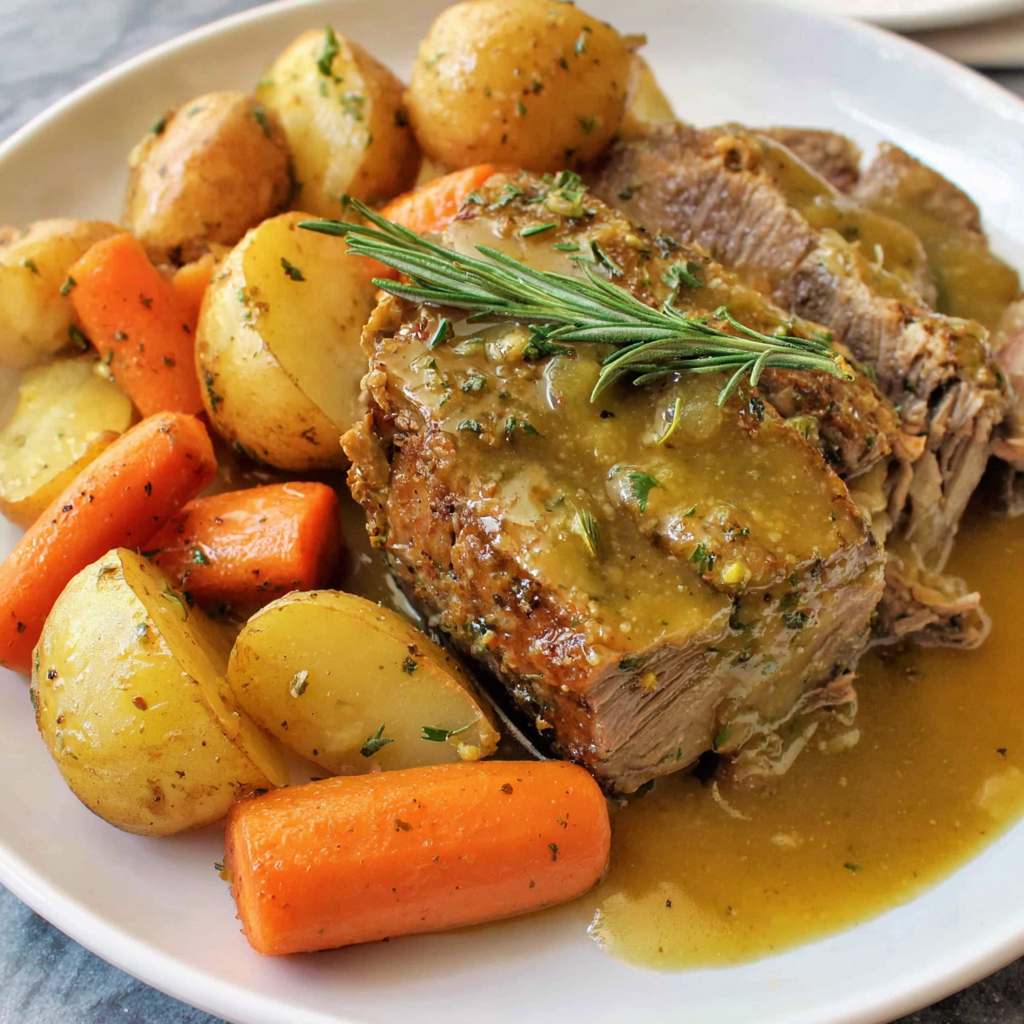
All-day slow cooking turns pork shoulder, potatoes, and carrots into a tender, savory classic with a rich homemade gravy everyone will love.

Tender layers of Yukon gold potatoes with seasoned beef in a creamy, cheddar sauce, baked until bubbly and irresistibly comforting.
Leave a comment & rating below or tag @flavest on social media!
Enjoyed this recipe? Share it with friends and family, and don't forget to leave a review!
This recipe looks amazing! Can't wait to try it.
Comments are stored locally in your browser. Server comments are displayed alongside your local comments.

Join to receive our email series which contains a round-up of some of our quick and easy family favorite recipes.