
>>

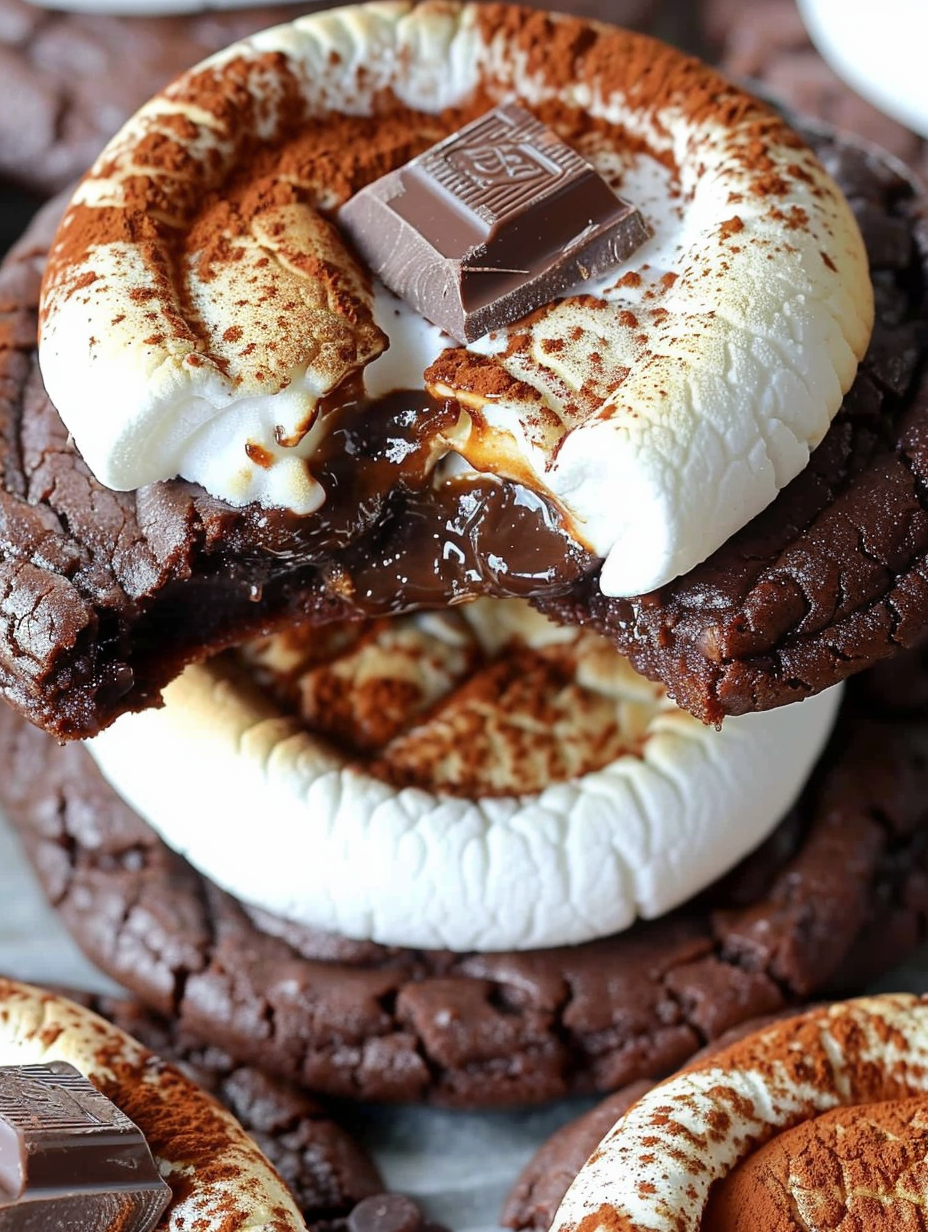
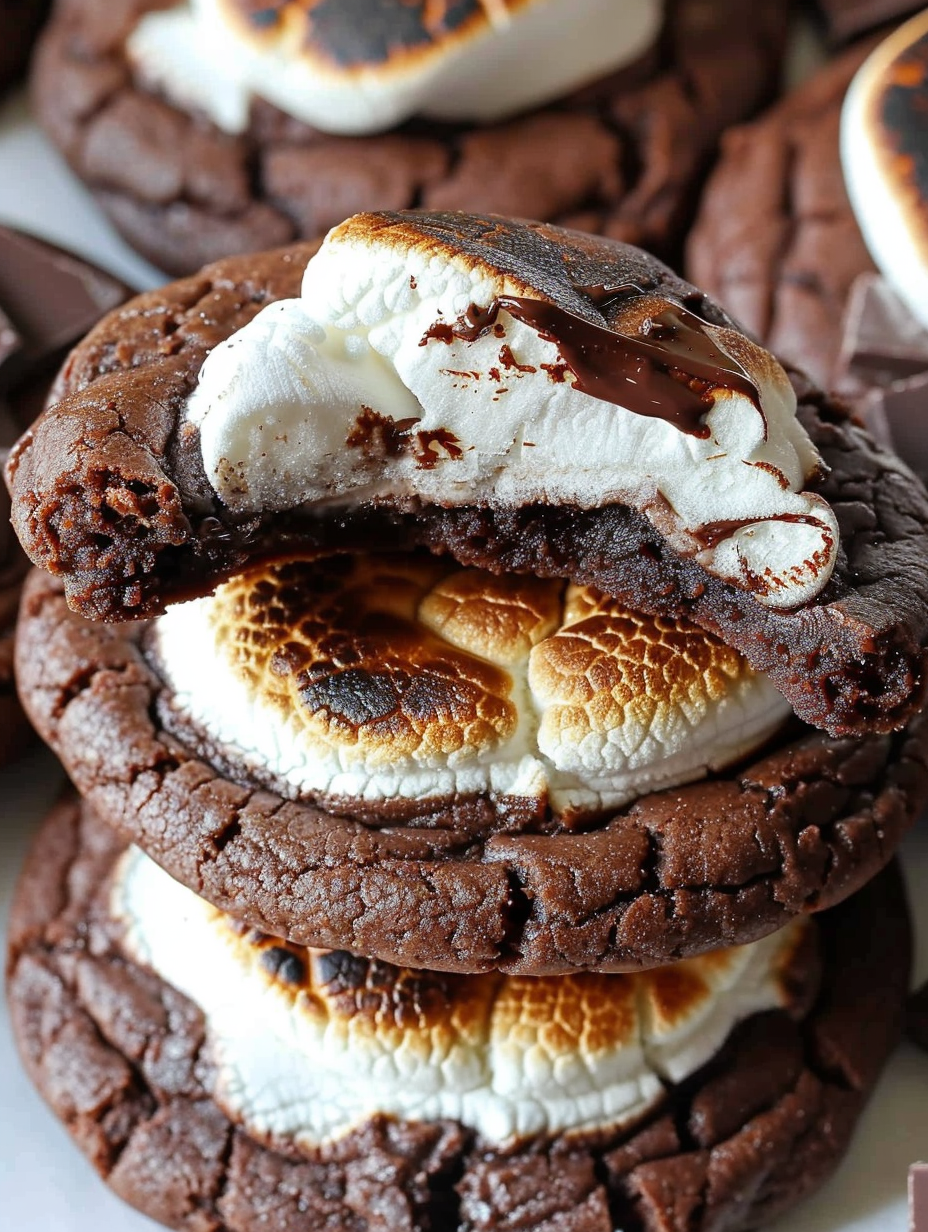
Soft, gooey, sticky, and chewy hot cocoa cookies topped with a toasted marshmallow for the perfect holiday treat.
This recipe for Hot Cocoa Cookies is my answer to the holidays when I want the nostalgic flavor of a steaming mug of cocoa and the comfort of a freshly baked cookie combined into one perfect bite. I first developed this version during a December cookie swap where I wanted something that tasted like hot chocolate but had the chew and heft of a homemade cookie. The result was so irresistible that everyone at the swap kept coming back for more, and my aunt asked for the recipe on the spot.
The texture is the real star: soft, gooey centers with slightly crisp edges, studded with milk chocolate chips and finished with a warm, toasted marshmallow on top. The marshmallow melts into the semisweet piece beneath, creating a sticky, marshmallow-kissed pool of chocolate that captures the joy of toast-your-own s'mores but in cookie form. These cookies are especially lovely straight from the oven while the marshmallow is warm and the chocolate is glossy.
In my kitchen this recipe became the cookie everyone requested at holiday breakfasts and cookie exchanges. My children love helping to top the warm cookies with marshmallow halves and then using a small kitchen torch under supervision to give them a golden finish. It has become one of those recipes that sparks conversation and immediate smiles.
My favorite part of making these is the moment the semisweet square and marshmallow melt together, creating a glossy chocolate pool that invites finger-licking. At our family cookie swap, people praised the nostalgic s'mores element and asked whether I made the marshmallows myself. The answer is no, but the assembly gives the same warm memory in a simpler format that fits well on a cookie platter.
Store cookies in a single layer in an airtight container at room temperature for up to three days. If you must stack, place parchment sheets between layers to prevent marshmallows from sticking. For longer storage, freeze baked cookies in a single layer on a baking sheet until solid, then transfer to a freezer-safe container with parchment between layers; thaw at room temperature and refresh for 5 minutes at 300°F to restore a slightly crisp edge.
If you need to make swaps, use Dutch-process cocoa mixed with 1 tablespoon granulated sugar to replace the hot chocolate mix; this will deepen the flavor but reduce sweetness so you can adjust sugar slightly. Swap semisweet chocolate for dark chocolate for a less sweet bite, or use white chocolate chips for a creamy contrast. For dairy-free versions, use dairy-free butter and dairy-free chips, but be cautious with marshmallows since many contain gelatin; seek vegan marshmallows if true vegan compliance is required.
These are perfect with a warm mug of cocoa, spiced coffee, or a glass of cold milk. Arrange on a holiday platter with powdered sugar-dusted shortbread and ginger snaps for a variety in texture. Garnish the plated cookies with a small sprig of rosemary or a dusting of cocoa for a festive presentation. They work as an after-dinner sweet or a centerpiece at a cookie swap.
These cookies draw on the American tradition of combining warm winter beverages with baked treats; hot cocoa has long been associated with holiday gatherings and winter comfort. The toasted marshmallow nods to campfire s'mores, a classic American outdoor dessert that became a nostalgic symbol of family and communal cooking. Putting these elements together is a modern, portable take on those shared traditions.
For winter holidays, fold in 1/4 cup crushed peppermint for a bright contrast or sprinkle crushed candy cane on top right after torching for a festive shimmer. In warmer months, swap marshmallows for a dusting of cocoa and chilled chocolate-nut clusters as a finishing touch. For autumn, add 1/4 teaspoon pumpkin pie spice for a warm, spiced variation.
Prepare the dough up to 24 hours ahead for deeper flavor; chill and portion on a parchment-lined tray, then cover and refrigerate. For freezer meal prep, freeze scooped dough balls on a tray then store in a labeled bag. Bake straight from frozen, adding 1-2 minutes to the bake time. Keep a small kitchen torch on hand for last-minute toasting to achieve the best presentation right before serving.
These cookies combine speed, nostalgia, and a showstopping finish, making them a reliable hit for holiday gatherings or cozy nights in. I encourage you to personalize the chocolate or marshmallow choices to suit your family’s tastes and share a pan warm from the oven.
Chill the dough for at least one hour to prevent excessive spreading and to deepen flavor.
Use a medium spring-loaded scoop for uniform cookies that bake evenly.
If you lack a torch, use the broiler but watch the marshmallows continuously to avoid burning.
Freeze unbaked dough balls on a tray before storing for long-term convenience.
This nourishing hot cocoa cookies recipe is sure to be a staple in your kitchen. Enjoy every moist, high protein slice — it is perfect for breakfast or as a wholesome snack any time.
This Hot Cocoa Cookies recipe makes perfectly juicy, tender, and flavorful steak every time! Serve with potatoes and a side salad for an unforgettable dinner in under 30 minutes.
In a medium bowl, stir together the flour, hot chocolate mix, baking powder, cinnamon, and salt. Whisk until evenly combined to ensure consistent rising and chocolate distribution.
In a large bowl using an electric mixer, beat the butter, granulated sugar, and brown sugar on medium-high for about 2 minutes until smooth and slightly lightened. Proper creaming traps air for tenderness.
Add the whole egg and egg yolk and beat until combined, then stir in vanilla. Scrape down the bowl so all ingredients are fully incorporated and no streaks remain.
On low speed, gradually add the dry mixture; finish by folding in chocolate chips by hand with a rubber spatula to avoid overmixing.
Cover and chill the dough for about 1 hour until no longer sticky. Chilling firms the butter and prevents excessive spreading during baking.
Preheat oven to 350°F. Line baking sheets with parchment. Scoop 1 1/2 tablespoon portions about 2 inches apart and bake for 10 minutes until edges set but centers remain soft.
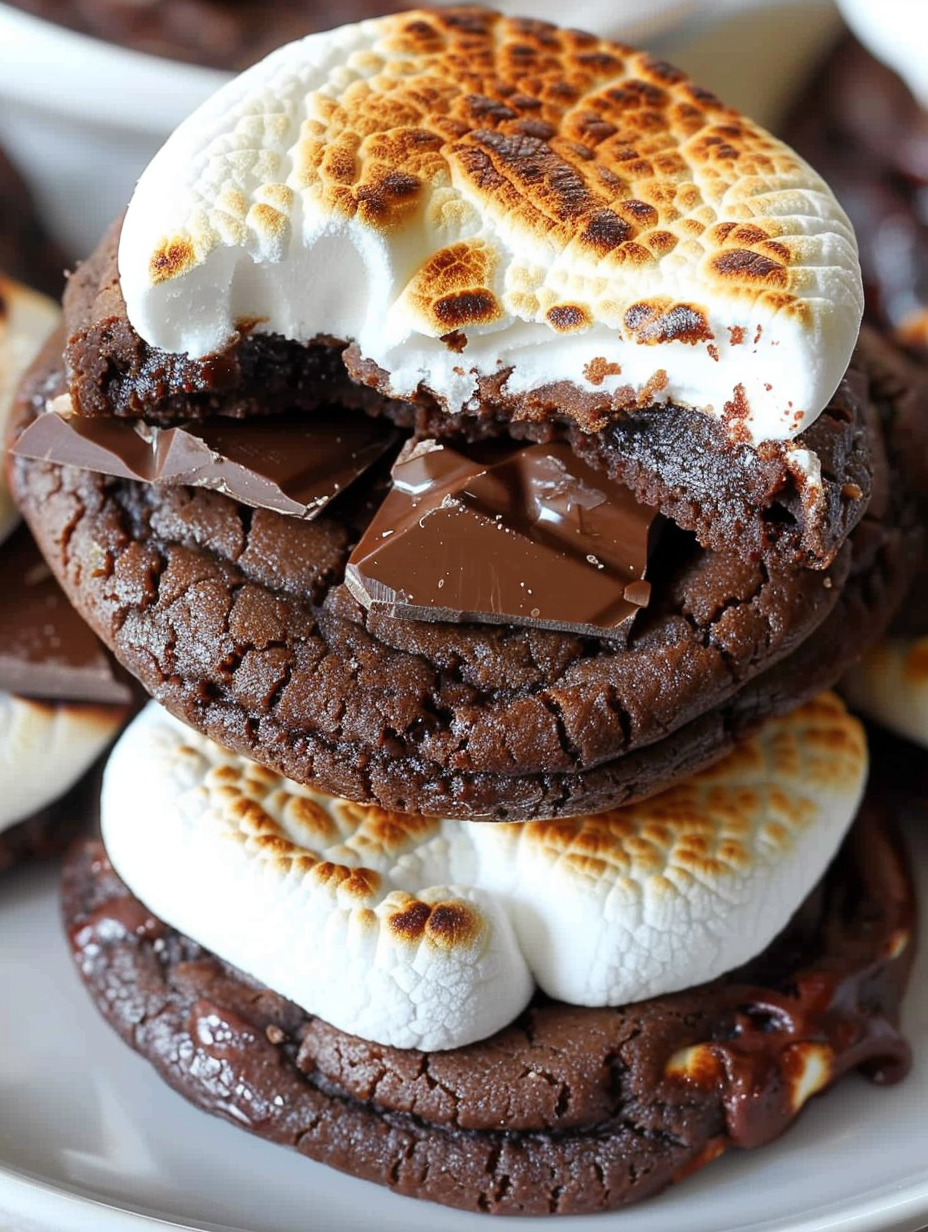
Remove from oven and press one semisweet chocolate piece and one marshmallow half, cut side up, onto each cookie. Return to oven and bake 4 more minutes until marshmallow softens.
Toast marshmallow tops with a kitchen torch until golden, or place under a high broiler for 20 to 30 seconds while watching closely to avoid burning.
Cool on the baking sheet for 5 minutes to set the chocolate and then transfer to a wire rack. Serve warm for the gooey experience or room temperature for easier handling.
Last Step: Please leave a rating and comment letting us know how you liked this recipe! This helps our business to thrive and continue providing free, high-quality recipes for you.
Leave a comment & rating below or tag
@flavest on social media!

Warm-spiced apple cider donuts with tender apple bits and a glossy cider glaze, fried crisp and irresistibly cozy for fall.

All-day slow cooking turns pork shoulder, potatoes, and carrots into a tender, savory classic with a rich homemade gravy everyone will love.

Tender layers of Yukon gold potatoes with seasoned beef in a creamy, cheddar sauce, baked until bubbly and irresistibly comforting.
Leave a comment & rating below or tag @flavest on social media!
Enjoyed this recipe? Share it with friends and family, and don't forget to leave a review!
This recipe looks amazing! Can't wait to try it.
Comments are stored locally in your browser. Server comments are displayed alongside your local comments.

Join to receive our email series which contains a round-up of some of our quick and easy family favorite recipes.
