
Keto Philly Cheesesteak Roll Ups

Satisfy cheesesteak cravings with low-carb roll ups that clock in at just 2g net carbs per serving. Crispy cheese wraps, savory beef, and melty cream cheese make these perfect for party platters or a quick snack.
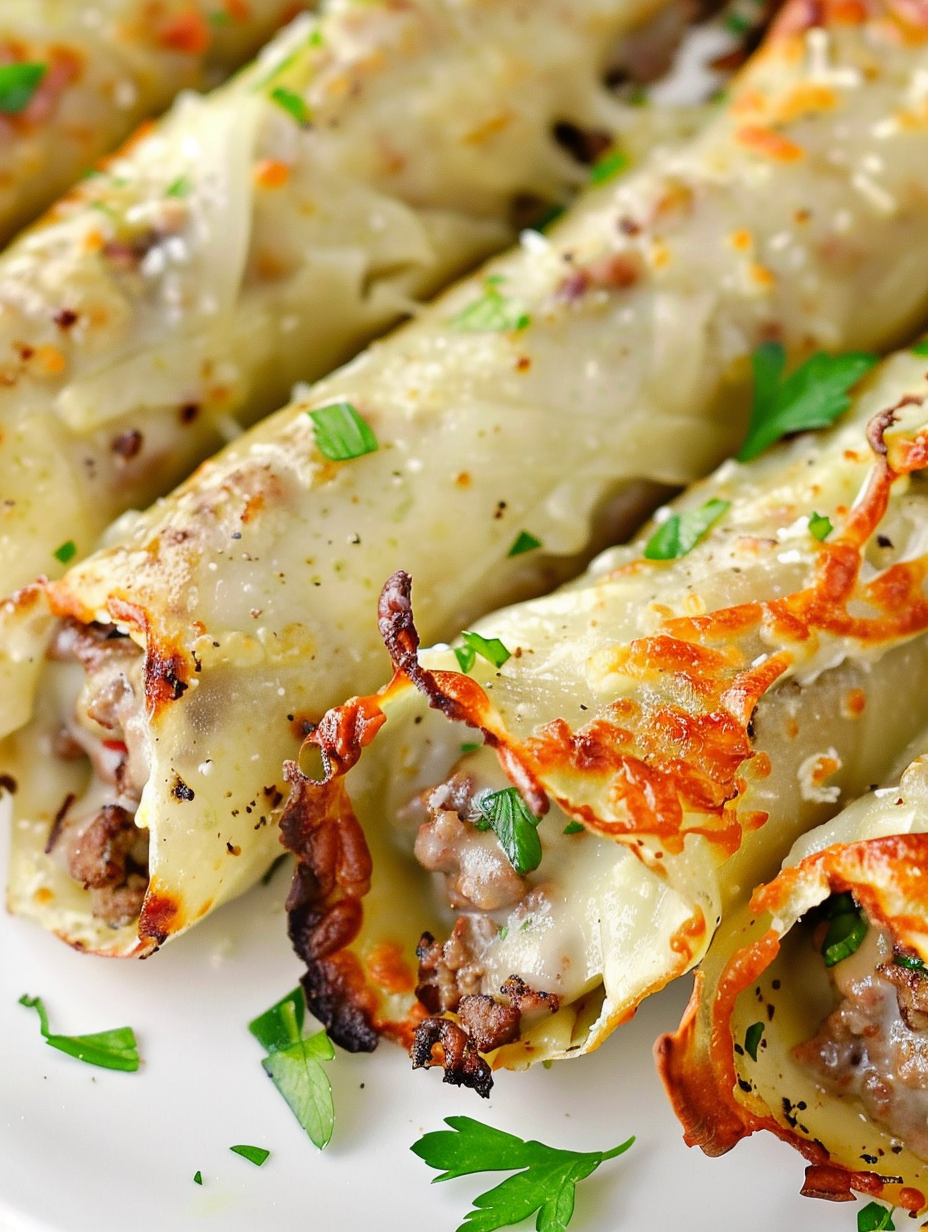
This recipe for Keto Philly Cheesesteak Roll Ups has been one of my most reliable crowd-pleasers for busy weeknights and last-minute get-togethers. I first developed it when I was craving a classic Philly sandwich but wanted to stay strict to a low-carb plan. The idea of swapping bread for a crisped cheese wrap felt daring at first, but the result—crispy, lace-like cheese encasing a rich, beefy filling—was so satisfying that it immediately became a regular on our appetizer rotation. Each roll up delivers concentrated savory flavor, a pleasing contrast of textures, and only about 2 grams of net carbs per serving.
I remember the first time my family tried these: my partner, a longtime fan of traditional hoagies, gleefully declared they were "even better without the bread." The melted Monterey Jack forms a sturdy yet delicate shell, while the cream cheese and Worcestershire sauce tie the filling together with a silky mouthfeel. These roll ups are quick to make, transport well for parties, and reheated gently, they retain excellent texture. If you love bold, cheesy snacks with minimal carbs, these will become one of your favorites.
Why You'll Love This Recipe
- Low in carbohydrates: each roll up contains only about 2 grams net carbs, making it ideal for keto or low-carb plans.
- Quick to prepare: total active time is just 15 minutes and 10 minutes in the oven, perfect for busy evenings or last-minute hosting.
- Simple ingredients: uses pantry-friendly items like shredded Monterey Jack, ground beef, cream cheese, and a bell pepper for texture and color.
- Make-ahead friendly: filling can be prepared earlier and warmed before assembling, saving time on serving day.
- Crowd-pleaser: savory, cheesy, and portable — excellent for game day, potlucks, or party platters.
- Gluten-free by design: naturally free of wheat when made as written, so it's great for guests avoiding gluten.
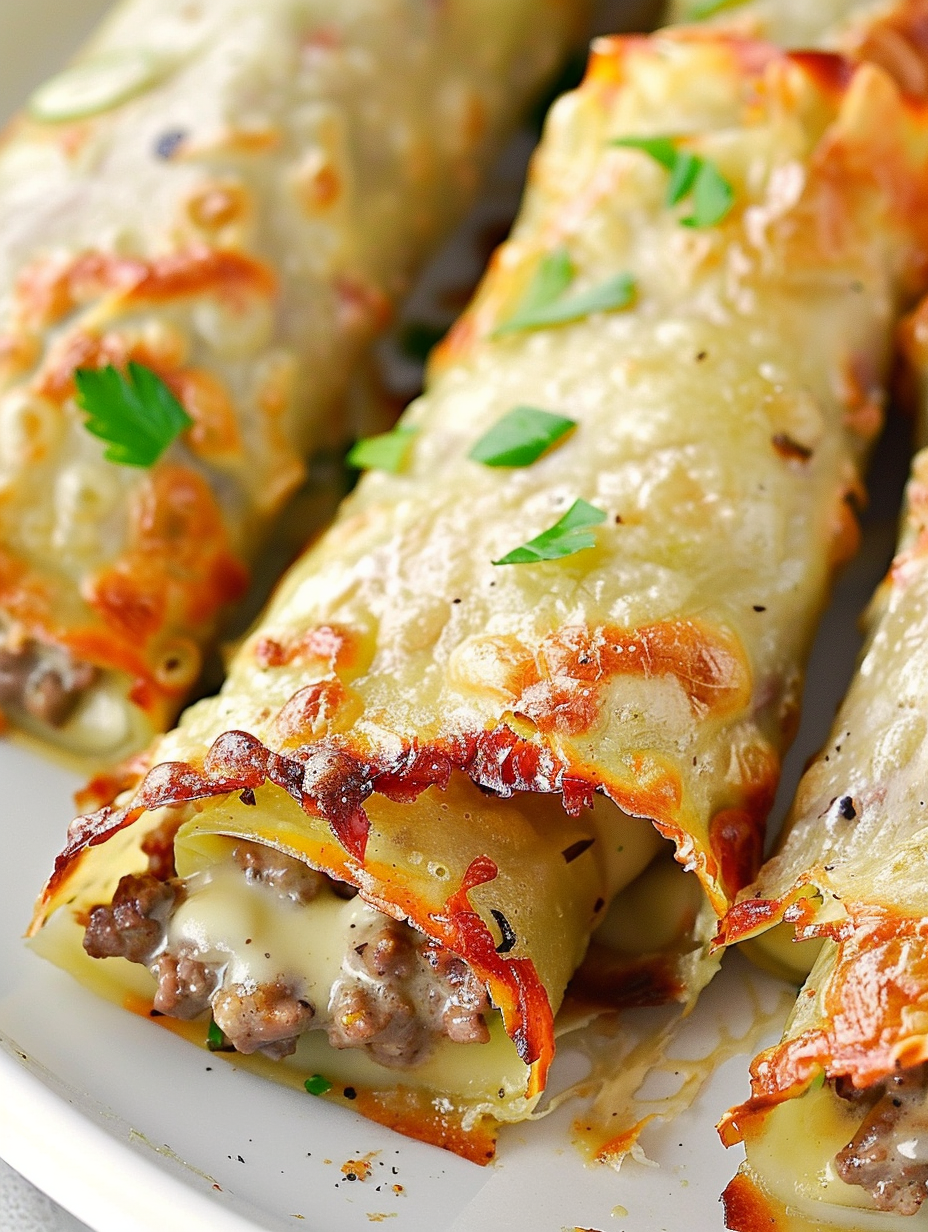
From my experience, these roll ups stand out because they deliver authentic cheesesteak flavor without the heaviness of bread. I first tested variations with provolone and cheddar before settling on Monterey Jack for its excellent melt and neutral profile. Family and friends often ask for the recipe after tasting them at parties — they vanish fast, which is the best compliment.
Ingredients
- Monterey Jack cheese: 2 cups shredded. Choose a high-quality, full-fat block cheese and shred it yourself for best melting behavior; pre-shredded cheese often contains anti-caking agents that affect the lace-like crisping.
- Ground beef: 16 ounces. Use 80/20 for flavor and mouthfeel; leaner beef will dry the filling, while very fatty blends may need extra draining.
- Onion: 1/2 medium, thinly sliced. Sweet or yellow onion works well — cook until softened but not fully caramelized to keep a little bite.
- Bell pepper: 1 medium, thinly sliced. Any color is fine; red adds sweetness and visual contrast, while green gives a sharper flavor.
- Worcestershire sauce: 1 teaspoon. This adds umami depth and echoes the classic cheesesteak flavor profile.
- Cream cheese: 4 ounces, softened. Helps bind the filling and adds a creamy richness that contrasts with the crisp cheese wrapper.
- Salt and pepper: To taste. Season the filling thoughtfully; the cheese wrapper will be savory but not heavily salted.
Instructions
Step 1 — Preheat and prepare: Preheat the oven to 350 degrees F and line a large baking sheet with parchment paper. Shred two cups of Monterey Jack from a block for the best melting and crisping; measure into eight even mounds using a spoon or a small cookie scoop so the rounds bake uniformly. Step 2 — Sauté the vegetables and beef: In a skillet over medium-high heat, add the ground beef, thinly sliced onion, and bell pepper. Cook, breaking the meat up with a spatula, until the vegetables have softened and the beef is fully browned, about 6 to 8 minutes. Drain any excess grease into a heatproof container and return the pan to the stove. Step 3 — Finish the filling: Lower the heat to medium. Stir in 1 teaspoon Worcestershire sauce and the softened 4 ounces of cream cheese. Continue stirring until the cream cheese is fully melted and the mixture is glossy and cohesive, about 2 to 3 minutes. Taste and season with salt and pepper; remember the cheese wrapper will add saltiness. Step 4 — Form and bake cheese rounds: On the prepared parchment-lined sheet, place eight equal mounds of shredded Monterey Jack, flattening each mound into a circle about 3 to 4 inches in diameter. Bake in the preheated oven for 8 to 10 minutes, or until the edges begin to brown and the cheese develops a lace-like appearance. Keep a close eye; once it goes too far the cheese will over-brown quickly. Step 5 — Assemble and roll: Remove the cheese circles from the oven and let them cool for a minute until just pliable. While still soft, place a spoonful of the beef and vegetable filling across the center of each circle. Starting at one edge, gently roll the cheese around the filling into a compact cylinder. Work quickly but gently; the cheese will harden as it cools and form a stable wrap. Step 6 — Cool and serve: Allow the roll ups to cool briefly on the parchment for 3 to 5 minutes so the cheese fully sets. Serve warm or at room temperature. If making ahead, store in a single layer in the refrigerator and reheat gently in a 300 degrees F oven for a few minutes to restore crispness.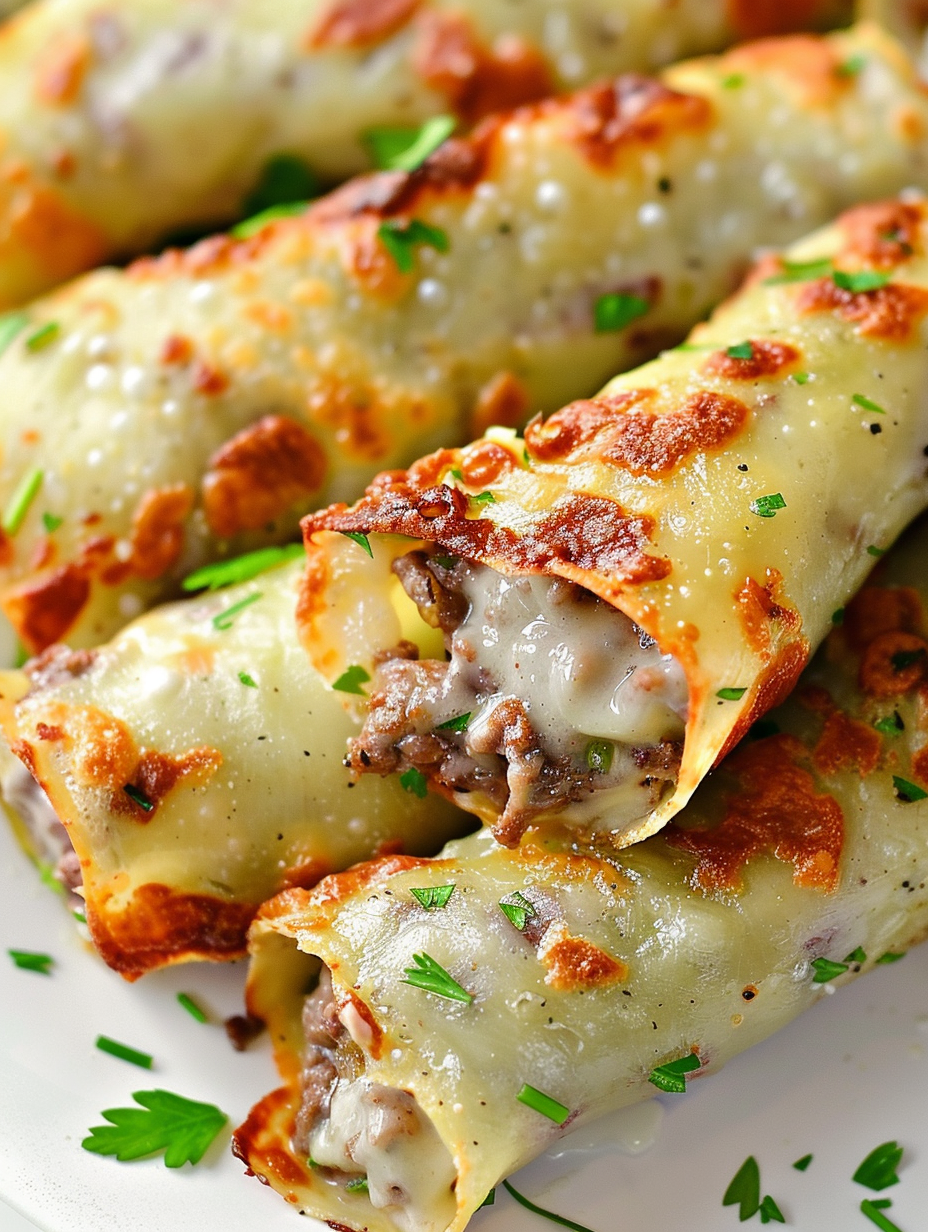
You Must Know
- Nutrition snapshot: each roll up is about 315 kcal and roughly 2 grams net carbs, making it great for low-carb plans.
- Storage: refrigerate in an airtight container for up to 3 days; freeze unrolled filling if you plan further ahead.
- Reheating: warm in a low oven rather than a microwave to preserve crispness and prevent the cheese from becoming rubbery.
- Texture tip: shredding cheese from a block yields better lace-like crisps than pre-shredded bags that contain anti-caking agents.
What I love most is how these bring the essence of a Philly cheesesteak—savory beef, sweet peppers, melty cheese—into a hand-held, low-carb format. They have saved many game-day spreads and impromptu gatherings because guests who normally avoid low-carb dishes often go back for seconds. The balance of melty interior and crisp exterior is what keeps me making these again and again.
Storage Tips
Store any leftovers in an airtight container in the refrigerator for up to three days. Place pieces in a single layer separated by parchment to avoid sticking. For longer storage, separate the filling and cheese shells: the filling freezes well in a freezer-safe container for up to three months, thawed overnight in the fridge. To reheat, warm in a 300 degrees F oven for 5 to 8 minutes until warmed through and the exterior regains a bit of crispness; avoid high heat which can make the cheese tough.
Ingredient Substitutions
If Monterey Jack isn't available, provolone or mild cheddar can replace it though melting character differs slightly; provolone will be more elastic, while cheddar becomes a stronger flavored crisp. Swap ground beef for thinly sliced top round or ribeye for a more traditional cheesesteak texture — sauté the slices briefly to avoid overcooking. For dairy-free or vegan diets, use a firm plant-based melting cheese and a seasoned crumbled plant protein, though net carbs and flavor will change substantially.
Serving Suggestions
These roll ups make an excellent appetizer served with a small bowl of sugar-free hot giardiniera or a simple mustard aioli for dipping. For a fuller meal, plate two roll ups with a crisp green salad and roasted asparagus. Garnish with a sprinkle of chopped parsley or thinly sliced scallions for color contrast. They also travel well in a picnic box and pair nicely with sparkling water or a dry white wine for grown-up gatherings.
Cultural Background
The origin of the cheesesteak lies in Philadelphia, where thinly sliced beef, onions, and cheese are served on a long roll. This rendition keeps the signature flavors while removing the bread, a reflection of modern low-carb adaptations that preserve taste and texture through creative technique. Converting classic sandwiches into handheld, bread-free versions has become common in ketogenic and gluten-free kitchens, honoring regional flavors while adapting to dietary needs.
Seasonal Adaptations
In summer, add charred mini bell peppers or a quick sauté of mushrooms for an earthier profile. In cooler months, finish the filling with a tablespoon of butter and a splash of beef stock for extra richness. Holiday gatherings can benefit from swapping toppings—try a roasted poblano for a smoky twist or a drizzle of sugar-free barbecue sauce for deeper flavor. Small adjustments respect seasonality while keeping preparation time minimal.
Meal Prep Tips
Prepare the filling up to two days ahead and refrigerate in an airtight container; warm gently before assembling into hot, freshly crisped shells. Alternatively, bake cheese rounds and allow to cool completely, then store flat between sheets of parchment in the fridge for up to 24 hours; re-crisp briefly in the oven before filling. For parties, set up an assembly station so a helper can roll while you manage the oven and plating.
These Keto Philly Cheesesteak Roll Ups are simple, savory, and adaptable. They're a great example of how thoughtful ingredient choices and a few technique tweaks can produce a snack that satisfies cravings and keeps carbs in check. Give them a try and make small adjustments until they match your favorite cheesesteak memories.
Pro Tips
Shred Monterey Jack from a block for the best lace-like crisping; avoid pre-shredded cheese with anti-caking agents.
Drain excess grease from the skillet to prevent soggy filling and to keep roll ups from becoming greasy.
Work quickly when rolling the cheese while it is still pliable. It will set fast as it cools, so have the filling ready.
If the cheese over-browns, reduce oven time by a minute on the next batch and watch closely between minutes 7-9.
For even rounds, use a small ice cream scoop or two-tablespoon measure to portion the cheese before flattening.
This nourishing keto philly cheesesteak roll ups recipe is sure to be a staple in your kitchen. Enjoy every moist, high protein slice — it is perfect for breakfast or as a wholesome snack any time.
FAQs about Recipes
Can I use pre-shredded cheese?
Yes. Shred cheese from a block for better melting and crisping. Pre-shredded cheese can contain anti-caking agents that affect texture.
What is the best way to reheat leftovers?
Reheat gently in a 300 degrees F oven for 5 to 8 minutes to restore texture. Avoid microwaving at high power to prevent rubbery cheese.
Tags
Keto Philly Cheesesteak Roll Ups
This Keto Philly Cheesesteak Roll Ups recipe makes perfectly juicy, tender, and flavorful steak every time! Serve with potatoes and a side salad for an unforgettable dinner in under 30 minutes.
Ingredients
Cheese
Beef & Vegetables
Seasoning & Extras
Instructions
Preheat and portion cheese
Preheat the oven to 350 degrees F. Line a baking sheet with parchment and portion 2 cups shredded Monterey Jack into 8 even mounds, flattening each into a 3 to 4 inch circle.
Cook vegetables and beef
In a skillet over medium-high heat, cook 16 ounces ground beef with 1/2 sliced onion and 1 sliced bell pepper until vegetables soften and beef is browned; drain excess grease.
Finish the filling
Lower heat and stir in 1 teaspoon Worcestershire sauce and 4 ounces softened cream cheese until the filling becomes creamy and well combined. Season with salt and pepper.
Bake cheese rounds
Bake the cheese circles for 8 to 10 minutes until edges brown and cheese becomes lace-like. Watch closely to avoid over-browning.
Assemble roll ups
Let cheese cool 1–2 minutes until pliable, spoon filling onto each circle, then roll the cheese around the filling. Allow to cool and harden briefly before serving.
Last Step: Please leave a rating and comment letting us know how you liked this recipe! This helps our business to thrive and continue providing free, high-quality recipes for you.
Nutrition
Did You Make This?
Leave a comment & rating below or tag
@flavest on social media!
Categories:
You might also like...

Glazed Apple Cider Donuts
Warm-spiced apple cider donuts with tender apple bits and a glossy cider glaze, fried crisp and irresistibly cozy for fall.

Slow Cooker Pork Pot Roast
All-day slow cooking turns pork shoulder, potatoes, and carrots into a tender, savory classic with a rich homemade gravy everyone will love.

Cheesy Hamburger Potato Casserole
Tender layers of Yukon gold potatoes with seasoned beef in a creamy, cheddar sauce, baked until bubbly and irresistibly comforting.
Did You Make This?
Leave a comment & rating below or tag @flavest on social media!
Rate This Recipe
Share This Recipe
Enjoyed this recipe? Share it with friends and family, and don't forget to leave a review!
Comments (1)
This recipe looks amazing! Can't wait to try it.
Comments are stored locally in your browser. Server comments are displayed alongside your local comments.

Hi, I'm Maria!
What's Popular

30-Minute Meals!
Join to receive our email series which contains a round-up of some of our quick and easy family favorite recipes.