
>>

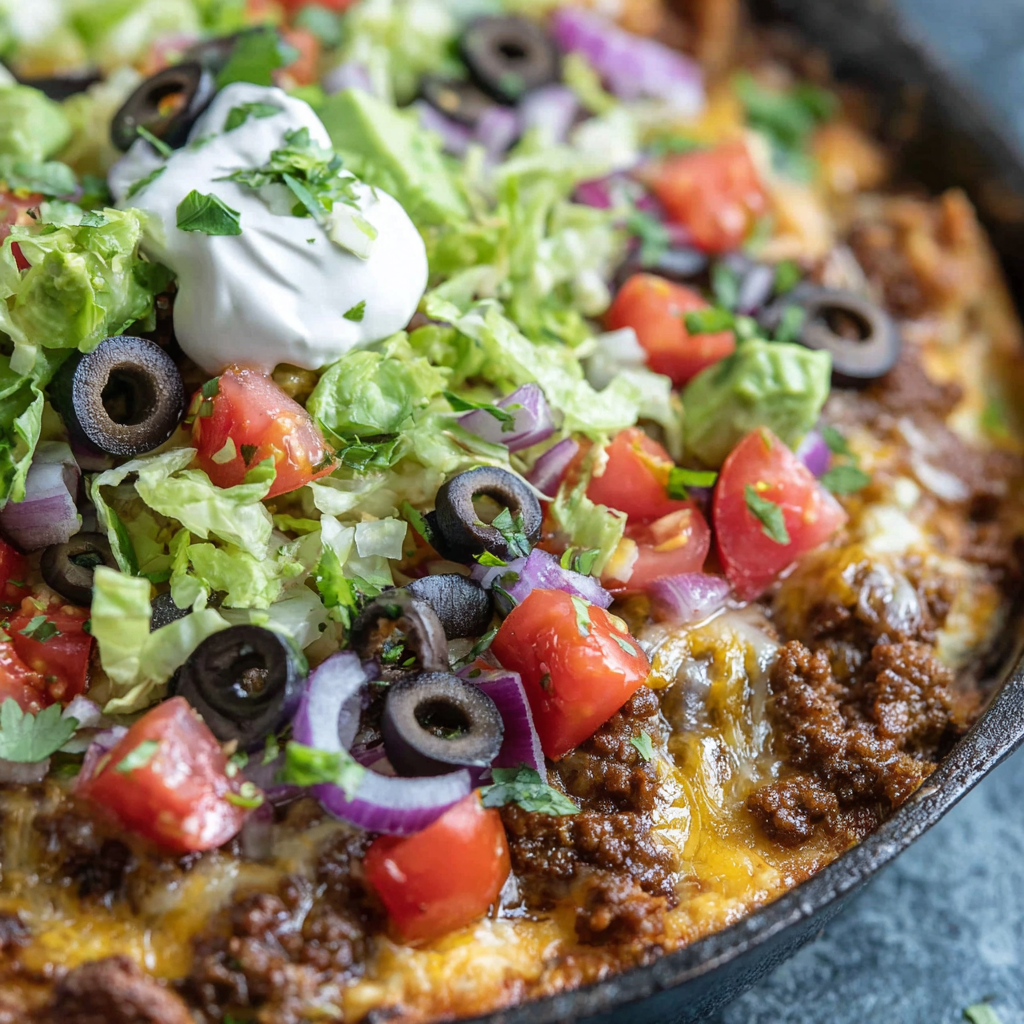
Warm, cheesy, and piled with seasoned beef, beans, salsa and fresh toppings — a guaranteed party favorite that's always the first to go.

I remember the first time my niece tried this—she declared it the "best thing ever" and came back for thirds, insisting on piling on extra jalapeño. It’s become our go-to for birthdays and small gatherings because it’s forgiving if you’re short on time and always looks impressive when served sizzling from the oven. I often double the topping amounts when feeding a crowd, because those bright, fresh finishes disappear fast.
One of my favorite things about this dish is how it brings people together—guests tend to circle the skillet and everyone customizes their chips. At family gatherings I’ve learned to set out small bowls of extra toppings (lime wedges, pickled jalapeños, and hot sauce) to accommodate different spice tolerances. I particularly enjoy watching the scramble for the last bite; that reaction is a sure sign you’ve succeeded.
To store leftovers, let the dip cool to room temperature, then cover tightly with plastic wrap or transfer to an airtight container. Refrigerate for up to 3 days—keep the fresh toppings separate to maintain texture. For freezing, omit lettuce, avocado and sour cream; cool baked dip completely, transfer to a freezer-safe dish, and freeze for up to 3 months. Thaw overnight in the refrigerator and reheat in a 350°F oven until heated through. When reheating single portions, a 1,200W microwave on medium for 60–90 seconds works, but oven reheating maintains texture better.
Swap ground turkey or shredded rotisserie chicken for beef to reduce fat; increase seasoning slightly if you use leaner meat. For a vegetarian version, replace beef with a seasoned can of black beans or crumbled, cooked tempeh and add smoky chipotle in adobo for depth. Use dairy-free shredded cheese and plant-based sour cream to make the dish vegan—expect slightly different melt behavior with dairy-free cheese. If you prefer fewer carbs, omit the chips and serve scoops over baked zucchini rounds or lettuce cups.
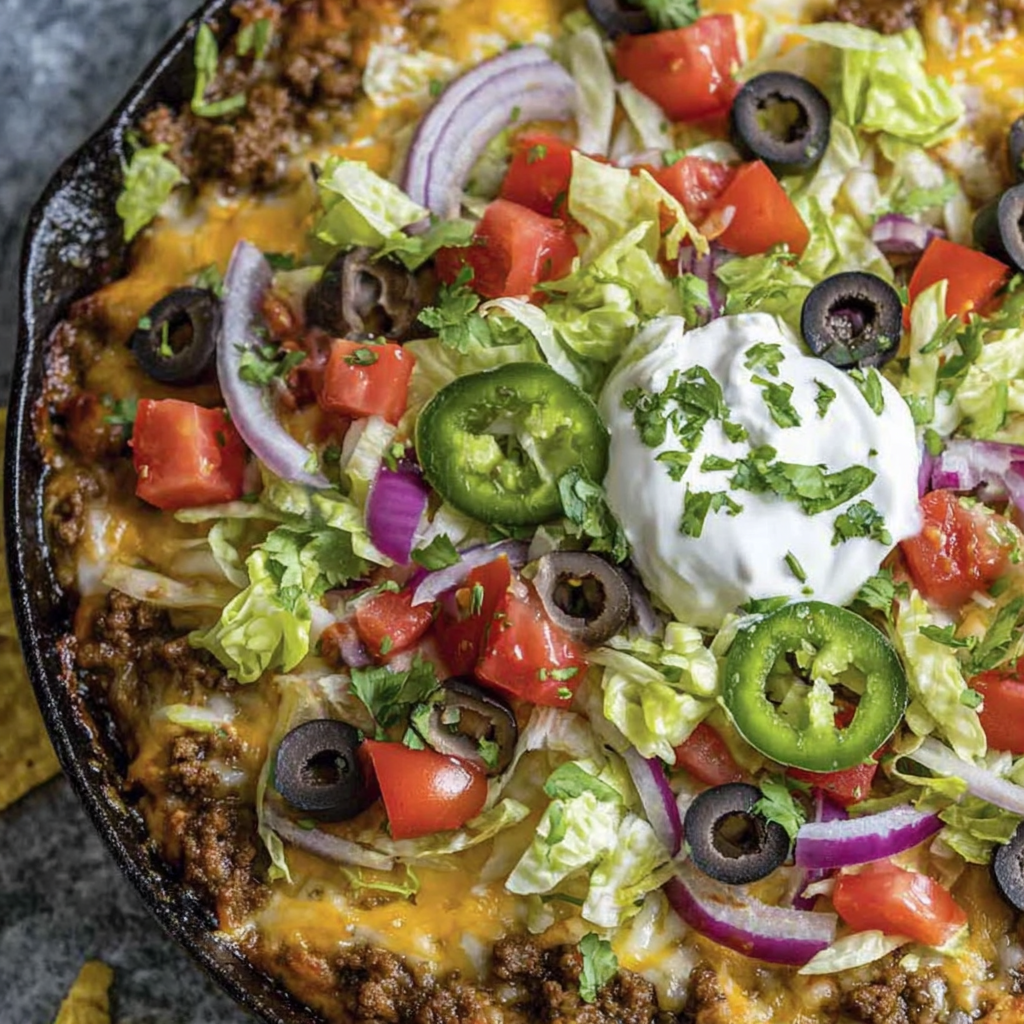
Serve straight from the cast iron so it stays warm—place a small trivet in the center of the table and let guests scoop with sturdy tortilla scoops or Fritos. Pair with margaritas, Mexican beer, or a crisp, citrusy punch. For a fuller spread, accompany with a simple cilantro-lime rice, corn salad, or roasted street corn. Garnish with lime wedges and extra cilantro for bright acidity; a drizzle of hot sauce or a sprinkle of cotija cheese elevates the presentation.
This layered dip taps into Tex-Mex traditions—combining Mexican flavors like cumin, chili, and cilantro with American snack culture. While not a traditional Mexican dish, its flavor profile borrows from classic taco fillings and communal sharing styles seen in both Texan and Californian party food. The concept of a shareable, layered dip emerged as convenience cooking met party culture; today it’s a staple at game days and casual gatherings, adapting regional ingredients like pepper jack or cotija depending on availability.
In summer, use fresh pico de gallo or homemade tomatillo salsa instead of jarred salsa for freshness, and add grilled corn kernels to the topping for seasonal sweetness. In colder months, swap in roasted poblano peppers and a smoky adobo salsa for depth. For holiday parties, add warm roasted sweet potato cubes in place of beans for a sweeter, autumnal twist and top with pomegranate seeds for color and acidity.
To meal prep, cook the seasoned beef and assemble layers through the cheese step, cover tightly and refrigerate for up to 24 hours. When ready to serve, bake for the same 20–25 minutes until bubbly. Portion into individual oven-safe ramekins for grab-and-go appetizers or party-sized servings—these reheat faster and are easy to transport. Keep delicate toppings in small containers and add them just before serving to preserve texture.
In short, this loaded dip is reliably delicious, endlessly adaptable, and a crowd-pleaser in virtually any setting. Whether you’re feeding a hungry group at a game night or making a cozy snack for family movie night, it’s a recipe that invites personalization and always brings people together. Give it a try, and don’t be surprised when you’re asked for the recipe—again and again.
Shred cheese from a block for smoother melting and better flavor—pre-shredded cheese often contains anti-caking agents that affect texture.
Use a thick jarred salsa or drain excess liquid from a runny jar to prevent a watery dip.
If using cast iron, preheat the skillet briefly while the oven warms to help maintain oven temperature for even baking.
To keep avocado from browning when prepping ahead, toss diced avocado with a squeeze of lime and store separately.
Double the topping quantities when serving a crowd; fresh toppings disappear faster than the warm layers.
This nourishing loaded taco dip recipe is sure to be a staple in your kitchen. Enjoy every moist, high protein slice — it is perfect for breakfast or as a wholesome snack any time.
This Loaded Taco Dip recipe makes perfectly juicy, tender, and flavorful steak every time! Serve with potatoes and a side salad for an unforgettable dinner in under 30 minutes.
Preheat oven to 350°F. Dice tomatoes, onion, jalapeños, avocado and chop cilantro. Shred cheeses from blocks for best melt and set toppings aside.
In a large skillet over medium-high heat, brown 1 lb ground beef, breaking it up until no pink remains (6–8 minutes). Drain excess fat, return to pan, add 1 oz taco seasoning and 2 tablespoons water, simmer 1–2 minutes to distribute seasoning.
Spread the 15 oz can of refried beans evenly in an 11-inch cast-iron skillet. Spoon 1 1/2 cups thick salsa over the beans, then top with the seasoned beef. Sprinkle 3/4 cup pepper jack and 3/4 cup cheddar evenly across the top.
Bake in the preheated oven 20–25 minutes until cheese is melted and edges bubble. Tent with foil if top browns too quickly. Visual cue: bubbling edges and glossy melted cheese.
Remove from oven and rest 3–5 minutes. Add shredded lettuce, diced tomatoes, olives, red onion, jalapeño, avocado, cilantro and dollops of sour cream. Serve warm with chips.
Last Step: Please leave a rating and comment letting us know how you liked this recipe! This helps our business to thrive and continue providing free, high-quality recipes for you.
Leave a comment & rating below or tag
@flavest on social media!

Warm-spiced apple cider donuts with tender apple bits and a glossy cider glaze, fried crisp and irresistibly cozy for fall.

All-day slow cooking turns pork shoulder, potatoes, and carrots into a tender, savory classic with a rich homemade gravy everyone will love.

Tender layers of Yukon gold potatoes with seasoned beef in a creamy, cheddar sauce, baked until bubbly and irresistibly comforting.
Leave a comment & rating below or tag @flavest on social media!
Enjoyed this recipe? Share it with friends and family, and don't forget to leave a review!
This recipe looks amazing! Can't wait to try it.
Comments are stored locally in your browser. Server comments are displayed alongside your local comments.

Join to receive our email series which contains a round-up of some of our quick and easy family favorite recipes.
