
>>

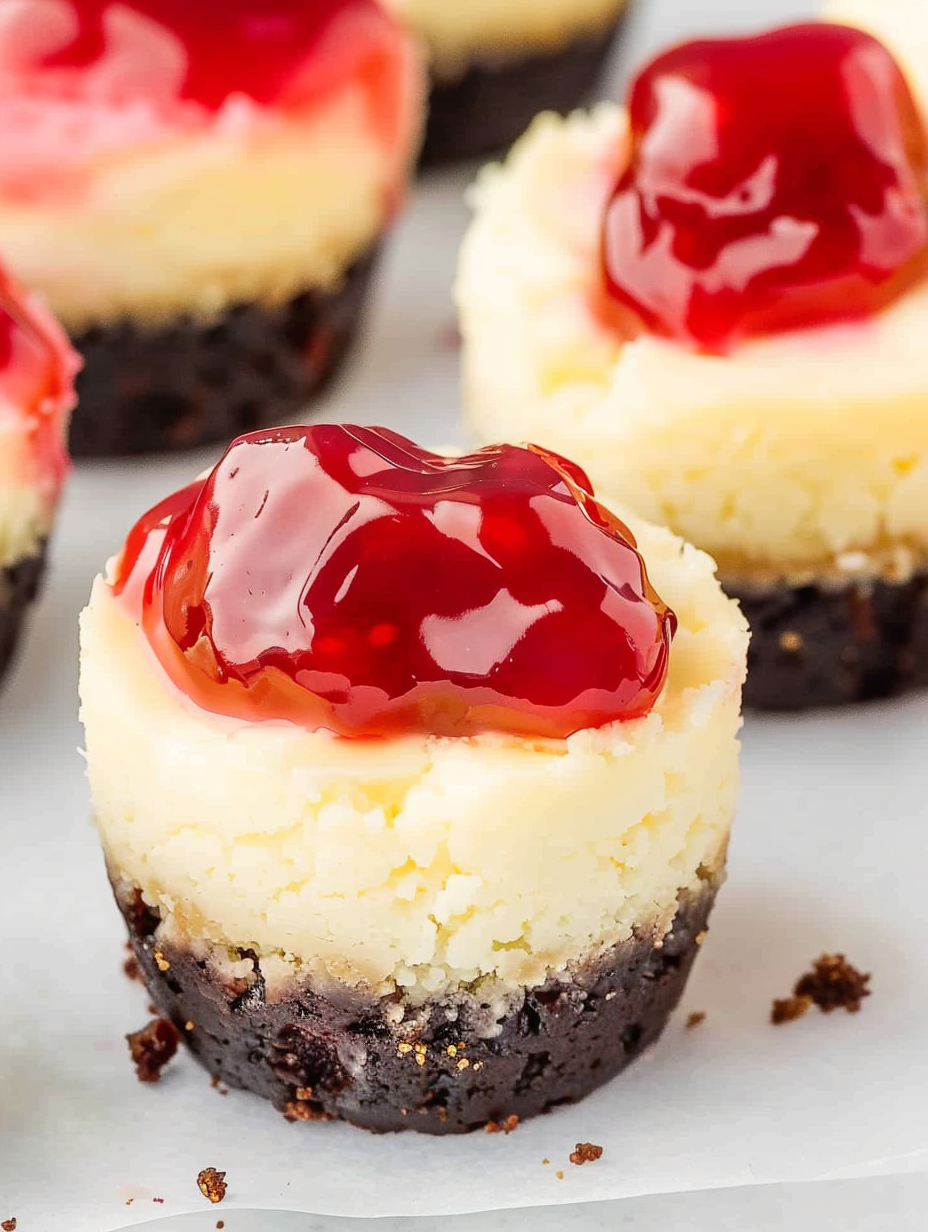
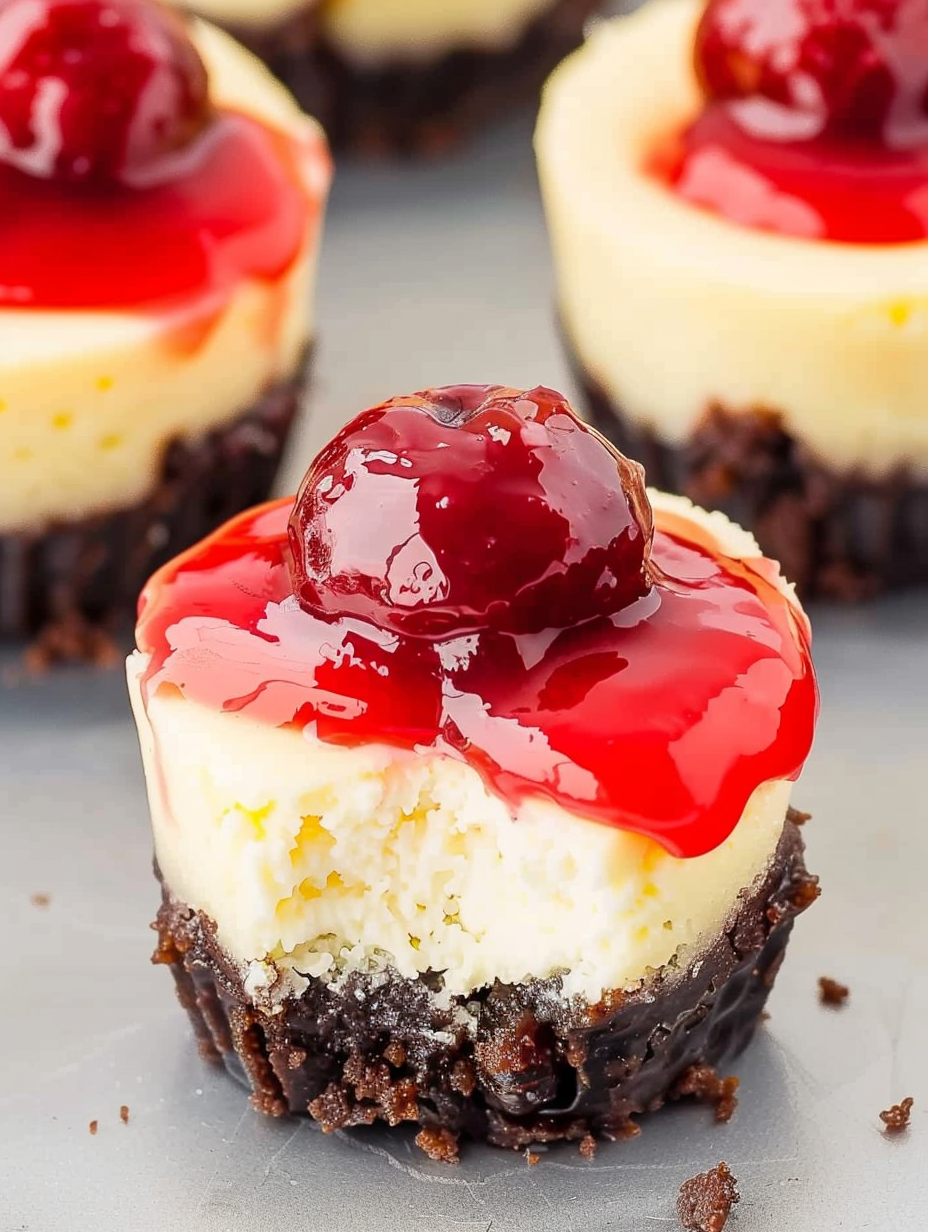
Creamy, bite-sized cheesecakes with a buttery graham crust and bright cherry topping — perfect for parties, potlucks, and easy make-ahead desserts.
I tested this across several ovens and learned that watching for the faint jiggle in the center is more reliable than the timer alone. Family feedback has been consistent — the cherries make them feel festive and everyone always asks for the recipe. I’ve brought these to holiday gatherings, summer barbecues, and even office parties where they were absolutely devoured within minutes.
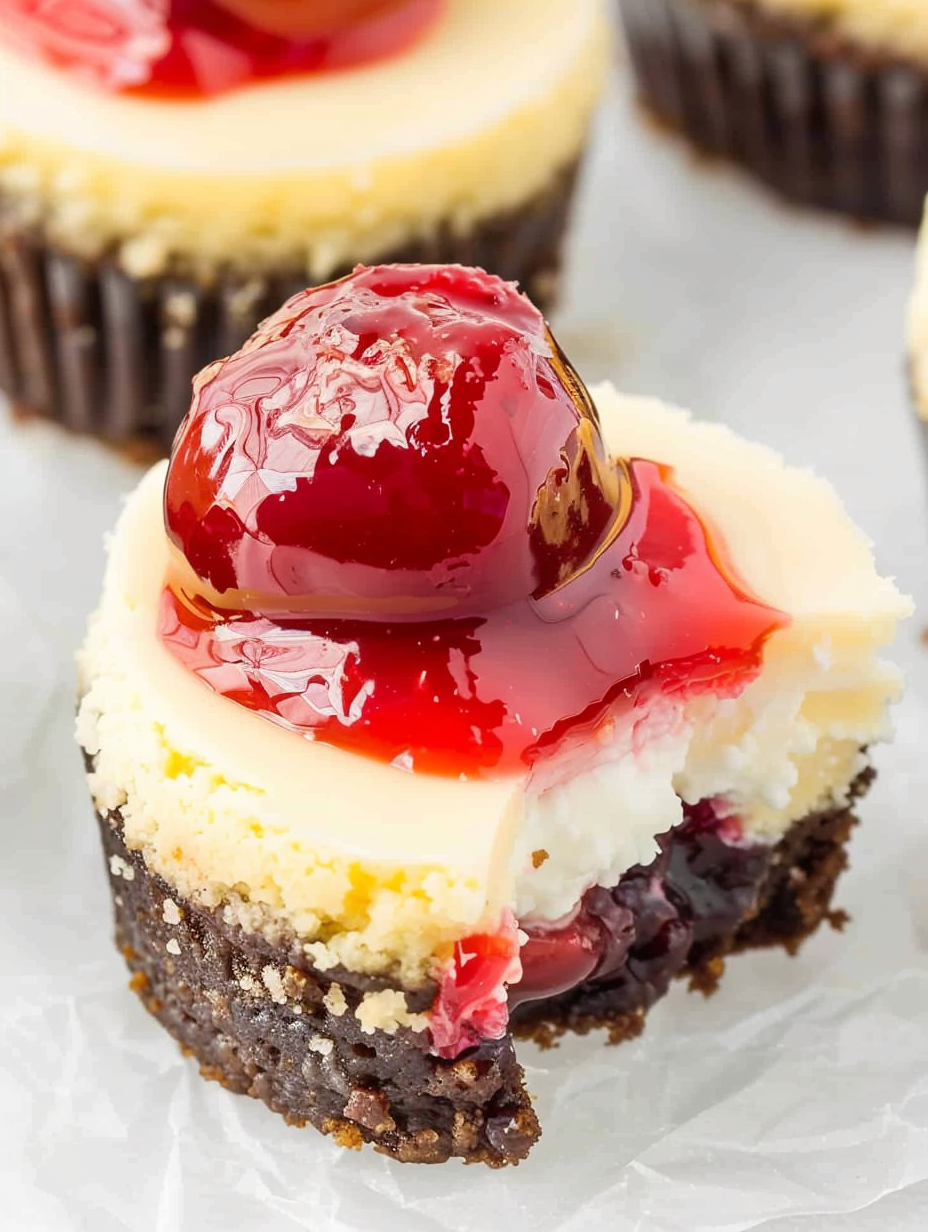
My favorite part of this dessert is the immediate visual appeal: glossy cherries on a pristine white cheesecake make any gathering feel special. Family members have told me these remind them of classic diner desserts, and I love how the simple tin-foil wrapper elevates the whole presentation. Over time I’ve learned to chill long enough that the centers slice cleanly, and to avoid overbeating which can introduce air and cause cracks.
Store chilled cheesecakes in an airtight container in the refrigerator for up to 4 days. If stacking, place parchment or wax paper between layers to prevent sticking and preserve the topping. For longer storage, freeze un-topped mini cheesecakes on a baking sheet until firm, then transfer to a freezer-safe container or bag for up to 3 months. Thaw overnight in the fridge and add the cherry pie filling just before serving. When reheating is desired, bring to room temperature for 20 to 30 minutes — avoid microwaving, which can soften the filling unevenly and make the crust soggy.
If you need to swap ingredients, there are several simple substitutions that retain great flavor. For a gluten-free crust, use gluten-free graham crackers or substitute finely ground almond flour (reduce butter slightly to achieve the same texture). For a lighter filling, use reduced-fat cream cheese and light sour cream, though texture will be slightly less dense and more delicate. If fresh cherries are preferred, simmer 1 1/2 cups fresh pitted cherries with 1/4 cup sugar and 1 tablespoon lemon juice until syrupy, then cool before topping. For a non-dairy variation, use a firm vegan cream cheese and coconut cream instead of sour cream, but expect subtle flavor and texture differences.
Serve these mini cheesecakes chilled on a decorative platter with a small spoon or cake fork. Garnish with a fresh mint sprig, a light dusting of powdered sugar, or a thin curl of lemon zest to brighten the profile. They pair beautifully with coffee, black tea, or a sparkling rosé at brunch. For a seasonal twist, swap the cherry topping for spiced apple compote in fall or a mixed berry coulis in summer. Because they’re single-portion, these are ideal for buffets, dessert tables, and plated dessert courses at small dinner parties.
Cheesecake has ancient origins, with early mentions as far back as ancient Greece, but the modern American cheesecake — dense, tangy, and often baked — evolved over the 19th and 20th centuries with the widespread availability of cream cheese. Miniaturizing portions into cupcake-sized servings is a more contemporary innovation, popular for parties and bite-sized indulgence. Topping with cherry pie filling is a classic American diner tradition, evoking nostalgic flavors and simple, nostalgic presentations that many associate with family gatherings and holiday tables.
Adapt this treat to the seasons by changing the topping and small flavor accents. In summer, use fresh macerated berries with a squeeze of lemon and a touch of honey. For autumn, try spiced pear or apple compote with a pinch of cinnamon and nutmeg and a drizzle of caramel. During the winter holidays, top with cranberry-orange relish and a sprinkle of finely chopped toasted walnuts for texture. Adjust the garnish — a thin orange zest for winter or basil leaves for summer — to complement the seasonal topping.
These are excellent for meal prep and make-ahead entertaining. Bake a double batch and freeze half for later; wrap individual portions tightly so they’re ready to thaw for unexpected guests. Pack chilled minis in a cooler with ice packs for picnics, or plate them in cupcake carriers for safe transport. For efficient service at a party, chill and top them on a single serving tray with labels for dietary notes (gluten-free, nut-free). Keep the cherry topping in a separate container and spoon on just before serving to maintain the crust’s crunch.
These mini cherry cheesecakes combine convenience with classic flavor — an approachable dessert that looks polished and tastes indulgent. Whether you’re feeding a crowd or enjoying a quiet weekend treat, they’re easy to customize and always welcome at the table. Try a batch this week and make them your own by swapping toppings or adding a personal garnish!
Use room-temperature cream cheese and eggs to ensure a smooth, lump-free filling.
Avoid overbeating the batter to minimize air bubbles that can cause cracks.
Leave a 1/2-inch gap from the top of each cup to account for rise while baking.
Chill fully before topping to keep the crust crisp and the topping glossy.
Use foil-lined cupcake wrappers for easier peeling and neater presentation.
This nourishing mini cherry cheesecakes recipe is sure to be a staple in your kitchen. Enjoy every moist, high protein slice — it is perfect for breakfast or as a wholesome snack any time.
Chill for at least 2 hours in the refrigerator; overnight yields the best texture.
Freeze un-topped cheesecakes on a tray until firm, then transfer to a sealed container for up to 3 months.
This Mini Cherry Cheesecakes recipe makes perfectly juicy, tender, and flavorful steak every time! Serve with potatoes and a side salad for an unforgettable dinner in under 30 minutes.
Preheat the oven to 350°F and line an 18-cup muffin tin with foil-lined cupcake wrappers for easier removal.
Mix 1 1/2 cups graham cracker crumbs with 1/2 cup melted unsalted butter until combined. Press about 1 tablespoon into each liner to form a compact base.
Beat 16 ounces softened cream cheese with 1 cup sugar until smooth. Add eggs one at a time, then mix in 1/3 cup sour cream, 1 teaspoon vanilla, and 1 tablespoon flour until just combined.
Spoon the filling into each prepared cup, filling to about 1/2 inch from the top. Bake at 350°F for 20–25 minutes until centers are slightly jiggly.
Cool on a rack for 20 minutes, then refrigerate for at least 2 hours to fully set before topping and serving.
Spoon cherry pie filling onto each mini cheesecake just before serving to keep the crust crisp and presentation fresh.
Last Step: Please leave a rating and comment letting us know how you liked this recipe! This helps our business to thrive and continue providing free, high-quality recipes for you.
Leave a comment & rating below or tag
@flavest on social media!

Warm-spiced apple cider donuts with tender apple bits and a glossy cider glaze, fried crisp and irresistibly cozy for fall.

All-day slow cooking turns pork shoulder, potatoes, and carrots into a tender, savory classic with a rich homemade gravy everyone will love.

Tender layers of Yukon gold potatoes with seasoned beef in a creamy, cheddar sauce, baked until bubbly and irresistibly comforting.
Leave a comment & rating below or tag @flavest on social media!
Enjoyed this recipe? Share it with friends and family, and don't forget to leave a review!
This recipe looks amazing! Can't wait to try it.
Comments are stored locally in your browser. Server comments are displayed alongside your local comments.

Join to receive our email series which contains a round-up of some of our quick and easy family favorite recipes.
