
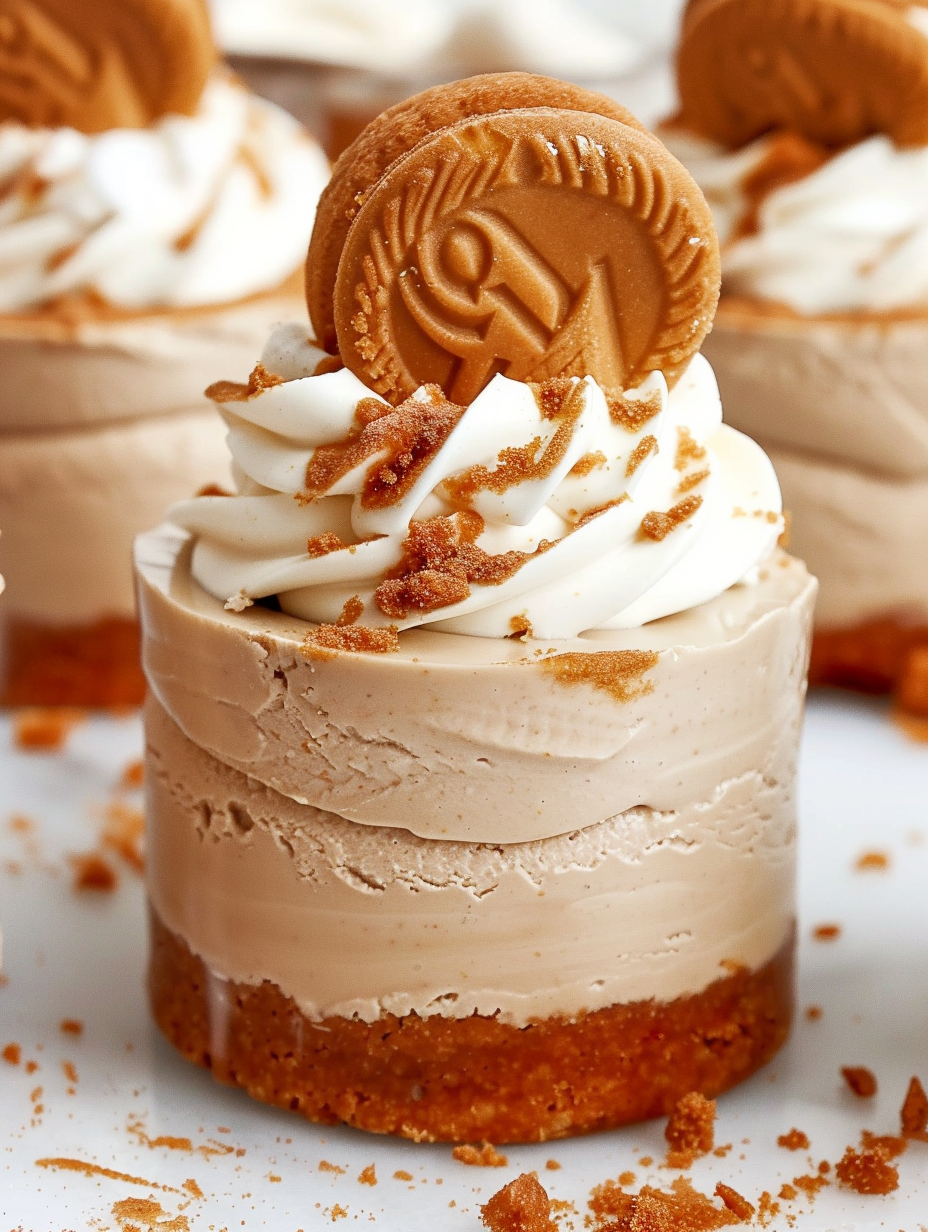
Mini No-Bake Biscoff Cheesecakes

Six-ingredient, vegan, no-bake mini Biscoff cheesecakes: creamy, dreamy and perfect for parties or make-ahead treats.
These mini no-bake Biscoff cheesecakes have been a soft-spot of mine since I first improvised them one rainy afternoon, trying to recreate the silky, spiced-sugar comfort of a Biscoff latte in a handheld dessert. I discovered the combination during a quiet week of baking experiments: I had a tin of Biscoff biscuits, a tub of dairy-free cream cheese, and a stubborn craving for something both indulgent and fuss-free. The result was unexpectedly dreamy — a small, deep cookie cup filled with dense, velvety filling and a rivers of Biscoff spread running through the middle. From that first batch they became my go-to for dinner parties and last-minute celebrations because everyone asks for one more.
What makes these particularly special is how they balance texture and nostalgia: the base is compact and crisp, while the filling is airy and holds its shape even without baking. The gentle caramelized notes of the Biscoff spread paired with the tang of plant-based cream cheese create a familiar, comforting flavor profile that always brings people together at the table. I like making a double batch to keep in the freezer for unexpected guests — they defrost beautifully and still have that signature creamy center and crisp biscuit edge.
Why You'll Love This Recipe
- Six simple ingredients and minimal equipment make these ideal for weeknight dessert prep or last-minute entertaining; active work is around 25 minutes, but they need to set in the freezer for several hours.
- No oven required: these are perfect for warm weather or when you don’t want to heat the kitchen; simply freeze until firm then chill before serving.
- Uses pantry-friendly staples like Biscoff biscuits and an accessible dairy-free cream cheese — I recommend Elmlea Plant Based Double Cream Alternative and Violife as reliable brands.
- Make-ahead friendly: freeze for up to three months and transfer to the fridge an hour or two before serving for perfect texture.
- Crowd-pleasing flavor: the caramelized cookie notes are nostalgic and familiar, making this a hit with kids and adults alike.
- Scalable and adaptable: easy to double or halve, and substitutions for the base or spread are straightforward.
In my experience, these little cheesecakes are always the first thing to go at gatherings. My partner once proclaimed they were better than store-bought, and friends routinely ask for the recipe when they spot them on the dessert table. They travel well too — bring them chilled to potlucks and they’ll remain intact through the evening.
Ingredients
- Biscoff biscuits for the base: Use about 5.3 ounces of biscuits, roughly 20 cookies, crushed into crumbs. I buy Lotus Biscoff for authenticity; you want a crunchy, caramel-spiced biscuit rather than a shortbread for that classic flavor and firm texture.
- Dairy-free butter or margarine: About 3 1/2 tablespoons melted. I reach for firm plant-based sticks with a neutral flavor so the Biscoff notes can shine through.
- Dairy-free whipping cream: 1 1/8 cups (about 8.8 fl oz). Elmlea Plant Based Double Cream Alternative whips reliably; avoid single cream or thin coconut milks, which won’t hold volume.
- Dairy-free cream cheese: Approximately 5.6 ounces (one standard small tub). Brands like Violife, Nush almond, or Sainsbury’s coconut-based tub give that slight tang and creamy body needed to stabilize the filling.
- Biscoff spread: Two heaped tablespoons folded into the filling plus additional spread for piping and drizzling — plan on about 1/3 cup total (around 5 1/2 tablespoons, or 2.8 ounces) for filling and decoration.
- Extra whipping cream and biscuits for finishing: 2 tablespoons of cream to whip into a topping and whole or halved biscuits for garnish.
Instructions
Prepare the base: Place about 20 Biscoff biscuits into a food processor and pulse until they become fine crumbs. In a small saucepan, melt 3 1/2 tablespoons of dairy-free butter over low heat; remove from the heat and mix the crumbs into the melted butter until the texture resembles wet sand. Press roughly 1.8 ounces (about 50g equivalent) of this mixture into each cookie-cup well or deep cupcake tin, packing firmly with clean fingers so the base will hold shape when released. Transfer the tray to the freezer while you make the filling; chilling the crust helps it become crisp and less crumbly. Make the filling: In a mixing bowl, combine 1 1/8 cups dairy-free whipping cream and about 5.6 ounces of dairy-free cream cheese. Whip on low first, then increase to high until thick peaks form — about 4–6 minutes with a stand mixer using a balloon whisk. If using a hand mixer, scrape the bowl and keep an eye on texture; the goal is a stable, airy cream rather than a runny mixture. Boost the flavor: Pulse six Biscoff biscuits in the blender until fine, then fold those crumbs together with two heaped tablespoons of Biscoff spread into the whipped cream and cream cheese mixture. Whip briefly to combine so the spread is evenly incorporated; the crumbs add tiny flecks of caramel spice and help the filling feel more substantial. Assemble the cups: Transfer the filling into a piping bag fitted with a large round tip (or snip the corner). Pipe the filling into each chilled cookie cup until nearly full, then smooth the tops with an offset spatula. Place about 1 1/2 tablespoons of Biscoff spread into a small piping bag and pipe a narrow line down the center of each cheesecake to create a molten ribbon. Smooth gently with the back of a spoon. Set and finish: Freeze the assembled cups for a minimum of 4 hours or ideally overnight so the texture firms up. When ready to finish, melt 2 tablespoons of Biscoff spread until pourable and drizzle a small puddle on top of each chilled cheesecake. Whip 2 tablespoons of extra dairy-free cream to soft peaks, pipe a small swirl on top, and garnish each with a mini biscuit and a light sprinkle of crumbs. Transfer to the fridge about 1–2 hours before serving to defrost to a creamy, spoonable temperature.
You Must Know
- Storage: keep in the refrigerator for up to 3 days once thawed; for longer storage freeze in an airtight container for up to 3 months.
- Nutritional note: these are calorie-dense treats due to the spread and butter; serve as small portions or alongside fruit to balance richness.
- Setting: a full overnight freeze gives the cleanest release from push-up base tins; if not firm, return to the freezer for another hour before attempting to remove.
- Allergens: the biscuits contain wheat (gluten) and may contain soy — substitute with a gluten-free spiced biscuit and check labels to make them gluten-free if required.
My favorite aspect is how reliably these maintain their flavor even after freezing. One summer I made a big batch for a family reunion and packed them into a cooler; they arrived perfectly intact and disappeared within minutes. The Biscoff ribbon inside gives a little surprise in every bite, which always gets comments from guests.
Storage Tips
Store the finished treats in a shallow airtight container in the fridge for up to 3 days. If you need longer storage, wrap each in plastic wrap and place them in a freezer-safe container or resealable bag, removing as much air as possible; they freeze well for up to three months. To serve from frozen, move them to the refrigerator 2–3 hours before eating, or sit them on the counter for 30–60 minutes for a slightly firmer texture. Avoid microwaving to defrost — the heat will soften the filling unevenly. When transporting, keep them chilled in an insulated bag with ice packs to prevent melting.
Ingredient Substitutions
If you cannot find Biscoff biscuits or spread, substitute spiced ginger biscuits with a touch of brown sugar in the base and use a smooth cookie butter alternative. For the cream component, Elmlea Plant Based Double Cream works best; if unavailable, try a high-fat coconut cream (chilled and thickened) but be aware coconut can impart a faint tropical flavor. For a gluten-free version, choose certified gluten-free speculoos-style biscuits and confirm your cream cheese is free from cross-contact. Low-sugar variations can be attempted by swapping part of the spread for unsweetened almond butter, but texture and sweetness will change significantly.
Serving Suggestions
Serve as small individual desserts after a casual meal or arrange them on a platter for a more formal setting. Complement the caramel-spice profile with fresh berries, a few flaked almonds, or a sprinkle of sea salt on top to accentuate the Biscoff sweetness. For a brunch or afternoon tea, pair with strong coffee or a spiced chai; for an indulgent finish to dinner, a scoop of dairy-free vanilla ice cream alongside one of these makes a lovely contrast of temperatures and textures.
Cultural Background
Biscoff, originally Lotus Biscoff from Belgium, is a caramelized spiced biscuit that became hugely popular across Europe and beyond. Its spreadable form reimagines that crisp cookie flavor as a creamy caramel butter, which has inspired countless modern desserts. These mini cheesecakes riff on classic European no-bake styles that use whipped creams and soft cheeses to create a cheesecake-like texture without an oven, combining Dutch and Belgian cookie traditions with Anglo-American no-bake dessert formats.
Seasonal Adaptations
In autumn, add a pinch of ground cinnamon and nutmeg to the base to heighten warming spices, or fold a tablespoon of apple butter into the filling for a fall-inspired twist. For winter holidays, top with candied ginger or a candied orange zest to introduce festive notes. During spring and summer, lighten the garnish with fresh raspberries and a mint leaf to refresh the palate. Serving temperature adjustment — slightly less chilled in summer — preserves the creamy mouthfeel while keeping the base pleasantly crisp.

Meal Prep Tips
To streamline prep, pulse all biscuit crumbs and pre-measure your spreads and creams before you begin. Assemble in batches, freezing trays as you go, then stack and wrap in freezer-safe containers. Label with the date and transfer to the fridge the night before you plan to serve. If you're making a large quantity for a party, keep one tray in the fridge for immediate service and the rest frozen; this staggering helps you manage space and avoids last-minute rushes.
These mini no-bake delights are small in size but big on flavor — they are an easy way to impress without hours at the oven. Invite friends over, put on some music, and let the aroma of caramelized biscuit and whipped cream fill your kitchen as you pipe the filling; I guarantee they’ll become a repeat favorite.
Pro Tips
Pack the biscuit base firmly into each cup to prevent crumbling when unmolding.
Chill the base before piping the filling to help it set quickly and hold shape.
Pipe the filling using a large round nozzle for even portions and tidy tops.
Freeze overnight for the cleanest release from push-up tins; thaw in the fridge for 1–2 hours before serving.
This nourishing mini no-bake biscoff cheesecakes recipe is sure to be a staple in your kitchen. Enjoy every moist, high protein slice — it is perfect for breakfast or as a wholesome snack any time.
FAQs about Recipes
How long can I store these?
Freeze assembled cheesecakes in an airtight container for up to 3 months. Thaw in the fridge for 2–3 hours before serving for best texture.
What tin should I use?
Use a push-up cookie cup tin for the cleanest release, or a deep cupcake tin with parchment rounds if you don't have push-up bases.
Tags
Mini No-Bake Biscoff Cheesecakes
This Mini No-Bake Biscoff Cheesecakes recipe makes perfectly juicy, tender, and flavorful steak every time! Serve with potatoes and a side salad for an unforgettable dinner in under 30 minutes.
Ingredients
Base
Filling
Topping
Instructions
Make and chill the base
Pulse biscuits into fine crumbs, stir into melted dairy-free butter until resembling wet sand, then press about 1.8 ounces of mixture into each cookie cup and freeze until firm.
Whip the filling
Whip dairy-free whipping cream and cream cheese on low then high until thick peaks form, about 4–6 minutes; fold in Biscoff crumbs and 2 heaped tablespoons of spread.
Assemble and pipe
Pipe the filling into chilled bases, add a narrow line of Biscoff spread down the center of each, smooth tops, then freeze for at least 4 hours or overnight.
Finish and serve
Melt a small amount of Biscoff spread and drizzle on top of chilled cups, whip 2 tablespoons cream and pipe a swirl, garnish with a biscuit and crumbs, then chill in the fridge 1–2 hours before serving.
Last Step: Please leave a rating and comment letting us know how you liked this recipe! This helps our business to thrive and continue providing free, high-quality recipes for you.
Nutrition
Did You Make This?
Leave a comment & rating below or tag
@flavest on social media!
Categories:
You might also like...

Glazed Apple Cider Donuts
Warm-spiced apple cider donuts with tender apple bits and a glossy cider glaze, fried crisp and irresistibly cozy for fall.

Slow Cooker Pork Pot Roast
All-day slow cooking turns pork shoulder, potatoes, and carrots into a tender, savory classic with a rich homemade gravy everyone will love.

Cheesy Hamburger Potato Casserole
Tender layers of Yukon gold potatoes with seasoned beef in a creamy, cheddar sauce, baked until bubbly and irresistibly comforting.
Did You Make This?
Leave a comment & rating below or tag @flavest on social media!
Rate This Recipe
Share This Recipe
Enjoyed this recipe? Share it with friends and family, and don't forget to leave a review!
Comments (1)
This recipe looks amazing! Can't wait to try it.
Comments are stored locally in your browser. Server comments are displayed alongside your local comments.

Hi, I'm Maria!
What's Popular

30-Minute Meals!
Join to receive our email series which contains a round-up of some of our quick and easy family favorite recipes.