
>>

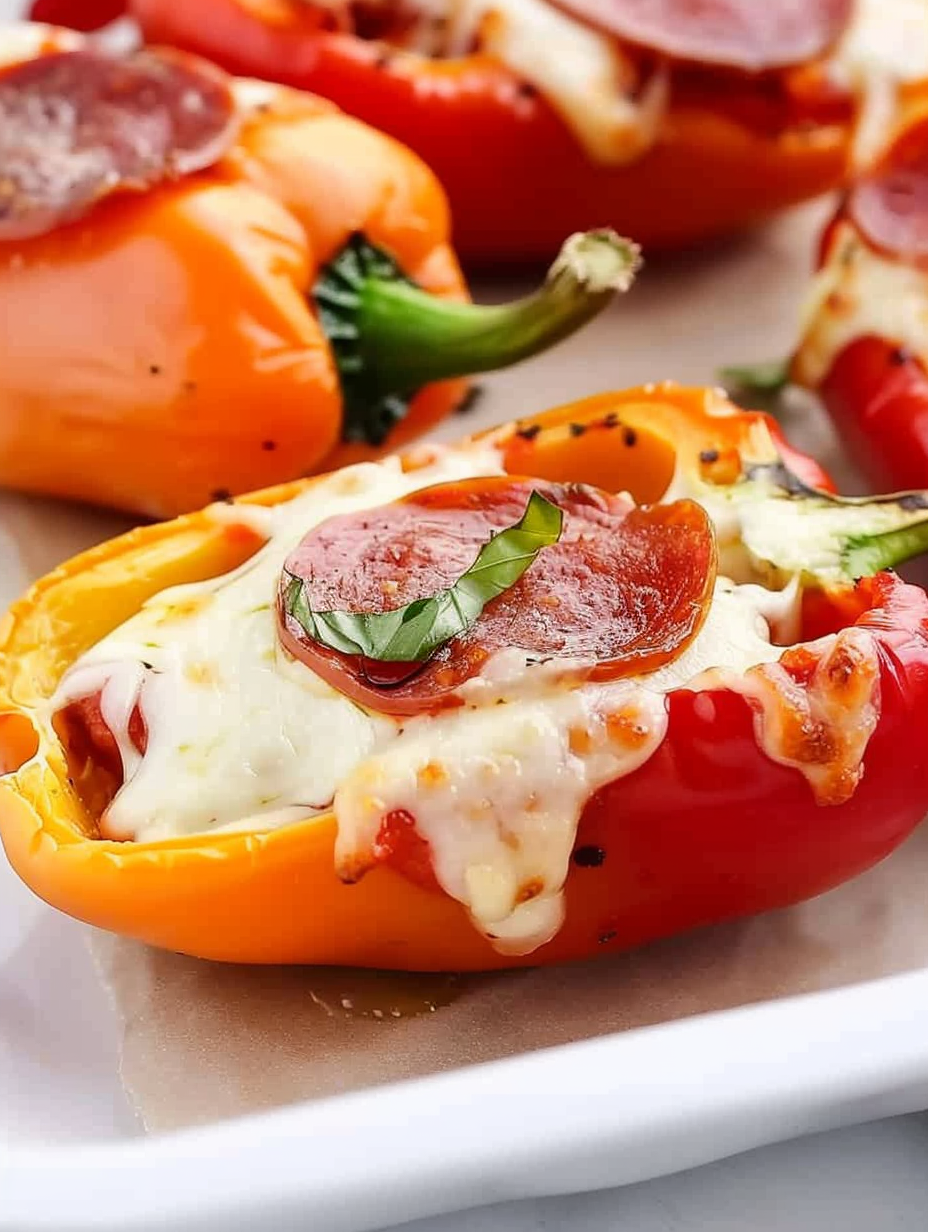
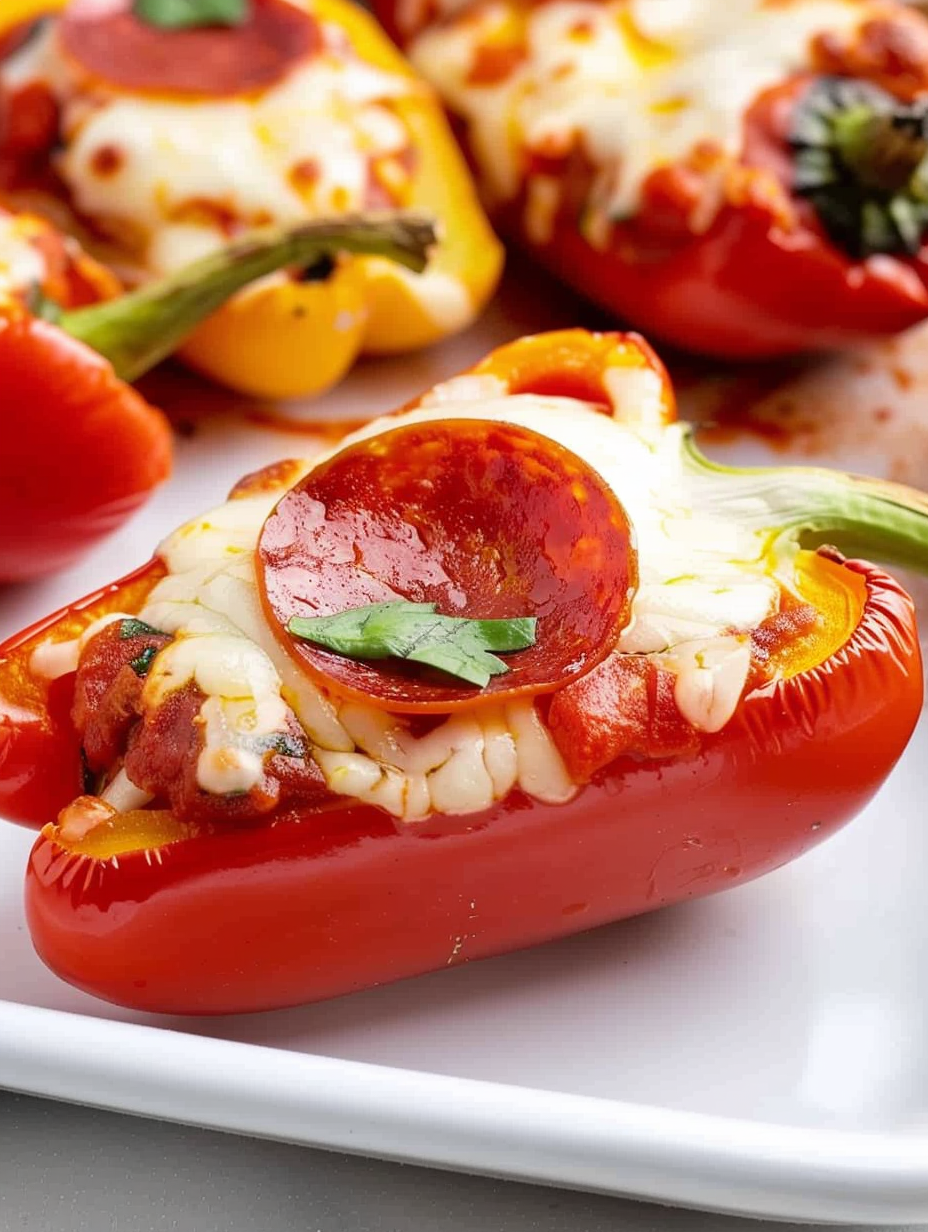
Quick, cheesy, and loaded with bold flavors, these mini pepper pizzas make an irresistible party snack or easy family lunch — ready in under 20 minutes.
My family’s reaction is always the same the first time they try these: surprise followed by repeated requests. I love that such a simple combination can deliver comforting pizza flavors and bright vegetable freshness in every bite. They travel well to potlucks and make weekday lunches feel special without extra work.

What I love most is how these bring people together. At parties they disappear fast, and when I pack them for school lunches the colors always get a smile. They are one of those simple preparations that consistently feels festive yet effortless.
Store cooled bites in an airtight container in the refrigerator for up to 3 days. To freeze, arrange the baked halves on a parchment-lined sheet and freeze solid, then transfer to a freezer-safe bag for up to 3 months. Reheat from frozen in a preheated 400 degrees Fahrenheit oven for 8 to 12 minutes, or thaw overnight in the refrigerator and bake for 6 to 8 minutes until warmed through and the cheese bubbles. Use shallow containers to avoid crushing the peppers and place a paper towel beneath to absorb excess moisture when refrigerating.
For a vegetarian version, replace pepperoni with sliced olives, marinated artichoke pieces, or roasted mushrooms. Swap mozzarella for a dairy-free shredded alternative to make them lactose-free; opt for brands that melt well like Violife or Daiya. If you prefer herbier flavors, stir a pinch of dried oregano and red pepper flakes into the sauce. To reduce sodium, choose low-sodium pizza sauce and nitrate-free turkey pepperoni slices.
Serve on a large platter garnished with torn fresh basil or a sprinkle of flaky sea salt. Pair with a crisp green salad, garlic-roasted vegetables, or a simple antipasto board of cheeses and olives for a fuller spread. For a kid-friendly tray, offer small bowls of ranch and marinara for dipping. These are also excellent as finger food at cocktail parties or as a colorful addition to a game-night snack table.
These mini pepper pizzas are a playful take on the classic Italian-American combination of sauce, cheese, and cured meat. They echo the spirit of bruschetta and pizza bites but use sweet peppers as the edible base, a technique seen in modern appetizer trends where vegetables replace traditional bread for a lighter, fresher bite. This adaptation reflects a growing interest in low-carb, vegetable-forward snacks while preserving familiar pizza flavors.
In summer, use brightly colored fresh basil and heirloom cherry tomatoes diced into the sauce for peak freshness. In winter, roast the peppers briefly before stuffing to soften their texture and concentrate sweetness. For holiday gatherings, top with small basil chiffonade and a drizzle of balsamic reduction to make the little bites feel more festive. You can also switch to spicy salami and smoked mozzarella for a heartier autumn version.
Assemble the prepared pepper halves on a sheet tray, cover tightly, and refrigerate for up to 24 hours. When guests arrive or for quick weeknight dinners, slide the tray into a preheated oven and add a few extra minutes if baking from chilled. If you make a large batch for meal prep, portion into single-serve containers so reheating is fast and mess-free. Keep garnishes like basil separate until serving to preserve freshness.
These mini pepper pizzas combine speed, crowd appeal, and vibrant flavor in every bite. Whether you are feeding a hungry family or entertaining friends, they offer a dependable, delicious option that invites experimentation. I hope they become one of your go-to snacks too.
Use freshly shredded mozzarella rather than pre-shredded for the best melt and texture.
Check the peppers at 8 minutes since oven temperatures vary; remove when cheese is bubbly and edges slightly blistered.
To freeze, flash-freeze the baked peppers on a tray before transferring to a sealed bag to prevent sticking.
This nourishing mini pepper pizzas recipe is sure to be a staple in your kitchen. Enjoy every moist, high protein slice — it is perfect for breakfast or as a wholesome snack any time.
This Mini Pepper Pizzas recipe makes perfectly juicy, tender, and flavorful steak every time! Serve with potatoes and a side salad for an unforgettable dinner in under 30 minutes.
Preheat oven to 425 degrees Fahrenheit and line a baking sheet with parchment paper. This high heat promotes quick bubbling of cheese and gentle blistering of the pepper edges.
Slice each mini sweet pepper in half lengthwise, keeping the stem intact. Remove seeds and pith with a small spoon and pat halves dry so sauce adheres cleanly.
Spoon between 1 1/2 teaspoons and 1/2 tablespoon of pizza sauce into each pepper half, adjusting by size so peppers remain firm and not soggy.
Top each sauced half with 1 1/2 to 2 tablespoons of freshly shredded mozzarella and place 3 to 4 mini pepperoni slices on top of the cheese.
Bake for 8 to 10 minutes until the cheese is bubbly and just starting to brown. Remove and serve warm for best texture and flavor.
Last Step: Please leave a rating and comment letting us know how you liked this recipe! This helps our business to thrive and continue providing free, high-quality recipes for you.
Leave a comment & rating below or tag
@flavest on social media!

Warm-spiced apple cider donuts with tender apple bits and a glossy cider glaze, fried crisp and irresistibly cozy for fall.

All-day slow cooking turns pork shoulder, potatoes, and carrots into a tender, savory classic with a rich homemade gravy everyone will love.

Tender layers of Yukon gold potatoes with seasoned beef in a creamy, cheddar sauce, baked until bubbly and irresistibly comforting.
Leave a comment & rating below or tag @flavest on social media!
Enjoyed this recipe? Share it with friends and family, and don't forget to leave a review!
This recipe looks amazing! Can't wait to try it.
Comments are stored locally in your browser. Server comments are displayed alongside your local comments.

Join to receive our email series which contains a round-up of some of our quick and easy family favorite recipes.
