
>>

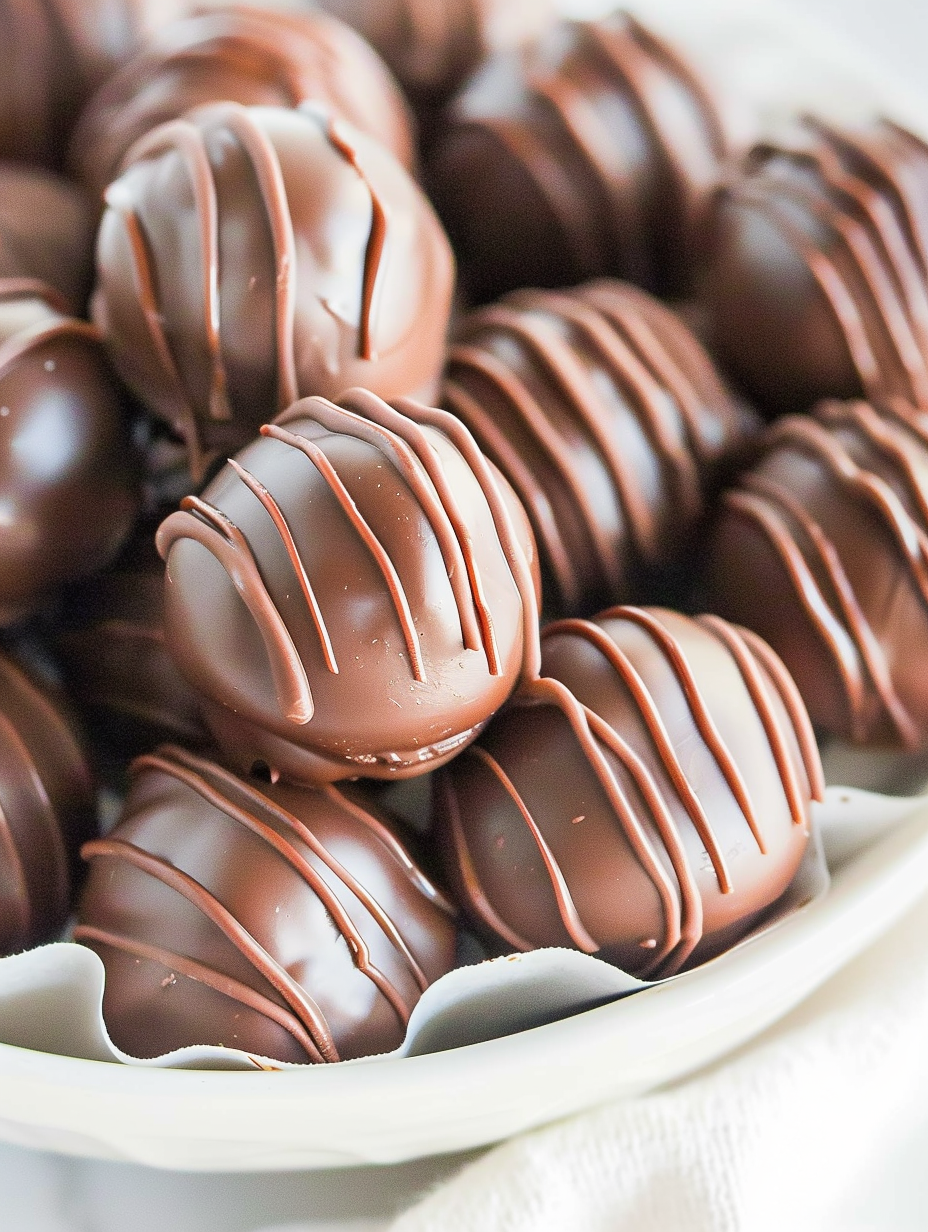
Thick, fudgy brownie-flavored truffles that require no baking — rich, bite-sized, and ready after a short chill. Perfect for gifts, parties, or a decadent snack.
This recipe for brownie truffles started as a quick fix the first time I had a boxed mix left over after an unexpected dinner party. I wanted something small, deeply chocolatey, and fuss-free — something that tasted like a warm brownie but didn't require the oven. The result was these dense, moist balls that marry the familiar fudgy brownie batter flavor with a silky chocolate shell. They have become my go-to when I need a last-minute dessert to bring to a neighbor or to tuck into a lunchbox for an indulgent surprise.
What makes these especially appealing is their simplicity and texture: the interior is soft and slightly tacky, almost like brownie dough, while the exterior gives a thin, crisp snap from the melted coating. I discovered the technique of using room-temperature cream cheese to bind the mix during a rainy afternoon of experimenting, and it transformed a simple boxed mix into something that feels homemade and luxurious. These little bites are rich, so one or two are usually enough to satisfy chocolate cravings at a party.
On the first tray I made, my family kept returning to the counter for just one more—my spouse declared them the best non-baked chocolate treat I had ever made, and our neighbor asked for the recipe the next day. They’re a small thing, but they’ve collected several happy moments at our house: packed into holiday tins, hidden in care packages, and offered as welcome-home treats.
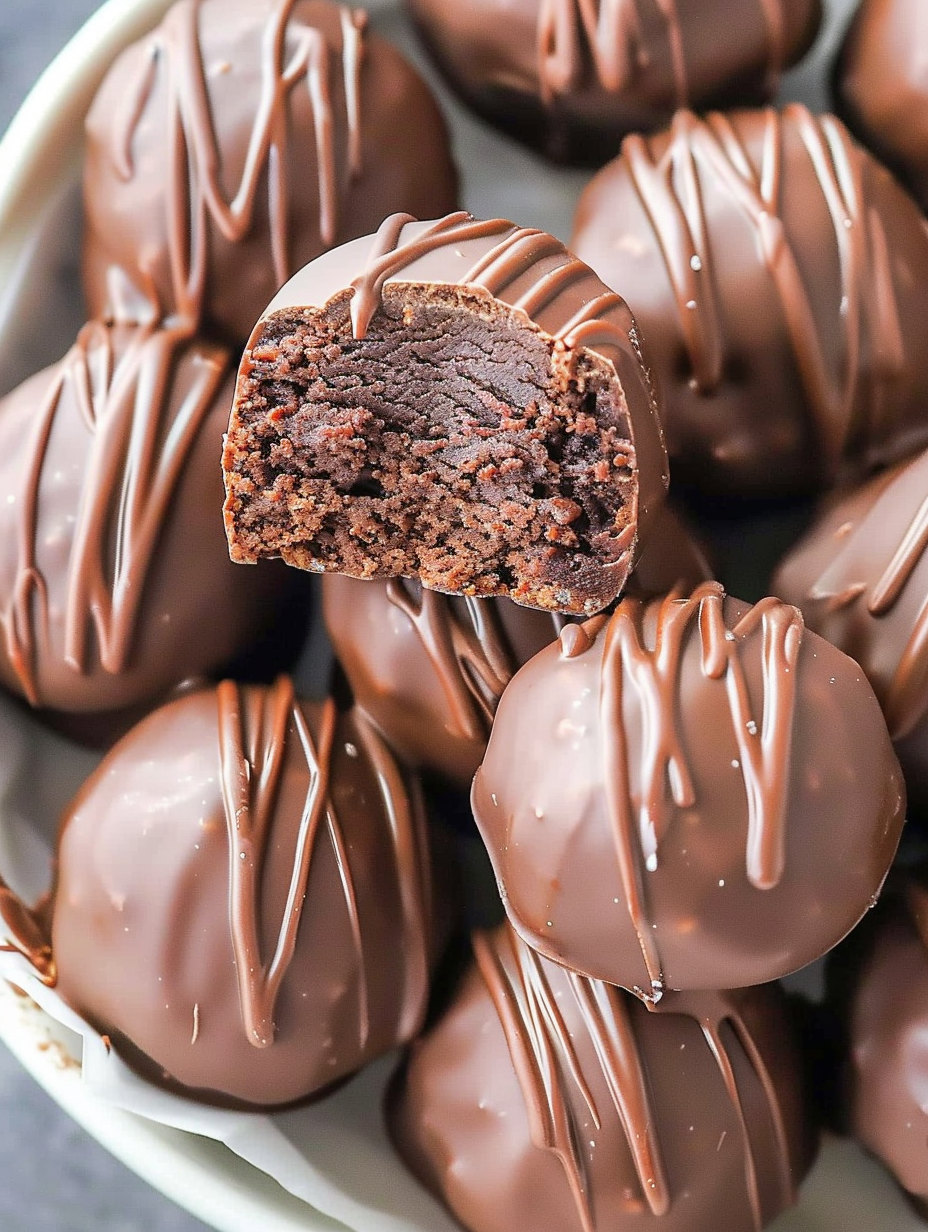
My favorite part is the contrast between the dense, fudgy center and the glossy outer shell. Over time I learned to press lightly with the back of a spoon after dipping to smooth any drips and keep each truffle perfectly round. Friends have told me they taste like little bites of brownie batter — in the best possible way — and they are always surprised they require no baking.
Store these in an airtight container layered with parchment between rows to prevent sticking. Refrigerated, they stay fresh for about 7 to 10 days; for longer storage freeze on a tray until solid, then transfer to a freezer-safe container for up to 3 months. When reheating, avoid microwaving to prevent condensation; thaw in the refrigerator overnight, and if you want a slightly softer interior, bring to room temperature for 15 to 30 minutes before serving. Keep them away from heat and sunlight to maintain the coating's shine.
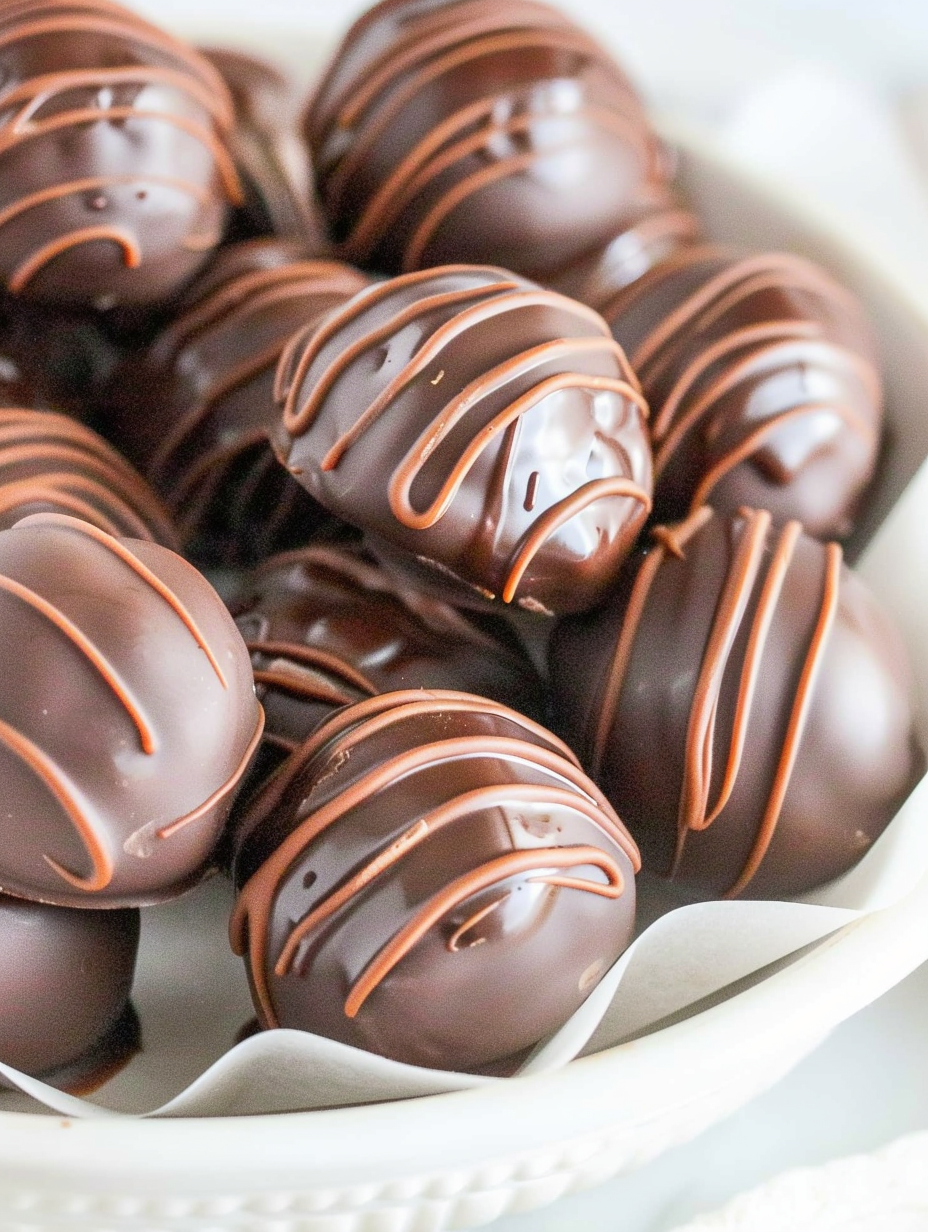
If you need dairy-free options, substitute the cream cheese with 8 ounces of a dairy-free cream cheese alternative and use dairy-free melting wafers. For a gluten-free result, choose a certified gluten-free brownie mix. If you prefer a darker coating, use high-quality dark chocolate wafers and reduce shortening slightly; for a milk-chocolate finish use milk wafers. Coconut oil can replace shortening in equal measure, though it may add a faint coconut note and a slightly softer set at room temperature.
Serve chilled on a small platter lined with doilies or parchment. Garnish with a light sprinkle of flaky sea salt, crushed toasted nuts, or a dusting of cocoa powder for contrast. These pair beautifully with espresso or a dessert wine; for a celebration, arrange them in small paper cups and place in gift boxes for guests. They’re ideal as part of a dessert board with cookies, fruit, and nuts for variety.
While not a traditional confection from any single culture, these truffles are part of a broader American tradition of transformable boxed mixes and no-bake confections that rose in popularity for their convenience. They reflect the modern approach to dessert where texture and ease trump elaborate techniques, and they draw inspiration from classic European ganache truffles but adapt to pantry-friendly American baking staples.
For holidays, tint the drizzled chocolate with seasonal colors using colored candy melts, or roll the centers in finely chopped peppermint candy for winter. In summer, swap the coating for coconut-flavored wafers and top with toasted coconut for a tropical vibe. Adding orange zest to the batter before shaping brightens the flavor for autumn gatherings.
Make the centers one day ahead and refrigerate; dip and decorate on the day you plan to serve to keep coatings crisp. To speed assembly for gifts, freeze formed centers on a tray until solid, then dip from frozen — the shell will set more quickly. Use portioned scoops to ensure uniform size and consistent chilling and set times, which helps when preparing large batches for events.
These little truffles are perfect for sharing and surprisingly adaptable; with a few small swaps you can tailor them to many occasions. Give them a try and make them your own — they’re a simple way to create something decadent without a lot of fuss.
Soften the cream cheese to room temperature for at least 30 minutes to ensure smooth mixing and avoid streaks.
Chill the formed centers for at least 1 hour so they hold their shape during dipping; this prevents the interior from collapsing.
Reserve some melting wafers for decoration and reheat gently if the coating thickens; a little shortening restores fluidity.
This nourishing no-bake brownie truffles recipe is sure to be a staple in your kitchen. Enjoy every moist, high protein slice — it is perfect for breakfast or as a wholesome snack any time.
Recipe data validation failed
Please check the recipe data format. See console for details.

Warm-spiced apple cider donuts with tender apple bits and a glossy cider glaze, fried crisp and irresistibly cozy for fall.

All-day slow cooking turns pork shoulder, potatoes, and carrots into a tender, savory classic with a rich homemade gravy everyone will love.

Tender layers of Yukon gold potatoes with seasoned beef in a creamy, cheddar sauce, baked until bubbly and irresistibly comforting.
Leave a comment & rating below or tag @flavest on social media!
Enjoyed this recipe? Share it with friends and family, and don't forget to leave a review!
This recipe looks amazing! Can't wait to try it.
Comments are stored locally in your browser. Server comments are displayed alongside your local comments.

Join to receive our email series which contains a round-up of some of our quick and easy family favorite recipes.
