
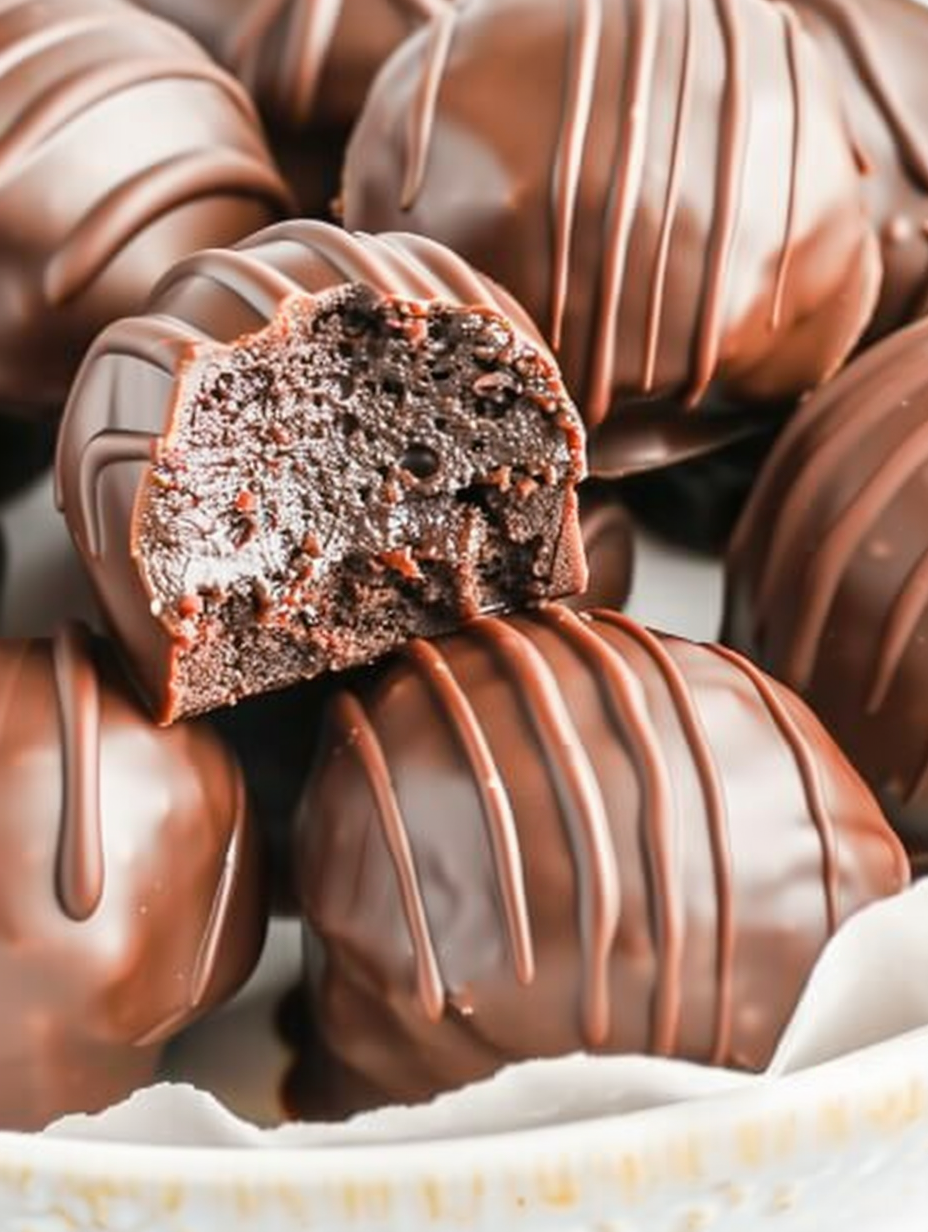
No-Bake Brownie Truffles

Thick, moist, and fudge-like brownie truffles that require no baking—ready in under 30 minutes of active time and perfect for parties, gifts, or a quick chocolate fix.
This tray of brownie truffles started as a last-minute rescue when I had guests dropping by and only a boxed mix in the pantry. The result was immediate: dense, fudgy bites with the deep chocolate flavor of brownie batter and a rich cream cheese center that keeps them moist without a single minute in the oven. I first discovered this technique during a holiday potluck years ago when a friend suggested mixing softened cream cheese into a heat-treated boxed mix to create a no-bake confection. Ever since, these little globes of chocolate have been my go-to during busy weeks and surprise guests. They carry the nostalgia of brownies but in an elegant, bite-sized form.
What makes these especially memorable is their texture—thick but soft, with a slightly fudgy interior that melts in your mouth. The exterior gets a smooth, glossy shell from melted wafers and a delicate decorative drizzle that looks professional but is ridiculously simple. My kids call them brownie bonbons, and they always request a double batch to hide a few for themselves. If you love the taste of classic brownies but want something faster and more portable, these truffles are practically irresistible.
Why You'll Love This Recipe
- Ready in about 25 minutes of active work—just mix, roll, chill, and coat—perfect for last-minute entertaining or gifting.
- Uses pantry staples: a single box of boxed fudge mix, cream cheese, chocolate wafers, and a little shortening for shine—easy to source and affordable.
- No oven required: ideal for hot weather, dorm rooms, or when you want homemade sweets without heating the kitchen.
- Make-ahead friendly: can be chilled for quick serving the same day or frozen for longer storage, making them excellent for holidays or cookie swaps.
- Crowd-pleasing texture and intense chocolate flavor—kids and adults alike love them; plenty of room to customize with different coatings or toppings.
Personally, these have saved me on more than one hectic evening when I wanted a homemade treat without the fuss. Family members always remark on how “fudgy” they are, and colleagues expect a tin at every holiday potluck. I keep a small stash of melting wafers in my baking drawer for this exact purpose.
Ingredients
- Fudge brownie mix (1 box, 18.3 oz): I typically use a boxed mix like Betty Crocker Fudge Brownie Mix for a reliably rich chocolate base. If you prefer a slightly less sweet edge, choose a dark chocolate variety. For safety when making no-bake treats, use a heat-treated mix or follow package instructions to heat-treat the dry mix before combining with wet ingredients.
- Cream cheese (8 oz block): Full-fat Philadelphia cream cheese, softened to room temperature, yields the best texture and flavor. The cream cheese provides moisture and richness that replicate the underbaked brownie taste without baking.
- Vanilla extract (1 teaspoon): Pure vanilla extract enhances the chocolate and rounds out the sweetness. Avoid imitation extract for the best aroma.
- Chocolate melting wafers (1½ cups plus ¼ cup reserved): Brands such as Wilton or Ghirardelli melting wafers melt smoothly and set with a glossy finish. Reserve a small amount for decorative drizzle.
- Crisco shortening (1 tablespoon): A small amount helps the wafers melt to a silky sheen and creates a thinner, easier-to-dip coating.
Instructions
Prep the work surface: Line a large cookie sheet with parchment paper and set aside. This keeps the truffles from sticking and makes chilling and transfer simple. Have a 1½-inch cookie scoop, two forks or dipping tools, and a piping bag or a small Ziploc ready. Combine the base: In a medium mixing bowl, use a hand mixer or a sturdy spoon to cream together the entire box of heat-treated brownie mix, the softened 8-ounce block of cream cheese, and 1 teaspoon of vanilla extract. Mix until the texture is uniform and dough-like with no streaks of cream cheese; the mixture should hold together when pressed and be slightly tacky but not wet. Shape the truffles: Using a 1½-inch cookie scoop (or roll by tablespoonfuls), portion the mixture and roll into smooth balls between the palms. Aim for uniform sizes so they set evenly—about 1 to 1½ inches in diameter. If the mixture gets too sticky, chill the bowl for 10 minutes and continue. Place each ball on the prepared parchment in even rows. Chill to firm up: Transfer the cookie sheet to the refrigerator for 1 hour so the truffles firm up. Proper chilling prevents the coating from sliding off and helps maintain a neat shape when dipping. Prepare the chocolate coating: About 5–10 minutes before the chilling finishes, set up a double boiler: simmer 3–4 inches of water in a saucepan and place a heatproof bowl over it (do not let the water touch the bowl). Add 1½ cups of melting wafers to the bowl, reserving ¼ cup for decoration. Stir frequently with a rubber spatula as the wafers melt. Add 1 tablespoon of Crisco shortening and continue stirring until the chocolate is glossy, smooth, and pourable. Remove from heat and keep warm over the residual steam if needed. Dip each truffle: Using two forks or dipping tools, pick up a chilled truffle and lower it into the melted chocolate, rolling gently to fully coat. Tap the fork against the bowl edge to remove excess and slide the coated truffle onto the parchment. Repeat until all balls are coated. Work quickly but gently; if the coating cools and thickens, place the bowl back over the pot briefly to rewarm. Set and decorate: Return the coated truffles to the refrigerator and chill for 30 minutes to set the shell. Warm the reserved ¼ cup of wafers with a teaspoon of shortening until just fluid, transfer to a piping bag or a small Ziploc with a tiny corner snipped, and pipe thin lines over each truffle. Chill an additional 30 minutes until fully set before serving.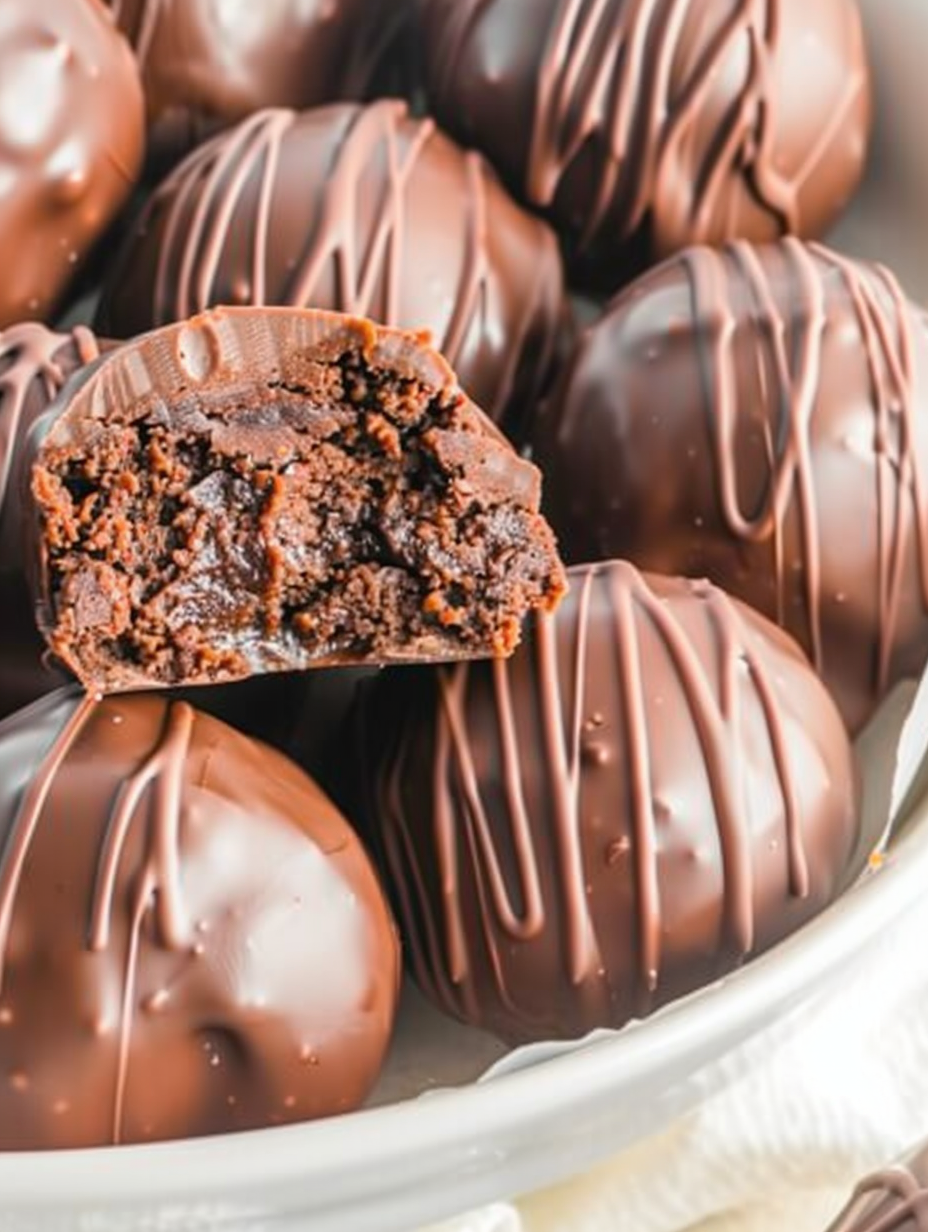
You Must Know
- These truffles are best stored in the refrigerator for up to 7 days and freeze well for up to 3 months if kept in an airtight container.
- They are rich: each piece contains approximately 232 calories—great for portion-controlled dessert serving sizes.
- Use full-fat cream cheese for optimal texture; low-fat versions can make the mixture grainy or too loose.
- If your melting wafers seize or become grainy, add a small pinch of vegetable shortening and gently rewarm to bring them back to a glossy state.
My favorite thing about these truffles is how they feel upscale—perfect for small gatherings—while actually being extremely forgiving. On one occasion, I doubled the recipe for a school bake sale and handed out samples; the tray disappeared in under an hour and parents asked for the recipe the next day.

Storage Tips
Store finished truffles in a single layer or with parchment between layers in an airtight container in the refrigerator for up to 7 days. For longer storage, place truffles in a freezer-safe container with parchment between layers and freeze for up to 3 months; thaw overnight in the refrigerator before serving. Avoid keeping them at room temperature for extended periods, especially in warm climates, as the coating can soften and the interior will lose structure. When transporting, use a shallow box with crushed ice packs underneath wrapped in a towel to maintain cool temperature for short trips.
Ingredient Substitutions
If you need a gluten-free option, choose a certified gluten-free brownie mix. For a slightly lighter texture, substitute 4 ounces of cream cheese with 4 ounces of mascarpone, which gives a silkier mouthfeel. Dairy-free or vegan eaters can use vegan cream cheese and dairy-free melting wafers; be aware that flavor and set may differ slightly. If you prefer a stronger chocolate shell, use high-quality dark coating wafers or tempered dark chocolate—add 1 teaspoon of neutral oil if the chocolate is too thick for dipping.
Serving Suggestions
Serve these as part of a dessert platter paired with fresh berries, espresso, or a small scoop of vanilla gelato for contrast. For gift-giving, arrange truffles in a decorative box lined with parchment and sprinkle with a few sea salt flakes or cocoa nibs. For holiday parties, dust with edible gold powder or chopped toasted nuts. They also make elegant petit fours at celebrations when placed in mini paper cups and garnished with a single freeze-dried raspberry fragment.
Cultural Background
Although these are not a traditional confection tied to a single region, they draw inspiration from European chocolate truffles and American boxed-brownie convenience. The idea of combining cream cheese with boxed mix to create no-bake centers has roots in mid-20th century home-cooking creativity when canned and boxed ingredients became household staples. Over time, this method evolved into a popular shortcut for making bite-sized, rich chocolate confections that feel handmade but demand little technical skill.
Seasonal Adaptations
In winter, add ¼ teaspoon ground cinnamon and a pinch of instant espresso to the base for a warm, spiced note. For summer gatherings, coat in white chocolate and roll in grated coconut or chopped freeze-dried strawberries for a lighter appearance. At Halloween, mix in orange-flavored candy melts for a festive shell. For Valentine’s Day, press a small dried rose petal or gold sugar on top while the drizzle is still tacky.
Meal Prep Tips
To mass-produce for events, prepare the base mixture up to 24 hours ahead and keep it chilled until shaping. Portion with a cookie scoop and store the scooped balls on parchment in a single layer covered with plastic wrap until ready to dip. For efficient coating, line multiple sheets of parchment and have two double boilers going—one holding the main coating, the other keeping the drizzle warm. Label and date containers if freezing, and rotate older batches first to maintain quality.
These brownie truffles are one of those recipes that adapt to your life—quick to throw together, impressive to serve, and endlessly customizable. Share them, gift them, or keep them all to yourself: either way, they’ll be gone fast.
Pro Tips
Chill the rolled balls before dipping to prevent the coating from sliding off and to achieve a clean finish.
If melted coating thickens, rewarm gently in the double boiler and add a small pinch of shortening to restore gloss.
Use a 1½-inch cookie scoop for uniform truffles; consistent size helps them set evenly.
This nourishing no-bake brownie truffles recipe is sure to be a staple in your kitchen. Enjoy every moist, high protein slice — it is perfect for breakfast or as a wholesome snack any time.
FAQs about Recipes
Do I need to bake or heat-treat the brownie mix?
Yes—if you are concerned about raw ingredients in the boxed mix, you can gently heat-treat the dry mix per safe-handling guidance before combining with cream cheese.
How long can I freeze the truffles?
Freeze in an airtight container for up to 3 months. Thaw overnight in the refrigerator before serving.
Tags
No-Bake Brownie Truffles
This No-Bake Brownie Truffles recipe makes perfectly juicy, tender, and flavorful steak every time! Serve with potatoes and a side salad for an unforgettable dinner in under 30 minutes.
Instructions
Prep and line pan
Line a large cookie sheet with parchment paper and set aside. This creates a non-stick surface for chilling and makes transfer simple.
Mix base
In a medium bowl, beat boxed brownie mix, softened cream cheese, and vanilla until a uniform, dough-like texture forms with no streaks of cream cheese. The mixture should hold together when pressed.
Portion and roll
Use a 1½-inch cookie scoop to portion and roll dough between palms into smooth balls. Place on the prepared parchment in even rows; if sticky, chill the bowl 10 minutes and continue.
Chill until firm
Refrigerate the truffle balls for 1 hour to firm up. Proper chilling prevents the coating from sliding off during dipping.
Melt coating
Set up a double boiler and melt 1½ cups of the wafers with 1 tablespoon shortening, stirring until smooth and glossy. Reserve ¼ cup of wafers for drizzle.
Dip and set
Dip each chilled ball into the melted coating using forks or dipping tools, place on parchment, and refrigerate 30 minutes until the shell sets.
Decorate
Warm reserved wafers with a small amount of shortening, pipe thin lines over truffles, then chill an additional 30 minutes until completely set.
Last Step: Please leave a rating and comment letting us know how you liked this recipe! This helps our business to thrive and continue providing free, high-quality recipes for you.
Nutrition
Did You Make This?
Leave a comment & rating below or tag
@flavest on social media!
Categories:
You might also like...

Glazed Apple Cider Donuts
Warm-spiced apple cider donuts with tender apple bits and a glossy cider glaze, fried crisp and irresistibly cozy for fall.

Slow Cooker Pork Pot Roast
All-day slow cooking turns pork shoulder, potatoes, and carrots into a tender, savory classic with a rich homemade gravy everyone will love.

Cheesy Hamburger Potato Casserole
Tender layers of Yukon gold potatoes with seasoned beef in a creamy, cheddar sauce, baked until bubbly and irresistibly comforting.
Did You Make This?
Leave a comment & rating below or tag @flavest on social media!
Rate This Recipe
Share This Recipe
Enjoyed this recipe? Share it with friends and family, and don't forget to leave a review!
Comments (1)
This recipe looks amazing! Can't wait to try it.
Comments are stored locally in your browser. Server comments are displayed alongside your local comments.

Hi, I'm Maria!
What's Popular

30-Minute Meals!
Join to receive our email series which contains a round-up of some of our quick and easy family favorite recipes.