
>>

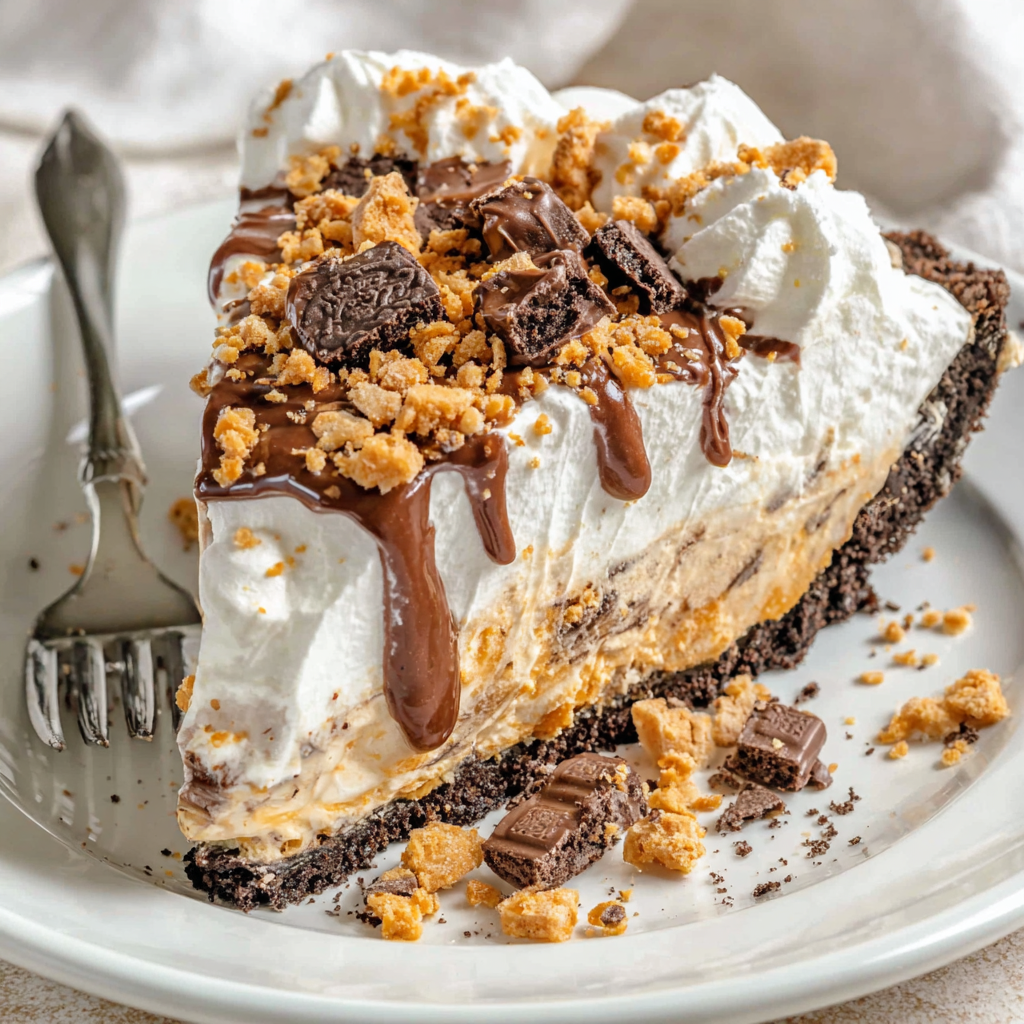
Cool, creamy layers of peanut butter, chocolate pudding, and Oreo crunch make this no-bake Butterfinger pie an instant crowd-pleaser for any occasion.
I have taken this pie to more potlucks than I can count, and it disappears faster than anything else on the table. My kids love sneaking the Butterfinger pieces while I fold them into the filling, and my husband always asks for an extra slice the next day, slightly frosty from the fridge.
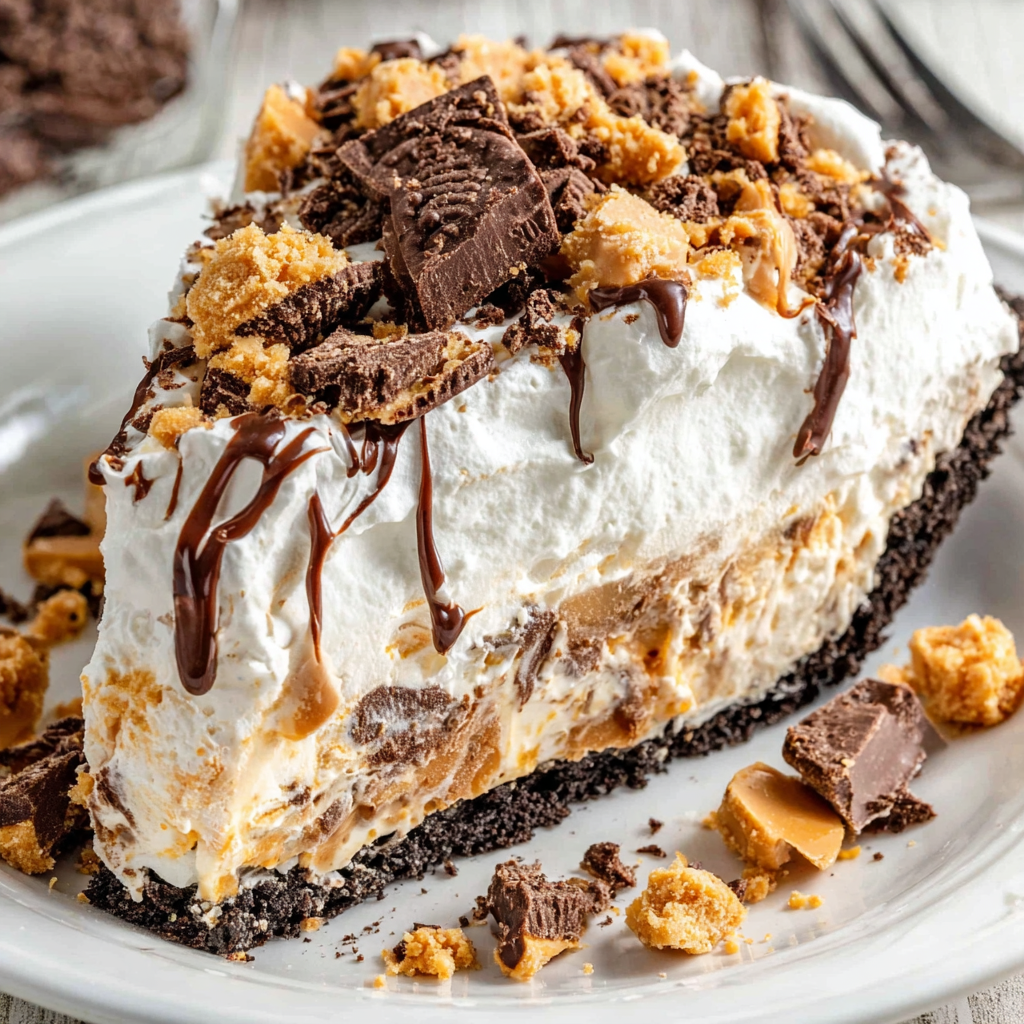
My favorite part is the contrast between the pudding silk and the Butterfinger crunch. The first time I served it for my dad’s birthday, he laughed after the first bite and said it tasted like childhood in the best way. Now he requests it every year, and I love that something so simple can feel so celebratory.
Cover the pie tightly with plastic wrap or transfer slices to an airtight container and refrigerate for 3 to 5 days. Keep it on a flat shelf so the layers stay level. For freezing, wrap the entire chilled pie (without syrup drizzle) in plastic, then foil, and freeze up to 1 month. Thaw overnight in the refrigerator, then add the chocolate syrup just before serving. If you enjoy a firmer, ice-cream-like texture, slice and serve it slightly frozen. Avoid room-temperature storage beyond serving time, as the dairy layers soften quickly.
Swap the Oreo crust with 2 1/2 cups graham cracker crumbs or Nutter Butter crumbs using the same 1/2 cup melted butter and pinch of salt. If peanut allergies are a concern, use almond butter or sunflower seed butter; note the filling will be slightly looser, so chill overnight for best slices. Switch pudding flavors to vanilla, chocolate, or even one chocolate and one peanut butter packet for a layered pudding effect. Butterfinger can be replaced with chopped Reese’s cups, toffee bits, or crushed peanut butter cookies with similar volume and texture.
Serve chilled slices with an extra drizzle of chocolate syrup and a pinch of flaky sea salt to sharpen the chocolate notes. For special occasions, garnish with chocolate curls or a few extra Butterfinger shards on each plate. This pie pairs beautifully with hot coffee, cold milk, or a simple vanilla iced latte. Keep portions modest; it is rich and satisfying. For parties, pre-slice and wipe your knife between cuts for sharp edges, then slide each slice onto a small dessert plate with a dollop of whipped topping.
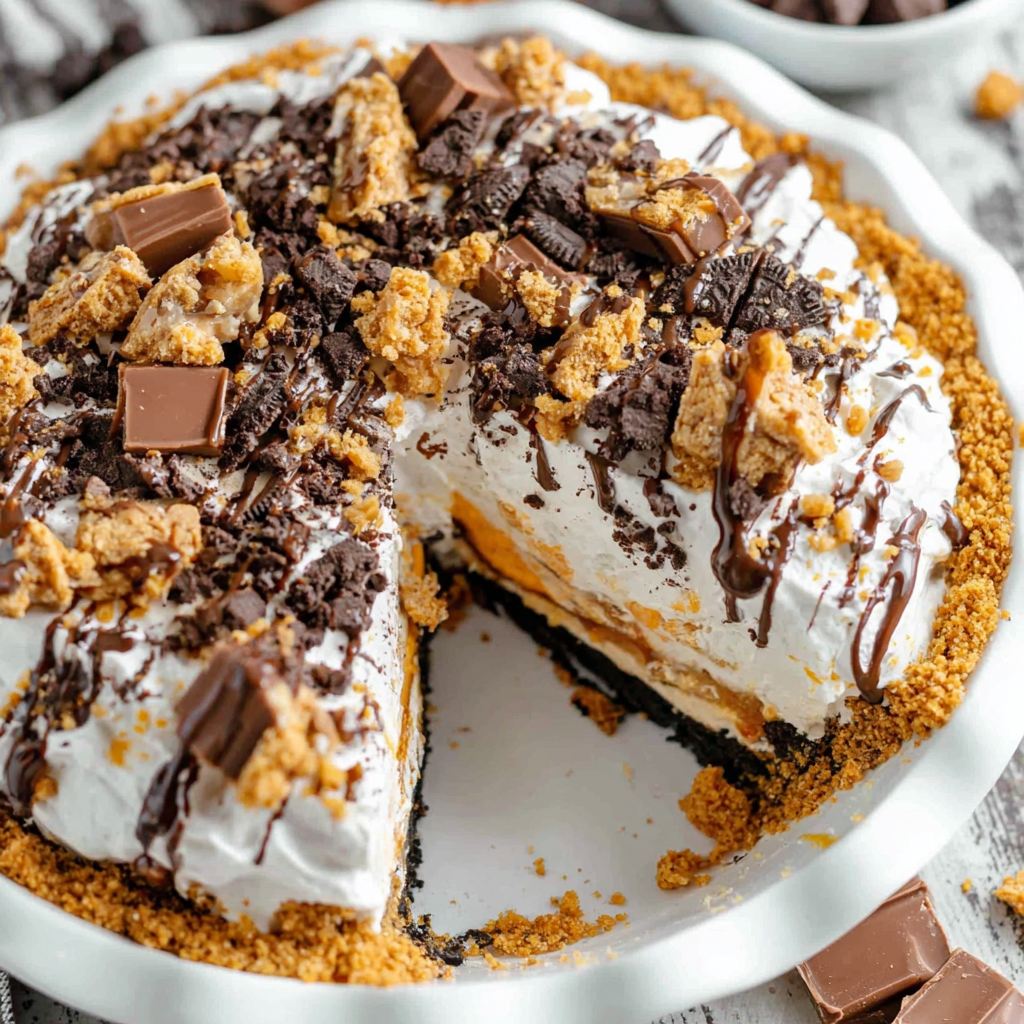
Layered, no-bake pies are a hallmark of American dessert culture, especially mid- to late-20th-century potlucks and family gatherings. Instant pudding and whipped topping revolutionized easy desserts by offering reliable texture without baking. Candy-bar pies became a playful trend, merging nostalgic flavors into shareable formats. This version leans into that tradition with an Oreo crumb base and a peanut butter cheesecake-style layer, reminiscent of classic icebox pies that rely on time and cold, not heat, to create structure and indulgence.
In summer, serve the pie slightly frozen for a refreshing, ice-cream-like bite and add fresh berries for a cool contrast. In fall, drizzle with warm peanut butter sauce and a dusting of cinnamon. Winter holidays call for mini pies in muffin tins, topped with crushed peppermint or chocolate shavings. For spring gatherings, swap in vanilla pudding and garnish with chopped toasted peanuts and a ribbon of caramel to brighten the flavor profile while keeping that beloved candy crunch.
Prepare the crust and peanut layer up to 24 hours in advance, covered and chilled. Whisk and add the pudding layer the morning you plan to serve, then top with whipped topping and garnish closer to serving time to preserve texture. For grab-and-go portions, assemble in mason jars or small lidded cups: crust crumbs, peanut layer, pudding, and a spoonful of topping. Store tightly sealed, and they will keep well for 3 days. Always use a cold, sharp knife and wipe it clean between slices for neat presentation.
When a dessert checks every box for easy, nostalgic, and downright delicious, it becomes a keeper. I hope this pie brings the same joy to your table that it brings to mine, one chilled, candy-studded slice at a time.
Chop your own Butterfinger bars for the best crunchy texture; packaged crumbs are finer and melt into the filling.
Soften cream cheese fully at room temperature so the filling beats smooth without lumps.
Thaw Cool Whip in the refrigerator until soft but still cold; this prevents streaks when folding.
Use a cold bowl and whisk for the pudding; it thickens faster and stays glossy.
Warm a knife under hot water, dry it, then slice for clean, bakery-style edges.
This nourishing no-bake chocolate butterfinger pie recipe is sure to be a staple in your kitchen. Enjoy every moist, high protein slice — it is perfect for breakfast or as a wholesome snack any time.
Yes. Use 2 1/2 cups graham cracker or Nutter Butter crumbs with 1/2 cup melted butter and a pinch of salt. Press and chill as directed.
Stick with Jif or Skippy for the most stable filling. Natural peanut butter tends to separate and can make the layer looser.
Absolutely. Make it a day ahead and chill overnight. Garnish just before serving to keep the topping crisp and neat.
Chill at least 4 hours, or overnight for the cleanest slices. The crust and layers need time to firm up.
Yes, chocolate, vanilla, or peanut butter instant pudding all work. Keep the total amount to two 3.4-ounce boxes.
This No-Bake Chocolate Butterfinger Pie recipe makes perfectly juicy, tender, and flavorful steak every time! Serve with potatoes and a side salad for an unforgettable dinner in under 30 minutes.
Lightly grease a 9-inch deep-dish pie pan. In a bowl, mix Oreo crumbs, melted cooled butter, and salt until evenly moistened; the mixture should clump when pressed.
Press the crumb mixture firmly into the bottom and up the sides of the pan using a flat measuring cup. Chill while preparing the filling so the crust sets.
Beat cream cheese, peanut butter, and powdered sugar until completely smooth, 1 to 2 minutes, scraping the bowl to remove lumps.
Fold chopped Butterfinger and thawed Cool Whip into the peanut mixture until no white streaks remain. Spread into the chilled crust in an even layer.
Whisk instant chocolate fudge pudding with cold whole milk for 2 to 3 minutes until thick. Let stand 1 minute, then spread evenly over the peanut layer.
Spread remaining Cool Whip on top. Sprinkle with chopped Butterfinger and chocolate chips, drizzle with chocolate syrup, and chill at least 4 hours or overnight.
Last Step: Please leave a rating and comment letting us know how you liked this recipe! This helps our business to thrive and continue providing free, high-quality recipes for you.
Leave a comment & rating below or tag
@flavest on social media!

Warm-spiced apple cider donuts with tender apple bits and a glossy cider glaze, fried crisp and irresistibly cozy for fall.

All-day slow cooking turns pork shoulder, potatoes, and carrots into a tender, savory classic with a rich homemade gravy everyone will love.

Tender layers of Yukon gold potatoes with seasoned beef in a creamy, cheddar sauce, baked until bubbly and irresistibly comforting.
Leave a comment & rating below or tag @flavest on social media!
Enjoyed this recipe? Share it with friends and family, and don't forget to leave a review!
This recipe looks amazing! Can't wait to try it.
Comments are stored locally in your browser. Server comments are displayed alongside your local comments.

Join to receive our email series which contains a round-up of some of our quick and easy family favorite recipes.
