
>>

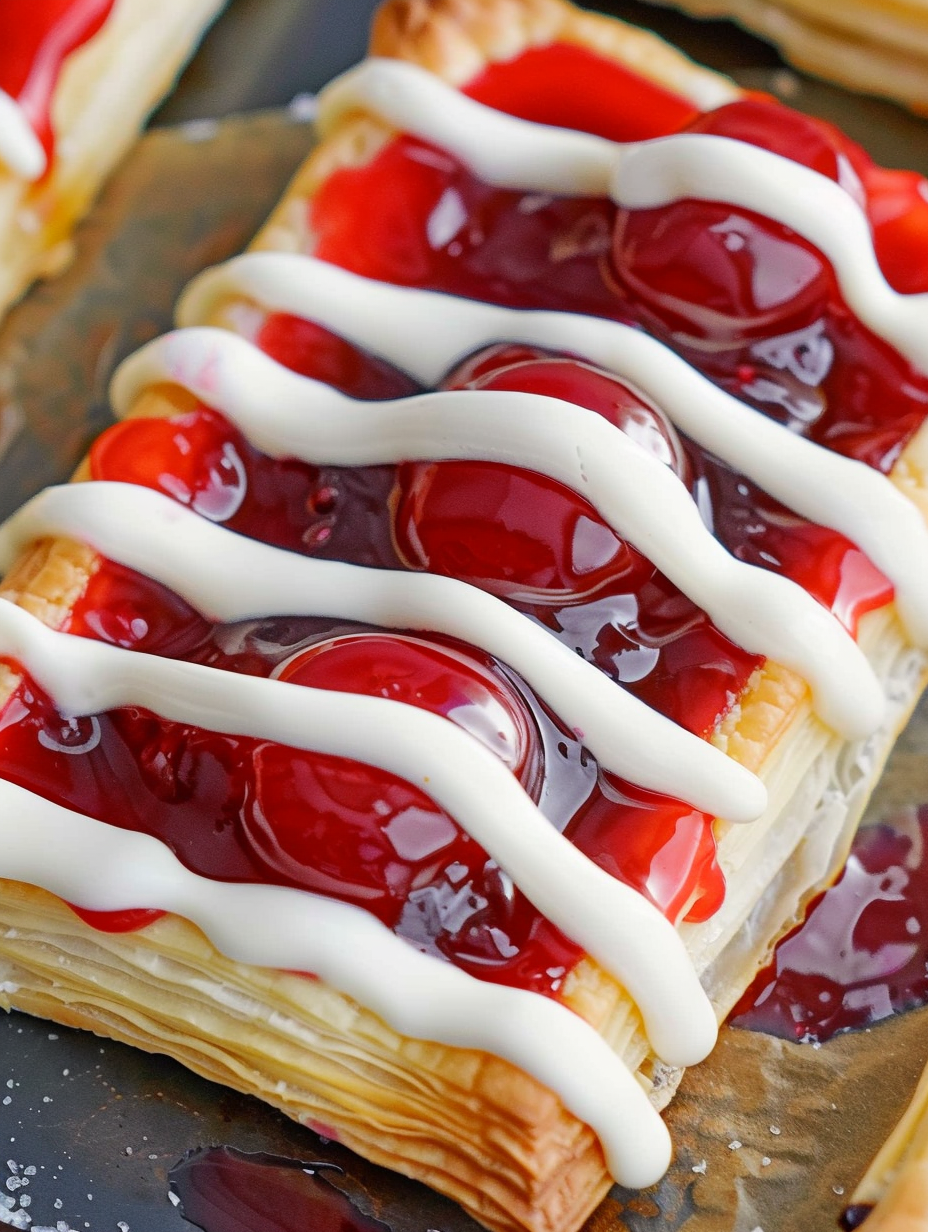
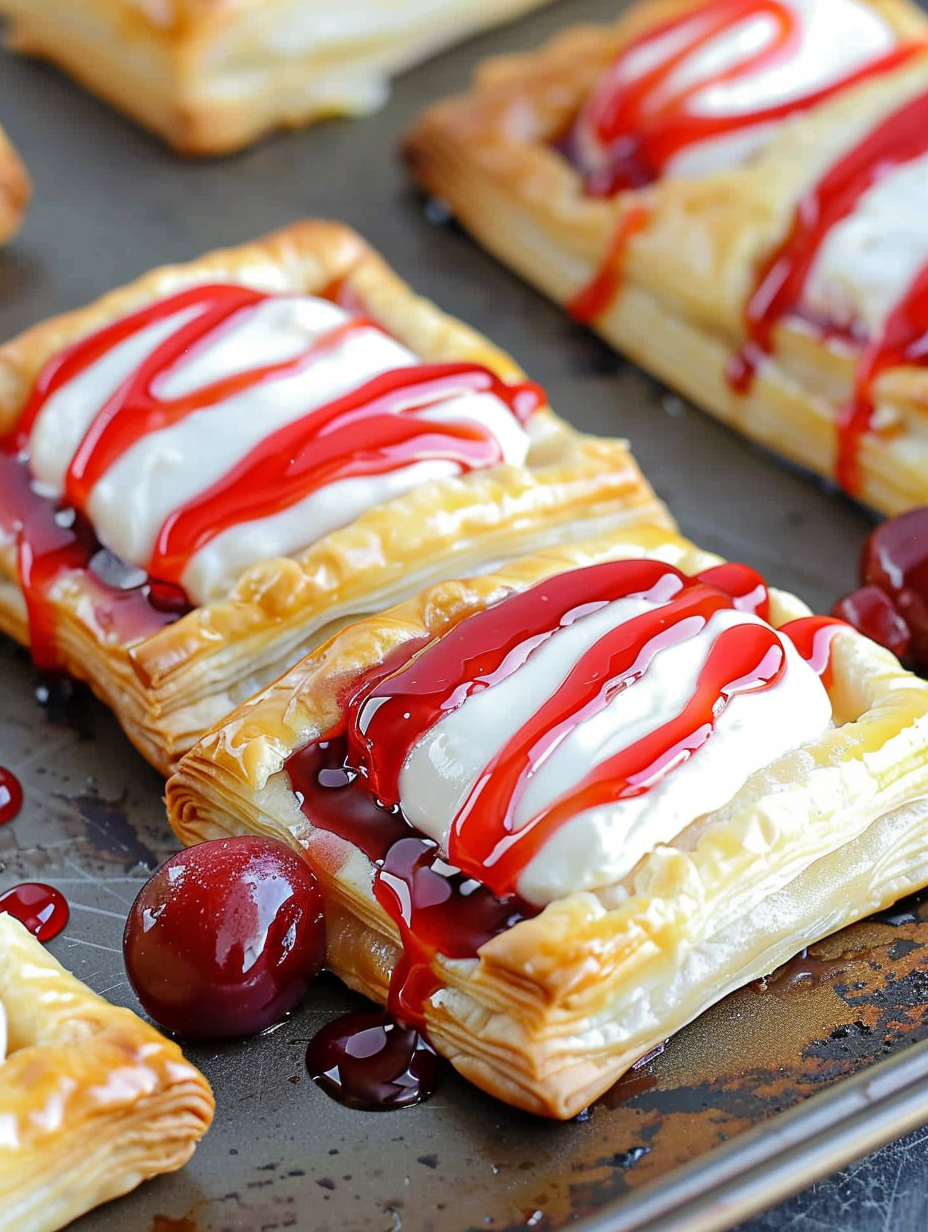
Flaky puff pastry filled with sweetened cream cheese and bright cherry pie filling — an easy, crowd-pleasing morning treat ready in 30 minutes.
This Cherry Danish with cream cheese has become my go-to weekend breakfast for both casual family mornings and small brunch gatherings. I first pulled this together on a sleepy Saturday when I had a box of thawed puff pastry and a can of cherry filling in the pantry. The result was a flaky, pillowy pastry with a tangy-sweet center that disappeared faster than I expected. The contrast between the crisp, golden edges and the creamy center is what makes this such a memorable bite.
I love how approachable the method is: a few simple techniques — scoring the border, docking the center, and a quick egg wash — deliver bakery-quality results without complicated laminating or long rise times. The cream cheese layer provides a smooth, mildly tangy base that balances the bright cherry spooned on top after baking. It’s one of those recipes that reliably impresses guests and is forgiving to make, which is why I keep it in constant rotation.
My family’s reaction the first time I served these was immediate: forks paused, then returned, and someone proclaimed them better than the bakery down the street. I’ve made this for holiday brunches, casual coffee mornings, and an impromptu office drop-off. The simplicity and consistency make it one of those recipes I trust to receive compliments every time.

My favorite part of making these is the way the home smells while they bake: warm butter, vanilla, and bright cherry lift the whole house. Over the years friends have told me this method is the easiest way to achieve a bakery-level result without fussing over laminated dough. One reader once wrote that these were the perfect send-off for a new homeowner brunch — they’re easy to transport and look beautiful on a platter.
Store cooled pastries in a single layer in an airtight container at room temperature for up to 24 hours. For longer storage, refrigerate in a single layer for up to 48 hours; the crust will soften slightly but reheats well. To freeze, flash-freeze assembled but unbaked pastries on a baking tray until firm, then transfer to a freezer bag. Bake from frozen adding 3–5 minutes to the time, and watch for deep golden color. Reheat leftovers at 350 degrees F for 6–8 minutes to crisp the layers without drying out the cream cheese.
If you prefer a lighter filling, use reduced-fat cream cheese but expect a slightly tangier and less luxurious mouthfeel. Swap the cherry pie filling for apricot preserves or blueberry pie filling at a 1:1 ratio; for fresh fruit, macerate berries with 1 tablespoon sugar and 1 teaspoon lemon juice and spoon a small amount onto the cream cheese after baking. For dairy-free options, use a vegan cream cheese and a plant-based heavy cream alternative for the glaze, but note the texture and flavor will vary from the original.
Serve warm with a dusting of powdered sugar or the quick vanilla glaze provided. They pair beautifully with coffee, a cappuccino, or a citrus-forward tea. For a brunch spread include a platter of these pastries alongside scrambled eggs, smoked salmon on mini bagels, and a fruit salad for color balance. Garnish with a few fresh mint leaves or finely grated lemon zest to brighten the presentation.
While versions of cheese-filled pastries appear across northern Europe, the cream cheese and fruit Danish is an Americanized take inspired by the delicate laminated pastries of Denmark. Over time, home bakers in the United States adapted the technique using ready-made puff pastry for convenience, creating the familiar sweet triangle or rectangular pastries enjoyed at coffee shops nationwide. This recipe captures that comfort-food evolution: simple methods delivering rich, layered results.
Spring and summer are perfect for switching to fresh berries or rhubarb compote. In autumn try a warm cinnamon-apple pie filling with a pinch of nutmeg and swap vanilla for a teaspoon of bourbon or maple extract in the cream cheese layer for depth. For winter holidays add toasted slivered almonds on top of the cherry filling for crunch and a festive look.
To streamline mornings, cut and score the dough the night before and keep the rectangles covered in the refrigerator. Make the cream cheese mixture ahead and store in an airtight container; assemble and bake in the morning for freshness. Assembling on parchment makes it easy to transfer to a tray for baking, and using a small cookie scoop for the filling ensures uniform portions and consistent bake times across pastries.
These pastries are humble to make yet feel celebratory to serve. Whether you’re feeding a crowd or treating yourself, they bring flaky texture, creamy richness, and a bright fruit finish to any morning.
Keep puff pastry cold while cutting and scoring to ensure maximum lift.
Use a small cookie scoop for even cream cheese portions and consistent baking.
Dock the center area to prevent the filling from being pushed out by steam during baking.
Bake on parchment to avoid sticking and ensure even browning.
This nourishing quick cherry danish with sweetened cream cheese recipe is sure to be a staple in your kitchen. Enjoy every moist, high protein slice — it is perfect for breakfast or as a wholesome snack any time.
Yes — assemble and freeze unbaked on a tray, then store in a bag for up to one month. Bake from frozen, adding 3–5 minutes.
Reheat in a 350°F oven for 6–8 minutes to crisp the pastry without drying the filling.
This Quick Cherry Danish with Sweetened Cream Cheese recipe makes perfectly juicy, tender, and flavorful steak every time! Serve with potatoes and a side salad for an unforgettable dinner in under 30 minutes.
Preheat oven to 400°F. Unfold thawed puff pastry on a lightly floured surface and cut each sheet into six rectangles, keeping dough cold between handling.
Score a 1/2-inch border on each rectangle, cutting only halfway through the dough. Dock the center with a fork to prevent excessive rising in the middle.
Place rectangles on parchment-lined baking sheets about 1 inch apart. Beat cream cheese with sugar and 1 teaspoon vanilla until smooth, then portion onto centers leaving borders clear.
Whisk egg with 2 tablespoons water and brush the 1/2-inch border. Bake at 400°F for 18–20 minutes until rims are puffed and golden.
Spoon cherry pie filling over the warm cream cheese centers. Whisk powdered sugar with heavy cream and remaining vanilla, then drizzle over cooled pastries.
Last Step: Please leave a rating and comment letting us know how you liked this recipe! This helps our business to thrive and continue providing free, high-quality recipes for you.
Leave a comment & rating below or tag
@flavest on social media!

Warm-spiced apple cider donuts with tender apple bits and a glossy cider glaze, fried crisp and irresistibly cozy for fall.

All-day slow cooking turns pork shoulder, potatoes, and carrots into a tender, savory classic with a rich homemade gravy everyone will love.

Tender layers of Yukon gold potatoes with seasoned beef in a creamy, cheddar sauce, baked until bubbly and irresistibly comforting.
Leave a comment & rating below or tag @flavest on social media!
Enjoyed this recipe? Share it with friends and family, and don't forget to leave a review!
This recipe looks amazing! Can't wait to try it.
Comments are stored locally in your browser. Server comments are displayed alongside your local comments.

Join to receive our email series which contains a round-up of some of our quick and easy family favorite recipes.
