
>>

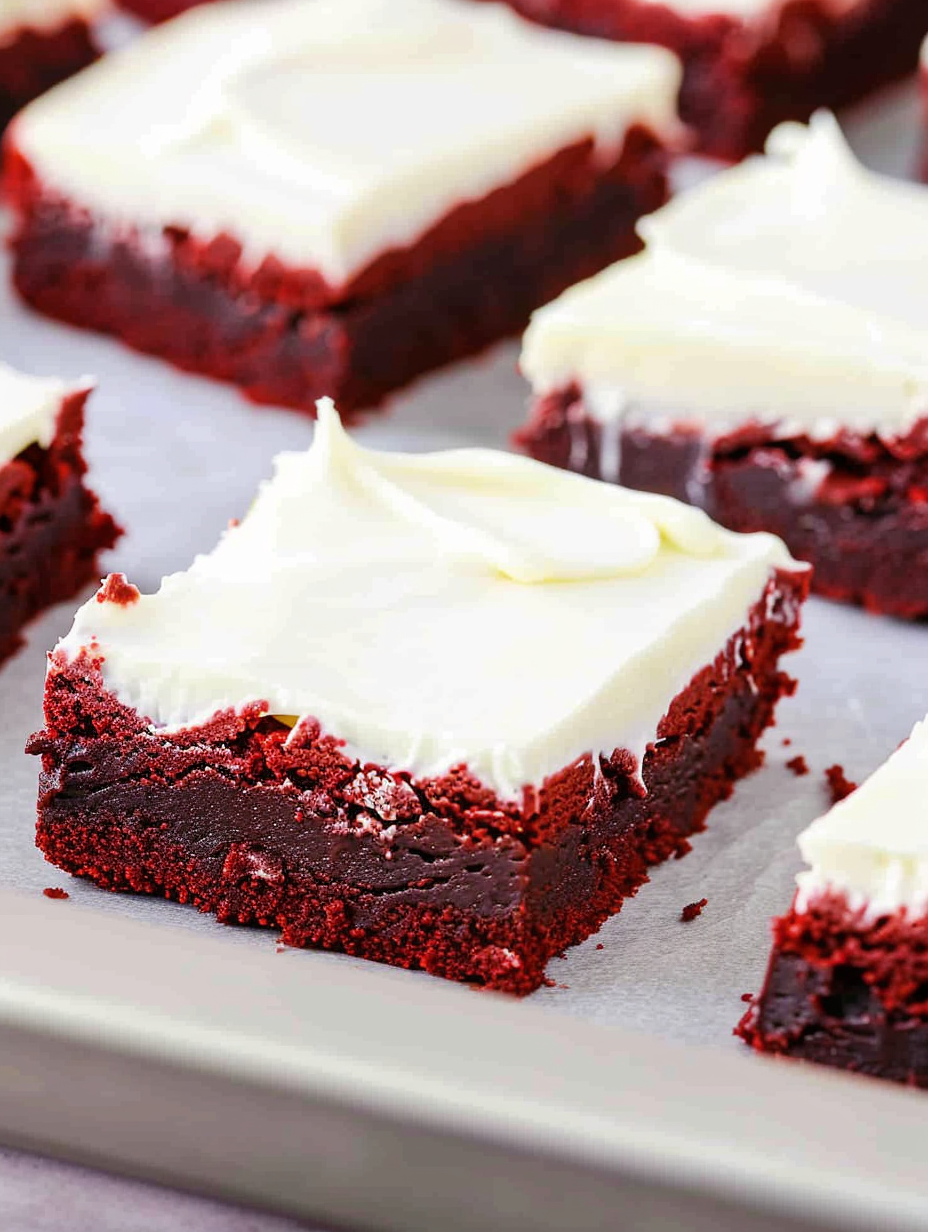
Fudgy from scratch red velvet bars finished with a light, tangy cream cheese topping. An easy crowd pleaser made in one pan and ready in under an hour.
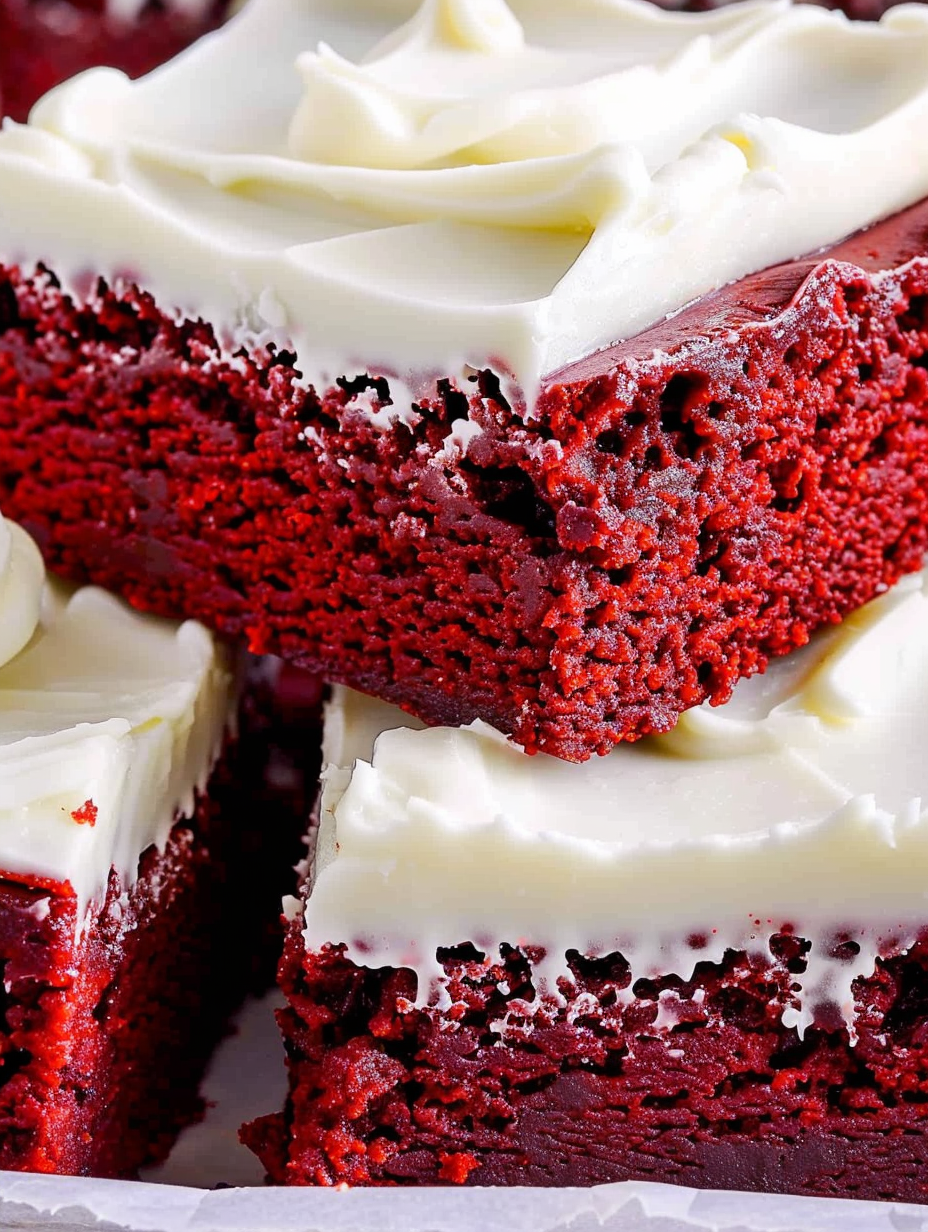
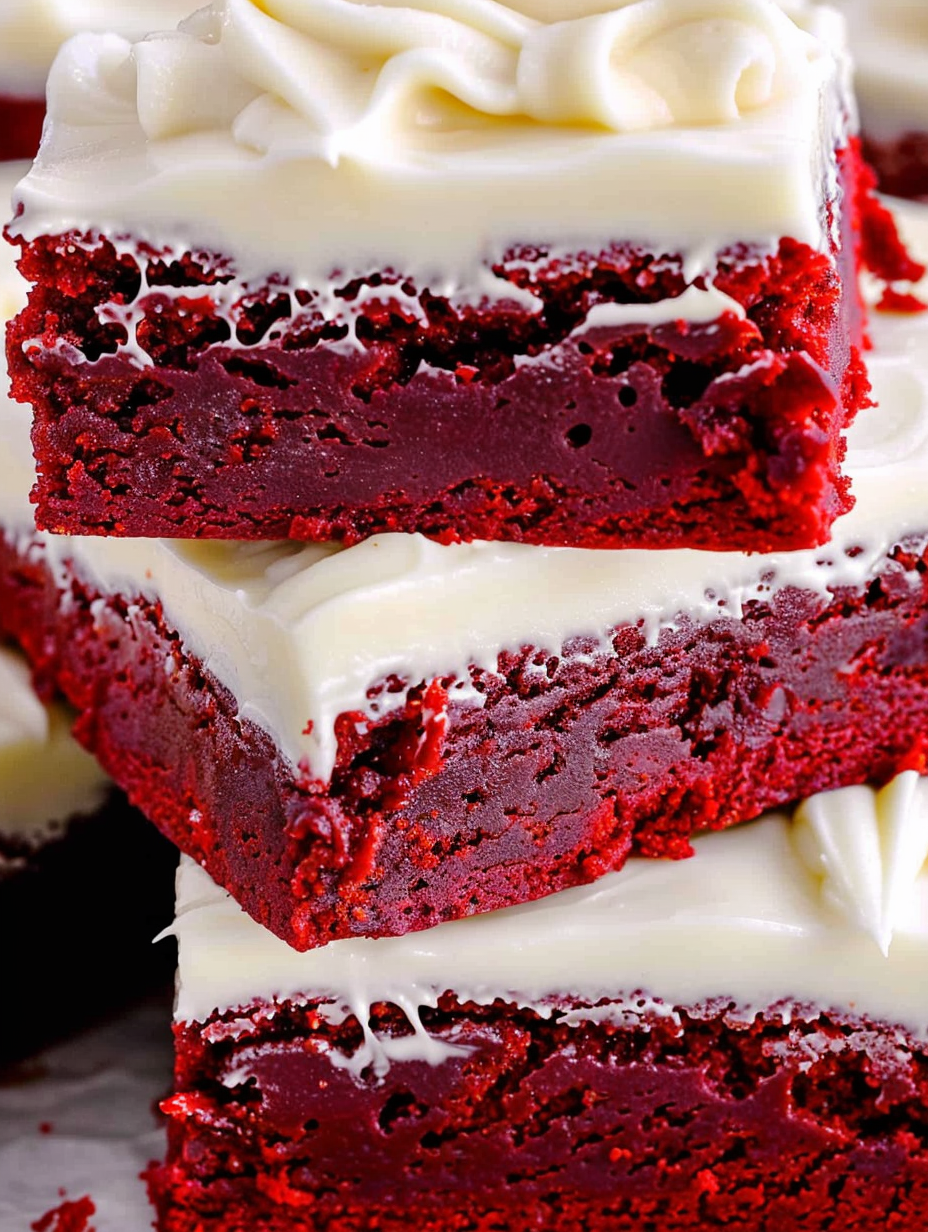
This batch of red velvet brownies became a family staple the first time I pulled them from the oven. I was chasing a vivid, silky dessert for a dinner party and wanted something rich but not overly sweet. I discovered this combination during a late night of testing and adjusting how much cocoa and food coloring to use so the texture stayed fudgy while the color popped. The result is a dense, slightly chewy base with a tender crumb and just enough cocoa to give depth beneath the bright red hue. Topped with a whipped cream cheese frosting that is tangy and velvety these bars always vanish quickly.
I remember serving them at a small holiday gathering and watching three generations reach for a corner piece before the coffee came. They taste like the holidays without being heavy. The contrast between the fudgy base and the cloudlike frosting is what makes them memorable. Whether you are pulling these together for a potluck or making them on a quiet Sunday afternoon these are forgiving, fast to make, and simple to adapt. Read on for shopping notes timing tips and ways to keep these bars perfect for days.
My family reaction on the first test confirmed I was on to something. My sister who rarely takes seconds went back for two more pieces and my neighbor asked for the recipe. I learned that a slightly underbaked center keeps the bars fudgy rather than cake like and that room temperature cream cheese blends into a frosting that feels airy instead of dense.
What I love most is how the simple addition of a whipped cream cheese topping elevates these from boxed brownie level to something you would serve at a celebration. Readers have told me this is their go to for birthdays when they want red velvet without elaborate cake decorating and the concentrated flavor profile holds up well alongside coffee or a glass of milk.
Store uncovered at room temperature for a few hours until the frosting is set then cover loosely with plastic wrap and refrigerate. The bars will keep well in an airtight container for up to four days. For long term storage wrap individual squares in plastic wrap then place them in a freezer safe bag removing as much air as possible. Thaw in the fridge overnight and bring to room temperature before serving for the best texture. When reheating a slice warm it for 10 to 12 seconds in the microwave to soften the frosting slightly without melting it completely.
If you need to adjust the recipe swap the butter for an equal amount of melted coconut oil for a dairy alternative though the frosting will need a non dairy cream cheese. To make them gluten free use a one to one gluten free flour blend and watch the bake time closely since gluten free flours can change moisture uptake. For a vegan version replace eggs with flax eggs 2 tablespoons ground flaxseed plus 6 tablespoons water and use vegan butter and cream cheese. Expect a slightly different crumb with these swaps but the flavor will still be satisfying.
Serve squares plain for a clean presentation or dust with a small sprinkle of cocoa or powdered sugar for contrast. They pair beautifully with a scoop of vanilla ice cream or a dollop of whipped cream. For a festive touch add a few fresh berries or a mint sprig. These work well on dessert platters alongside cookies and bars and are great for potlucks because you can pre cut bite sized pieces for easy grazing.
Red velvet has roots in American baking traditions and gained popularity in the early 20th century as a visually striking variation of chocolate cakes. The signature color originally came from chemical reactions between natural cocoa and acidic ingredients. Today gel food coloring is used to achieve the vivid tone without altering texture. Brownies adapted into red velvet bars bridge two classics and reflect a trend of simplifying layer cakes into single pan desserts that are easier to serve.
In winter add a pinch of ground cinnamon or a teaspoon of instant espresso powder to deepen flavor. For spring swap the cream cheese frosting for a lemon cream cheese frosting by adding one teaspoon lemon zest and one tablespoon lemon juice. For holidays top with crushed candy canes for a peppermint twist. These small swaps keep the base familiar but fresh for different seasons.
To make ahead bake the base and cool completely then wrap the uncut slab tightly and refrigerate for up to two days. Make the frosting the morning you plan to serve and spread it just before guests arrive. For office or school friendly packing cut into two inch squares and place in small food safe containers separated by parchment to prevent sticking. This recipe scales well so double the ingredients and bake in a 9 by 13 inch pan if you need more servings adjusting bake time to 30 to 35 minutes.
These bars are a joy to share and simple enough to become a trusted favorite. Try the variations and find what your crowd loves then make this your signature one pan dessert.
Cool the base completely before frosting to prevent the frosting from melting into the batter.
Use gel food coloring for the best color with minimal added liquid.
For fudgier bars remove them when a toothpick has moist crumbs rather than being completely clean.
Chill the bars after frosting for 30 minutes for cleaner slices.
This nourishing red velvet brownies with cream cheese frosting recipe is sure to be a staple in your kitchen. Enjoy every moist, high protein slice — it is perfect for breakfast or as a wholesome snack any time.
This Red Velvet Brownies with Cream Cheese Frosting recipe makes perfectly juicy, tender, and flavorful steak every time! Serve with potatoes and a side salad for an unforgettable dinner in under 30 minutes.
Preheat oven to 350 degrees Fahrenheit. Line a 9 by 9 inch baking dish with parchment paper spray lightly with cooking spray and set aside.
Whisk together 3 4 cup all purpose flour 2 tablespoons cocoa powder and 1 4 teaspoon baking soda in a large bowl and set aside.
In another large bowl whisk 1 cup packed light brown sugar with 3 4 cup melted salted butter until smooth and glossy.
Whisk in 2 large eggs then 2 teaspoons vanilla extract and 1 ounce red food coloring gel until the batter is uniform in color.
Stir the flour mixture into the wet ingredients until there are no dry patches stopping when cohesive to avoid over mixing.
Spread the batter evenly into the prepared pan and bake 25 to 30 minutes until a toothpick shows a few moist crumbs. Cool completely in the pan.
Beat 4 ounces softened cream cheese with 2 tablespoons softened butter. Add 1 cup powdered sugar gradually then 1 teaspoon vanilla. Whip until light and fluffy about 3 minutes.
Spread frosting over fully cooled bars refrigerate 30 minutes to set then cut into 9 squares. Keep refrigerated between servings.
Last Step: Please leave a rating and comment letting us know how you liked this recipe! This helps our business to thrive and continue providing free, high-quality recipes for you.
Leave a comment & rating below or tag
@flavest on social media!

Warm-spiced apple cider donuts with tender apple bits and a glossy cider glaze, fried crisp and irresistibly cozy for fall.

All-day slow cooking turns pork shoulder, potatoes, and carrots into a tender, savory classic with a rich homemade gravy everyone will love.

Tender layers of Yukon gold potatoes with seasoned beef in a creamy, cheddar sauce, baked until bubbly and irresistibly comforting.
Leave a comment & rating below or tag @flavest on social media!
Enjoyed this recipe? Share it with friends and family, and don't forget to leave a review!
This recipe looks amazing! Can't wait to try it.
Comments are stored locally in your browser. Server comments are displayed alongside your local comments.

Join to receive our email series which contains a round-up of some of our quick and easy family favorite recipes.
