
Salted Caramel Apple Cups

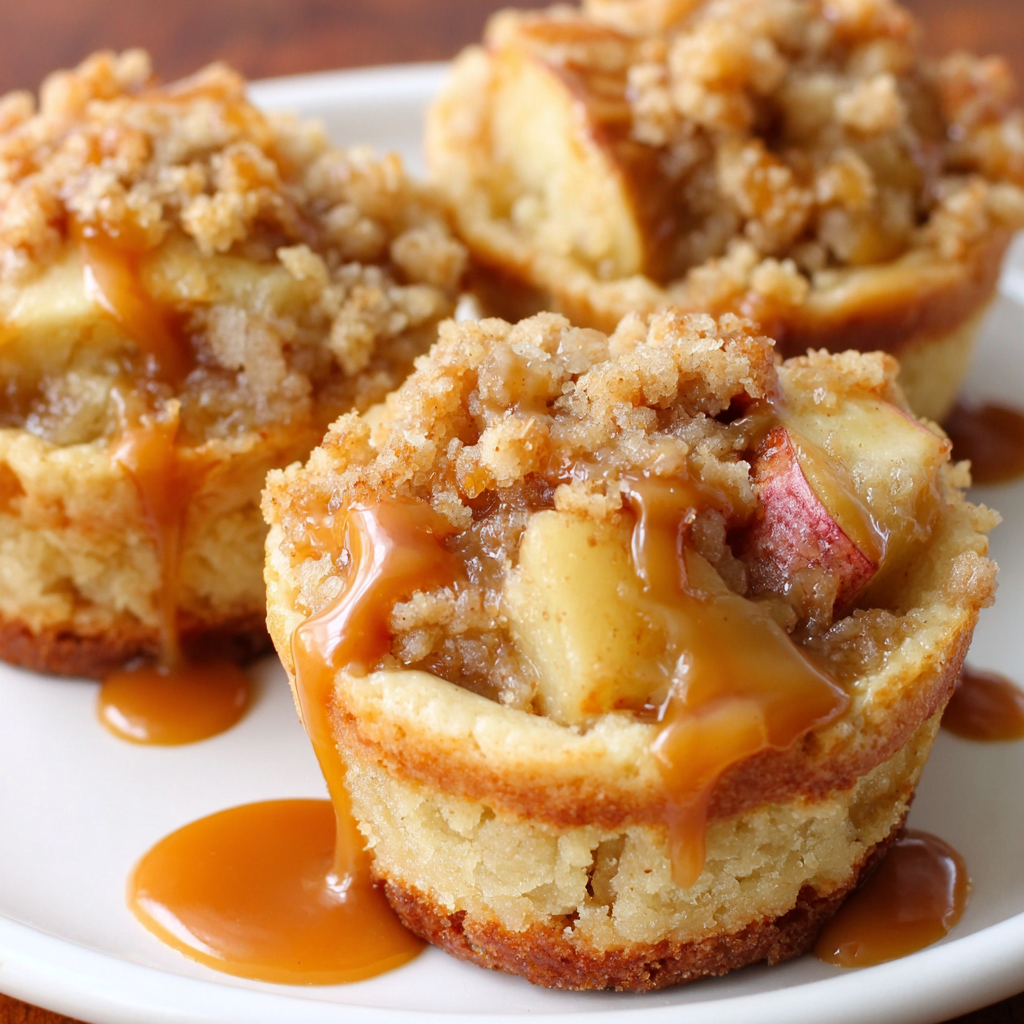
Chewy blondie cups topped with warm cinnamon apples, salted caramel, and a buttery crumble. Easy to make, perfect for gatherings and weeknight treats.
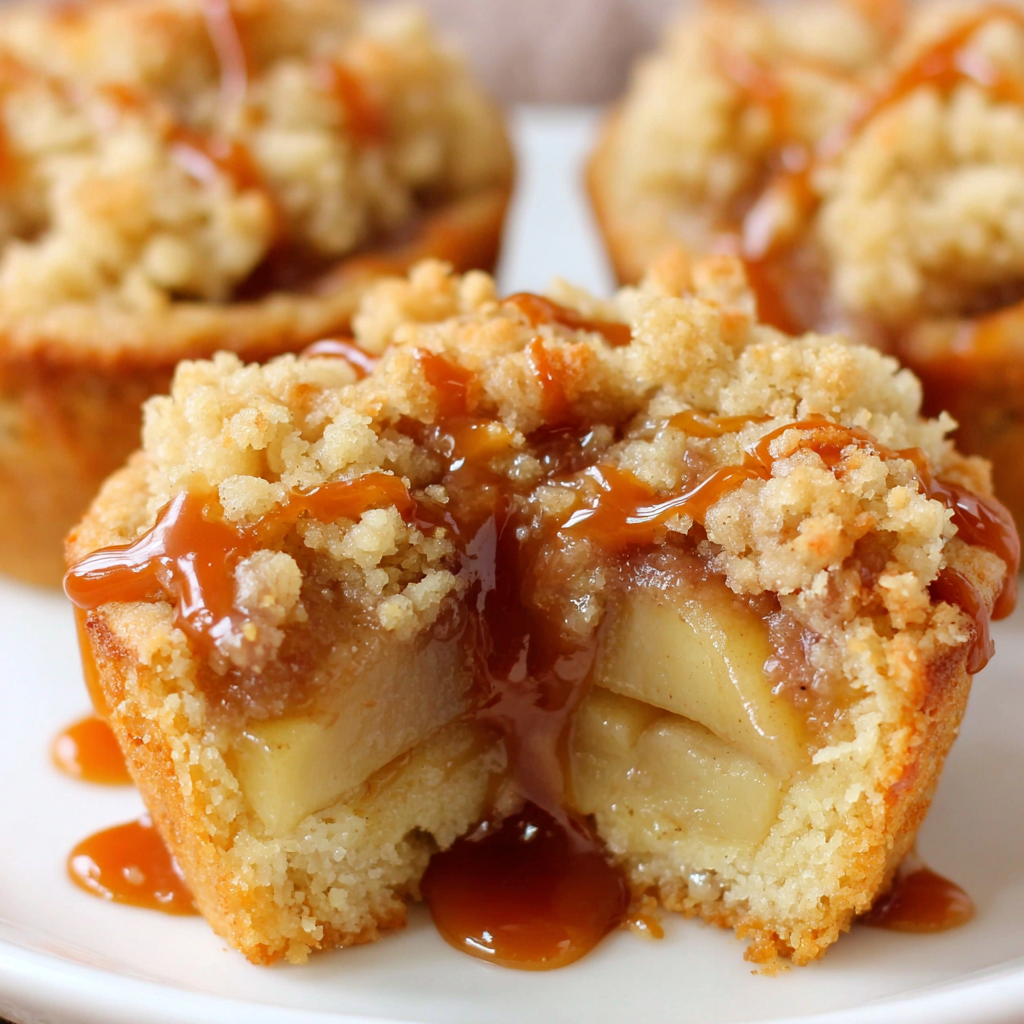
These Salted Caramel Apple Cups are one of those comforting desserts that feels like a warm hug straight from the oven. I first tasted a version of this combination at a fall farmers market years ago and adapted the proportions and assembly until the texture and balance were just right. The base is a chewy blondie like batter that sets at the edges and stays tender in the center. Topping it with lightly spiced apples brings freshness and brightness, while a drizzle of salted caramel adds the right amount of sweetness and a glossy finish. The final crumble gives a contrast in texture so each bite is chewy, soft, and crisp at the same time.
I remember serving these at a small holiday gathering and watching everyone reach for seconds. The air filled with cinnamon and caramel, and kids and adults both loved the handheld size. They are forgiving to make and flexible enough to adapt to apples you have on hand. If you love apple pies with a caramel twist but want something faster and more portable these cups are a reliable choice. They also reheat beautifully which means leftovers make the next morning feel special.
Why You'll Love This Recipe
- Handheld portions are perfect for parties and holiday gatherings, making serving and cleanup easy with no forks required.
- Ready in about 40 minutes from start to finish, including a quick stovetop apple sauté, so it is great for last minute entertaining.
- Uses pantry staples like butter, brown sugar, flour, and store bought caramels which keeps the ingredient list short and approachable.
- Make ahead options work well because the cups can be cooled and reheated gently in the microwave or oven for a freshly warmed treat.
- Balanced flavors with spiced apples to cut through the sweetness of the blondie base and caramel, finishing with a pinch of kosher salt for depth.
- Versatile for dietary tweaks, such as swapping dairy or changing apples to pears for a seasonal twist.
In my kitchen these cups became a go to because they are crowd friendly and forgiving. I have swapped apple varieties, adjusted the caramel amount, and experimented with baking times until the top is golden and the centers stay tender. Guests always ask for the recipe and I love how portable and nostalgic they feel.
Ingredients
- Apples: 1 tablespoon butter, 1 cup peeled and chopped apples, 1 tablespoon brown sugar, 1/2 teaspoon cinnamon, pinch of nutmeg. Use a firm apple like Honeycrisp or Pink Lady to hold shape during baking. If you prefer a milder texture choose Gala.
- Batter: 1/2 cup melted butter which is 1 stick, 1 cup brown sugar packed, 1 large egg, 1 teaspoon vanilla extract, 1 cup all purpose flour. Room temperature egg helps emulsify the batter for a chewy tender texture.
- Salted Caramel Sauce: 20 caramels about 5.5 ounces unwrapped, 1 tablespoon heavy cream or water, 1/4 teaspoon kosher salt. I prefer cream for gloss and silkiness but water works in a pinch.
- Crumble: 2 tablespoons butter slightly softened, 5 tablespoons all purpose flour, 1/4 cup brown sugar packed. Rubbing the butter into the flour by hand creates a coarse sand texture that bakes crisp without turning greasy.
Instructions
Preheat and Prep: Preheat the oven to 350 degrees Fahrenheit and generously spray a 12 cup standard muffin tin with cooking spray. Do not use paper liners because the caramel and batter will stick and make removal difficult. A light spritz ensures the cups release cleanly after cooling. Sauté the Apples: In a small skillet melt 1 tablespoon butter over medium heat. Add 1 cup peeled and chopped apples, 1 tablespoon brown sugar, 1/2 teaspoon cinnamon, and a pinch of nutmeg. Cook for about 3 minutes until apples are slightly tender. They should still hold a little shape because they will finish cooking in the oven. Remove from heat and set aside to cool slightly. Make the Batter: In a large bowl combine 1/2 cup melted butter and 1 cup brown sugar, whisking until smooth. Beat in 1 large egg and 1 teaspoon vanilla extract until incorporated. Fold in 1 cup all purpose flour until just combined, avoiding over mixing which can make the texture dense. The batter should be thick and spoonable. Prepare the Caramel: Place 20 unwrapped caramels and 1 tablespoon cream in a microwave safe bowl. Heat in 20 second bursts stirring between each until the caramel is fully melted about 60 to 90 seconds total. Stir in 1/4 teaspoon kosher salt for a balanced sweet and savory flavor. Keep the caramel warm so it pours easily. Make the Crumble: Combine 2 tablespoons softened butter, 5 tablespoons flour, and 1/4 cup brown sugar in a small bowl. Use a pastry blender or your fingertips to rub the butter into the dry ingredients until the mixture resembles coarse sand. This will bake into a crunchy top that contrasts the tender base. Assemble Cups: Drop about 2 tablespoons of batter into each prepared muffin cup to form a base. Spoon 1 to 2 teaspoons of the sautéed apples onto each portion. Drizzle 1 to 2 teaspoons of the salted caramel over the apples being careful to avoid the tin edges because caramel can stick. Finish with an even sprinkle of crumble on top of each cup. Bake and Cool: Bake for 13 to 16 minutes until the tops are slightly golden and the centers are set but still tender. Allow the cups to cool in the tin for at least 10 minutes. Run a knife around each cup to loosen before removing. Serve at room temperature or warm for 10 to 20 seconds in the microwave for a plush, gooey center.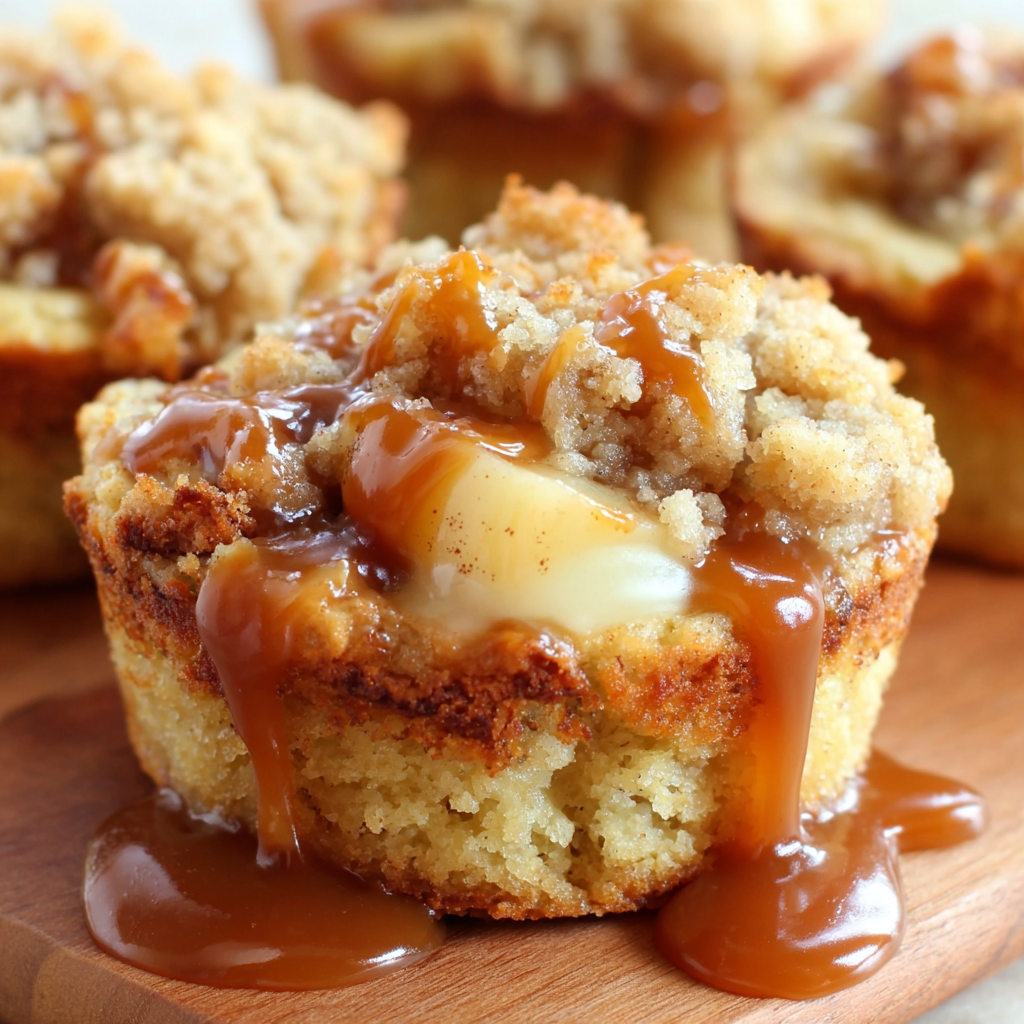
You Must Know
- These cups freeze well up to 3 months when wrapped individually and stored in an airtight container. Thaw overnight in the refrigerator then warm briefly before serving.
- Work with firm apples for the best texture, because soft apples can turn mushy after baking.
- If you use water instead of cream for the caramel the sauce will be slightly less glossy but still delicious.
- Store leftovers in a single layer to keep the crumble crisp for up to 2 days at room temperature or up to 4 days refrigerated.
One of my favorite things about these cups is how adaptable they are. I have swapped in chopped pears and even added toasted pecans to the crumble when I wanted extra crunch. When family comes over in the fall these cups are often the first thing that disappears from the table because the combination of apple spice and warm caramel hits everyone right in the nostalgia spot.
Storage Tips
Once cooled completely store the cups in an airtight container. At room temperature they will keep well for up to two days, which is ideal if you are serving them the same day. For longer storage place them in the refrigerator where they will keep for up to four days. If you want to freeze for later wrap each cup individually in plastic wrap then transfer to a freezer safe bag. Reheat from frozen in the microwave for 30 to 45 seconds or warm in a 325 degrees Fahrenheit oven for 10 minutes until heated through. Let rest a minute before serving to avoid overly hot caramel.
Ingredient Substitutions
If you need to make dairy free swaps use vegan butter and choose dairy free caramels or make a simple caramel from coconut cream and brown sugar. For a gluten free option replace the all purpose flour with a 1 to 1 gluten free flour blend, though texture may be slightly more tender. Pears can replace apples at equal measure for a different flavor profile. To reduce sugar slightly use light brown sugar in the batter and crumble, which will retain moisture while dialing back sweetness just a touch.
Serving Suggestions
These cups are delicious served warm with a scoop of vanilla ice cream or a dollop of whipped cream for contrast. For a brunch setting pair them with coffee or a caramel latte. Garnish with a light sprinkle of flaky sea salt to enhance the caramel, or add a few chopped toasted pecans for crunch. They work well on a dessert platter alongside small cookies and fruit, or individually wrapped for a bake sale or potluck.
Cultural Background
The idea of combining apples and caramel is rooted in classic American fall treats like caramel apples. These cups are a deconstructed interpretation that takes those flavors and transforms them into a tender, portable baked good. Variations of apple desserts with streusel or crumble toppings appear in many regional traditions, but the salted caramel finish adds a modern twist that became popular over the last decade as salted sweets rose in prominence in pastry kitchens.
Seasonal Adaptations
In autumn use spiced apple varieties and add a pinch of ground cloves or cardamom for extra warmth. In winter try swapping in poached pears with a splash of brandy in the fruit. In spring and summer reduce the spice and use tart summer apples with a touch of lemon zest in the batter for brightness. Holiday adaptations include adding chopped dried cranberries to the apple mixture for a festive color pop.
Meal Prep Tips
For make ahead convenience prepare the apples and the crumble the day before and store separately. Mix the batter in the morning, assemble just before baking, then refrigerate the filled tin for up to 24 hours. Allow the chilled tin to sit at room temperature for 15 minutes before baking, then add a couple of extra minutes to the bake time because chilled batter will take slightly longer to set. This approach gives you control for hosting or batch baking.
These Salted Caramel Apple Cups are a simple way to bring big fall flavor to any table. Whether you make them for a special occasion or a cozy weekday dessert they are easy to personalize and reliably delicious. I hope you enjoy them as much as my family has.
Pro Tips
Use firm apples like Honeycrisp or Pink Lady to keep texture during baking.
Warm the caramel slightly before drizzling so it spreads easily without hardening.
Run a thin knife around the cups while still warm to make removal from the tin easier.
If caramel touches the tin edges it will stick, leave a small buffer from the sides when drizzling.
Make the crumble by hand for the best coarse texture that bakes crisp.
This nourishing salted caramel apple cups recipe is sure to be a staple in your kitchen. Enjoy every moist, high protein slice — it is perfect for breakfast or as a wholesome snack any time.
FAQs about Recipes
Can I freeze these?
Yes these can be frozen for up to three months. Wrap individually and store in an airtight container.
How do I keep the centers tender?
Use room temperature egg and do not overmix the flour to keep the texture tender and chewy.
Tags
Salted Caramel Apple Cups
This Salted Caramel Apple Cups recipe makes perfectly juicy, tender, and flavorful steak every time! Serve with potatoes and a side salad for an unforgettable dinner in under 30 minutes.
Ingredients
Apples
Batter
Salted Caramel Sauce
Crumble
Instructions
Preheat and Prep
Preheat oven to 350 degrees Fahrenheit and spray a 12 cup muffin tin with cooking spray. Do not use paper liners because they will stick when caramel is used.
Sauté the Apples
Melt 1 tablespoon butter in a small skillet over medium heat. Add 1 cup peeled and chopped apples, 1 tablespoon brown sugar, 1/2 teaspoon cinnamon and a pinch of nutmeg. Cook about 3 minutes until slightly tender then remove from heat.
Make the Batter
In a large bowl whisk 1/2 cup melted butter and 1 cup brown sugar until smooth. Beat in 1 large egg and 1 teaspoon vanilla. Fold in 1 cup all purpose flour until just combined.
Prepare Caramel
Place 20 unwrapped caramels and 1 tablespoon cream in a microwave safe bowl. Heat in 20 second bursts stirring until melted about 60 to 90 seconds. Stir in 1/4 teaspoon kosher salt.
Make the Crumble
Combine 2 tablespoons softened butter, 5 tablespoons flour and 1/4 cup brown sugar. Use a pastry blender or fingertips to form a coarse sand texture.
Assemble and Bake
Spoon about 2 tablespoons batter into each muffin cup. Top with 1 to 2 teaspoons apples, drizzle 1 to 2 teaspoons caramel avoiding the edges, and sprinkle crumble. Bake 13 to 16 minutes until lightly golden. Cool in the tin and loosen with a knife before removing.
Last Step: Please leave a rating and comment letting us know how you liked this recipe! This helps our business to thrive and continue providing free, high-quality recipes for you.
Nutrition
Did You Make This?
Leave a comment & rating below or tag
@flavest on social media!
Categories:
You might also like...

Glazed Apple Cider Donuts
Warm-spiced apple cider donuts with tender apple bits and a glossy cider glaze, fried crisp and irresistibly cozy for fall.

Slow Cooker Pork Pot Roast
All-day slow cooking turns pork shoulder, potatoes, and carrots into a tender, savory classic with a rich homemade gravy everyone will love.

Cheesy Hamburger Potato Casserole
Tender layers of Yukon gold potatoes with seasoned beef in a creamy, cheddar sauce, baked until bubbly and irresistibly comforting.
Did You Make This?
Leave a comment & rating below or tag @flavest on social media!
Rate This Recipe
Share This Recipe
Enjoyed this recipe? Share it with friends and family, and don't forget to leave a review!
Comments (1)
This recipe looks amazing! Can't wait to try it.
Comments are stored locally in your browser. Server comments are displayed alongside your local comments.

Hi, I'm Maria!
What's Popular

30-Minute Meals!
Join to receive our email series which contains a round-up of some of our quick and easy family favorite recipes.