
>>

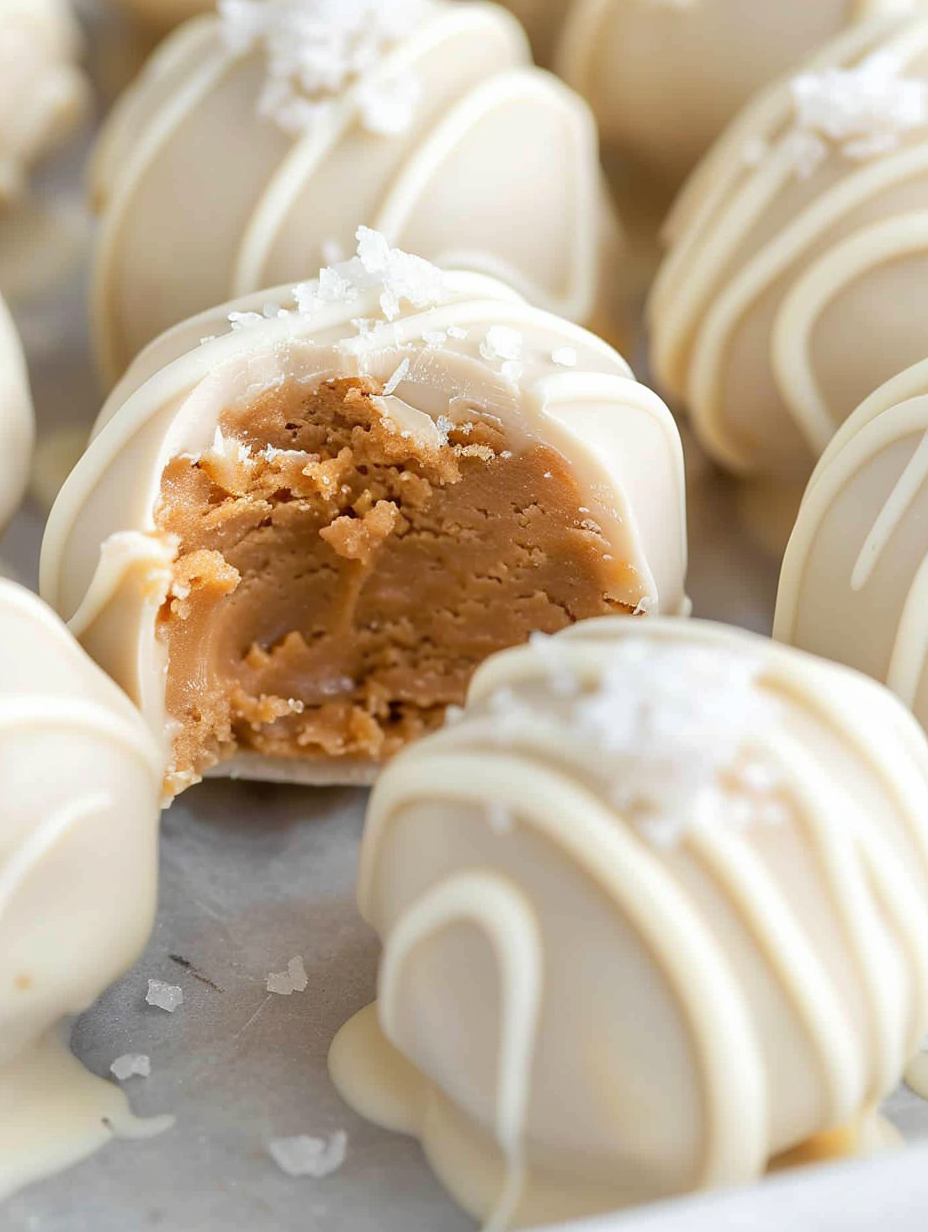
These salted white chocolate peanut butter balls are an easy no-bake holiday treat: rich, creamy centers coated in sweet white chocolate and finished with flaked sea salt.

I first made this around a holiday cookie swap and was surprised by how quickly they disappeared. Family members sniffed them out from the pantry and took them straight to the couch. Since then, they are my fallback when I need a small-batch, high-impact treat — neighbors love receiving a few in a small tin, and I love how simple they are to prepare even on a busy day.
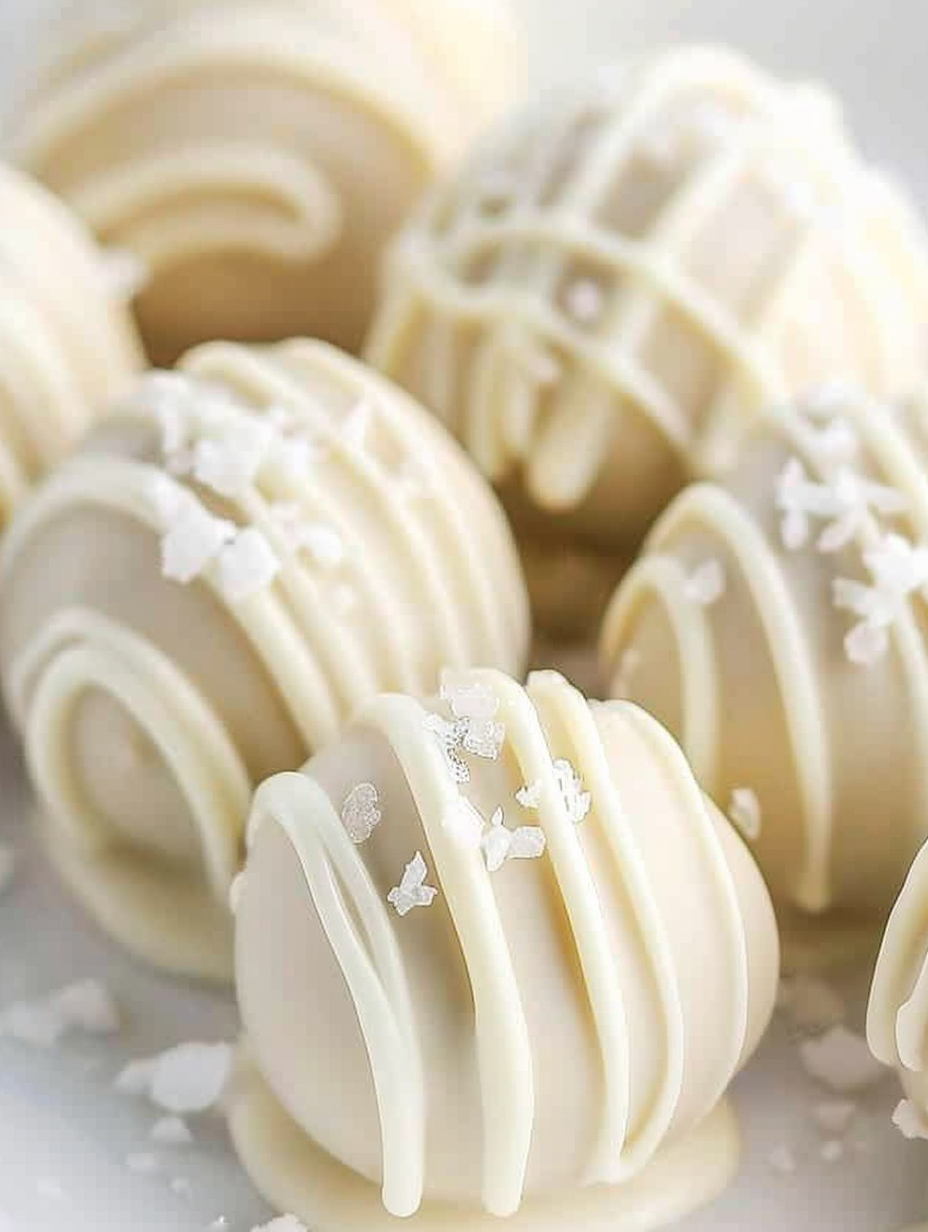
My favorite part is the contrast of texture: the thin crisp shell and the dense, satiny center. Family members have told me these taste like the grown-up version of peanut butter cups but with a light, sweet twist. I often watch guests pause after the first bite, smile, and reach for a second. These bites have become a holiday tradition, appearing on dessert tables and in small gift boxes for neighbors every December.
Store finished candies in a single layer or separated by parchment paper in an airtight container in the refrigerator for up to 10 days. For longer storage, freeze in a rigid container layered with parchment for up to 3 months; thaw in the refrigerator overnight before serving. Avoid condensation by removing chilled candies directly into a cool environment rather than letting them sit at room temperature for long periods. When packing for gifts, include a small ice pack if shipping short distances in warm weather.
If you need dairy-free options, swap the white chocolate chips for vegan white baking wafers or a coconut-based coating. For a lower-sugar version, reduce the cane sugar to 1/3 cup and replace powdered sugar with a low-carb powdered sweetener in a 1:1 ratio, though texture will be slightly different. Almond butter or sunflower seed butter can replace peanut butter for nut-free or allergy-friendly alternatives — if using sunflower seed butter, omit the salt inside and adjust to taste because it can be naturally saltier.
Serve these on a small dessert platter with contrasting colors: dark chocolate bark, dried cranberries, or candied orange peel look beautiful next to the pale white candies. They pair nicely with strong coffee or a slightly bitter tea to cut the sweetness. For holiday presentations, tuck three or four into mini cupcake liners and place in a small decorative tin tied with twine for a classic gift.
Peanut butter confections are a quintessentially American treat, evolving from classic peanut butter cookies and candy bars. The idea of coating a nut butter center in chocolate comes from mid-20th century confectionery inventions. Using white chocolate gives the candy a modern, festive twist, and sprinkling flaked sea salt is a contemporary technique that elevates sweet confections by introducing contrasting savory notes. Regional variations often swap coatings or nuts based on local tastes and ingredient availability.
Customize the coating for seasons: swap white chocolate for dark chocolate and add a drizzle of salted caramel for winter. For spring, fold in finely grated lemon zest into the filling for a bright note or roll the centers in toasted coconut before dipping for a tropical twist. Add festive sprinkles or red and green sugar on top for holiday-themed versions, or press a single almond onto each ball for an elegant autumn presentation.
Make the centers up to two days ahead and keep them chilled on a baking sheet covered with plastic wrap. Dip and finish the same day you plan to serve to keep the coating fresh and glossy. When prepping multiple batches, label containers with dates and store cooled candies in a single layer to avoid sticking. For quick assembly line production, melt chocolate in two bowls so you can maintain a steady flow without having to reheat a single bowl frequently.
These salted white chocolate peanut butter balls are simple, elegant, and endlessly adaptable. Whether you are gifting them, serving them at a get-together, or sneaking a few for yourself, they are a reliably loved sweet that you can make in under an hour. Try a small batch tonight and adjust the sweetness or salt level to your taste — they are fun to customize and even more fun to share.
Chill the peanut butter centers before dipping to prevent oil bleed and ensure a clean coating.
Heat white chocolate in short intervals and stop when a few chips remain to avoid scorching.
Use flaked sea salt for finishing; fine salt will dissolve and won’t give the same texture contrast.
If the coating thickens while dipping, microwave for 10 seconds and stir to regain a smooth consistency.
This nourishing salted white chocolate peanut butter balls recipe is sure to be a staple in your kitchen. Enjoy every moist, high protein slice — it is perfect for breakfast or as a wholesome snack any time.
This Salted White Chocolate Peanut Butter Balls recipe makes perfectly juicy, tender, and flavorful steak every time! Serve with potatoes and a side salad for an unforgettable dinner in under 30 minutes.
In a mixing bowl, beat together 3/4 cup creamy no-stir peanut butter, 1/2 cup cane sugar, 1/8 teaspoon salt, 1/4 cup coconut flour and 2 tablespoons powdered sugar until fully combined and pliable.
Use a mini cookie scoop or your hands to portion the batter into 1-inch balls and place them on a baking sheet lined with wax paper, aiming for 10 to 12 pieces.
Freeze the formed balls for 20 minutes to firm up the centers and reduce oil migration during dipping.
Melt 2 cups white chocolate chips in a microwave-safe bowl in 20 to 30 second increments, stirring between intervals until smooth and pourable; avoid overheating.
Dip each chilled ball into the melted white chocolate using a fork, tap off excess, place back on the wax paper and immediately sprinkle flaked sea salt on top before the coating sets.
Warm any remaining chocolate, put in a small zip-top bag, cut a tiny corner and drizzle over the candies for texture. Chill in the refrigerator for 15 minutes until fully set.
Last Step: Please leave a rating and comment letting us know how you liked this recipe! This helps our business to thrive and continue providing free, high-quality recipes for you.
Leave a comment & rating below or tag
@flavest on social media!

Warm-spiced apple cider donuts with tender apple bits and a glossy cider glaze, fried crisp and irresistibly cozy for fall.

All-day slow cooking turns pork shoulder, potatoes, and carrots into a tender, savory classic with a rich homemade gravy everyone will love.

Tender layers of Yukon gold potatoes with seasoned beef in a creamy, cheddar sauce, baked until bubbly and irresistibly comforting.
Leave a comment & rating below or tag @flavest on social media!
Enjoyed this recipe? Share it with friends and family, and don't forget to leave a review!
This recipe looks amazing! Can't wait to try it.
Comments are stored locally in your browser. Server comments are displayed alongside your local comments.

Join to receive our email series which contains a round-up of some of our quick and easy family favorite recipes.
