
>>

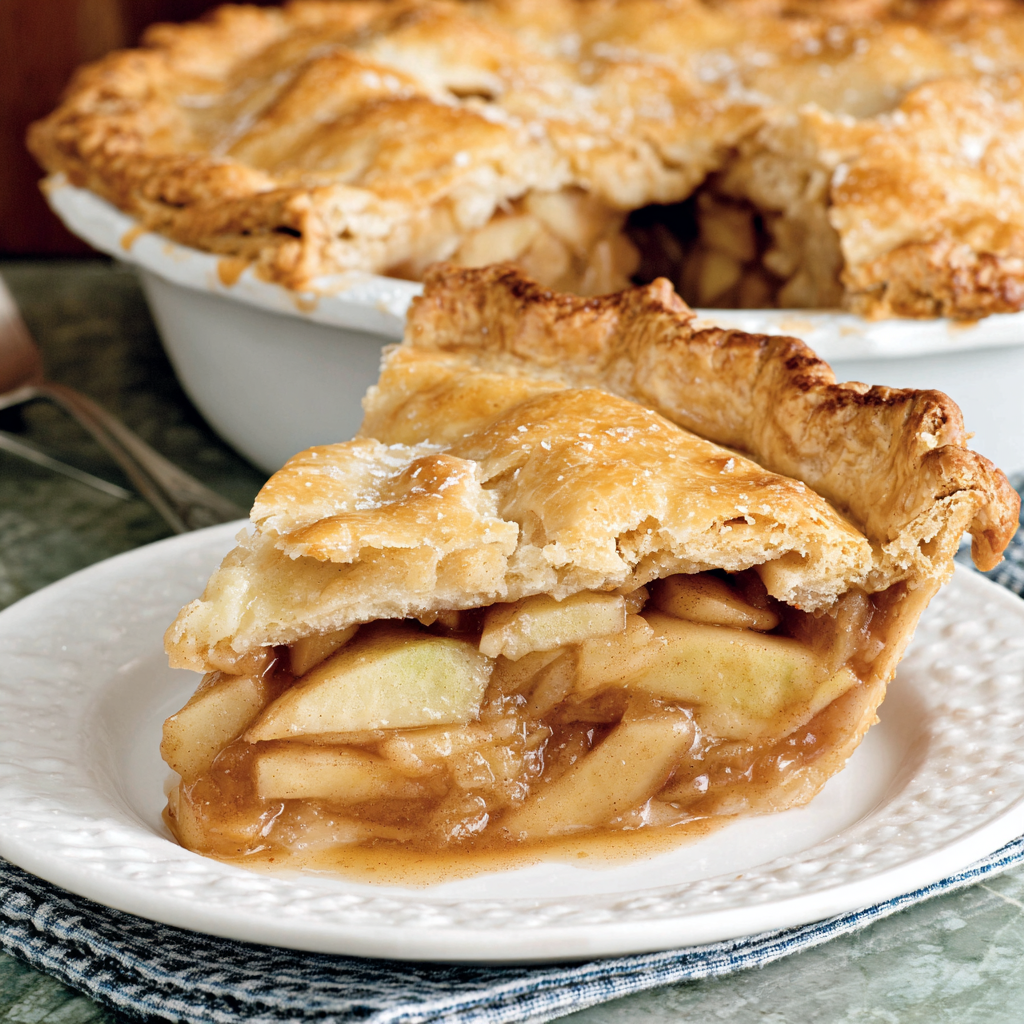
Buttery, cinnamon-kissed apple pie with a brown sugar caramel sauce and flaky crust, easy enough for weeknights yet impressive for holidays.
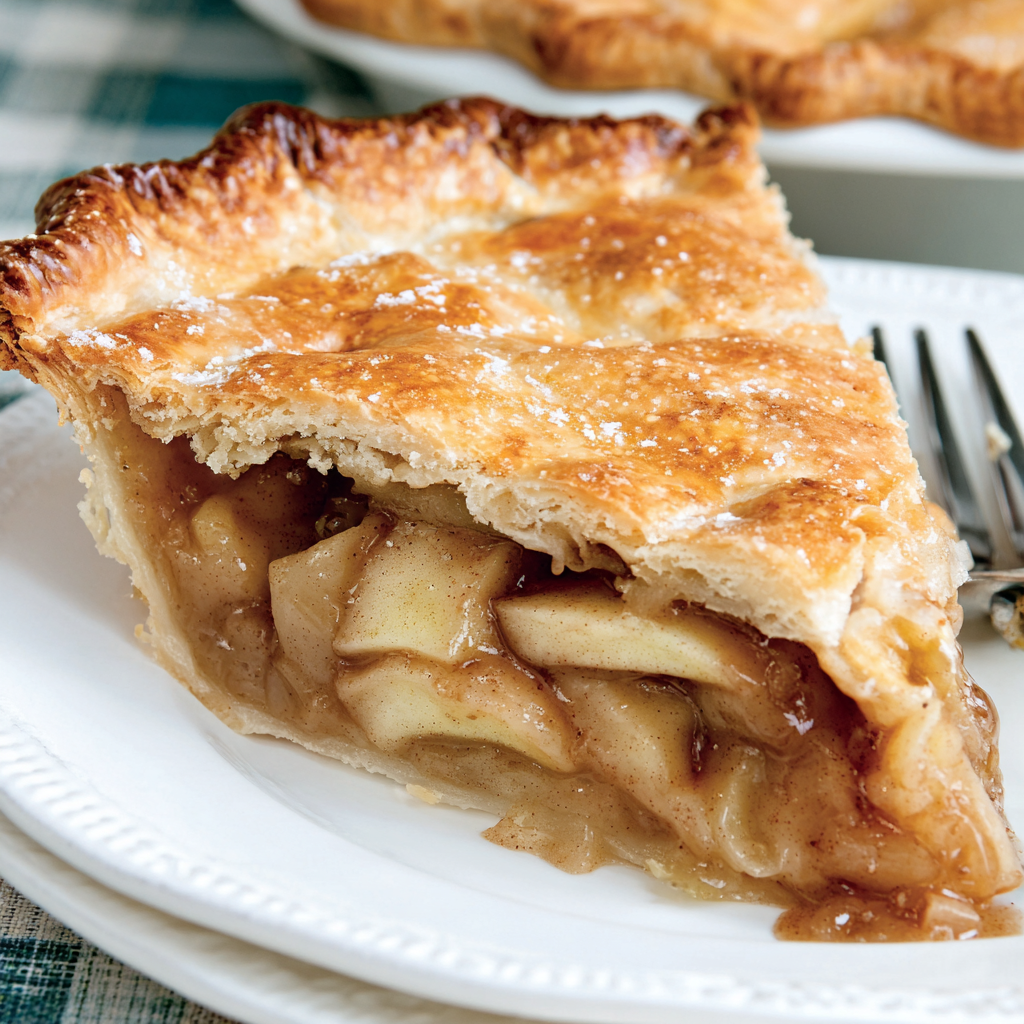
Every time I bake this pie, someone asks for the “secret” and is surprised to learn it is the quick stovetop syrup. It perfumes the house, and the first slice always disappears before I can grab plates. My kids call it the cozy pie, which feels exactly right on chilly evenings.
What I adore most is how cleanly this pie slices after a restful cool. The syrup sets into a luscious, spoon-coating gloss that does not flood the plate. My grandmother taught me the foil trick decades ago, and it still delivers a perfect balance of tender edges and deeply golden color every time.
Let the pie cool completely, then cover loosely with foil or an inverted bowl and keep at room temperature for up to 2 days. For longer storage, move it to the refrigerator, covered, for another 2 days. To freeze, wrap the whole pie or individual slices tightly in plastic wrap and then in foil to prevent freezer burn. Freeze for 3 to 4 months. Reheat thawed slices at 350°F for 10 to 15 minutes, or the whole pie for about 30 minutes until warmed through and the crust re-crisps. If reheating from frozen, extend time and cover edges with foil to avoid overbrowning.
Use a blend of tart and sweet apples for dimension: try 3 cups Granny Smith with 3 cups Honeycrisp or Jonagold. No light brown sugar? Dark brown sugar works, yielding deeper molasses notes. If using unsalted butter, add a pinch of fine salt to the syrup. Prefer a different thickener? Swap the 3 tablespoons of flour for 2 tablespoons of cornstarch whisked into the syrup off heat, then return to a simmer until glossy. If you are out of lemon juice, 1 teaspoon apple cider vinegar adds brightness. Refrigerated pie crusts are convenient, but a homemade double crust or frozen pre-rolled crusts bake up just as beautifully.
Serve warm with a scoop of vanilla ice cream that melts into the ridges of the crust, or pair with lightly sweetened whipped cream to let the apple flavor shine. For a classic regional twist, add a thin slice of sharp cheddar alongside. A drizzle of warm caramel sauce emphasizes the brown sugar notes. Present on a simple cake stand or a vintage pie plate, and cut generous wedges. This pie plays well with after-dinner coffee, spiced tea, or a small pour of apple brandy on festive occasions.
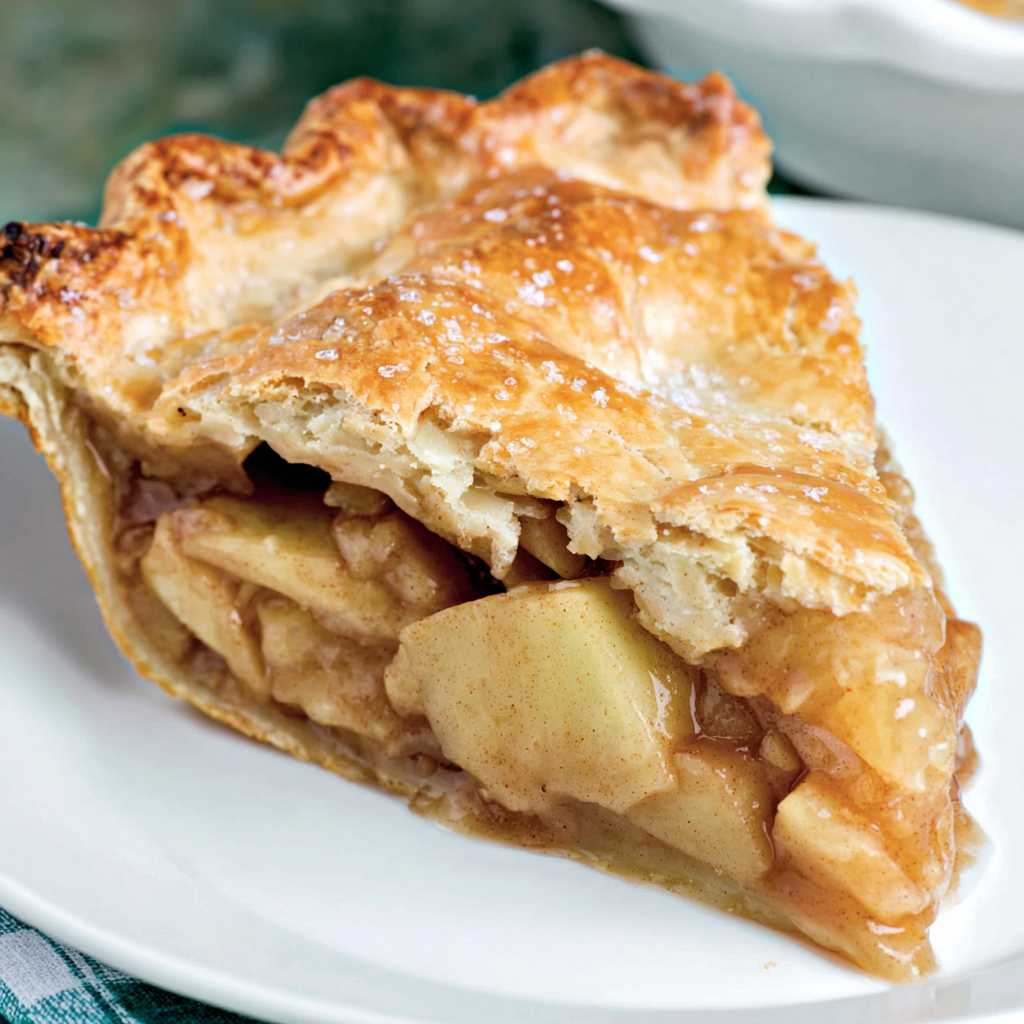
Apple pie has a storied place in American baking, though its roots weave through English and Dutch traditions. As apples became abundant in early American orchards, pies evolved with regional touches: New England bakers often preferred sharper, tarter fillings, while Midwestern versions leaned spicier and sweeter. The double-crust format remains a hallmark, and the phrase as American as apple pie reflects how beloved and familiar it is at holidays, church suppers, and county fairs. This brown sugar approach echoes classic Shaker-style technique, where a simmered syrup ensures a clean slice and a rich, caramel-forward flavor.
In fall and around Thanksgiving, add 1/4 teaspoon ground nutmeg or cardamom for deeper warmth, or fold in 1/2 cup fresh cranberries for tart sparkle. In winter, swap part of the granulated sugar for maple sugar and finish the warm pie with a dusting of cinnamon. Spring calls for lighter spice; dial cinnamon down to 1 1/2 teaspoons and add extra lemon zest for brightness. For summer picnics, bake in a metal pie pan for faster heat conduction and easier transport, and serve at room temperature to avoid melting accompaniments.
To get ahead, slice apples up to a day in advance and toss with lemon juice; refrigerate tightly covered. Make the syrup and cool it, then combine with apples just before baking. Assemble the entire pie and refrigerate unbaked for up to 2 days, or freeze up to 4 months. Bake from frozen at 450°F for 20 minutes, then reduce to 425°F and bake 30 minutes more, shielding edges as needed. For lunchbox treats, cut baked, cooled pie into wedges, wrap individually, and refrigerate. Reheat slices in a toaster oven so the crust stays crisp.
There is a special kind of joy in pulling this pie from the oven and hearing the gentle crackle as the crust settles. Share it warm, make it ahead for ease, and let the brown sugar caramel do its cozy magic at your table.
Slice apples evenly so they cook at the same rate and stack neatly in the crust.
Keep crusts chilled until assembly; cold dough bakes flakier.
Look for vigorous bubbling through vents to signal the filling has set.
Always shield pie edges with foil to prevent overbrowning during long bakes.
Cool at least 1 hour for clean slices; overnight is even better.
This nourishing brown sugar apple pie recipe is sure to be a staple in your kitchen. Enjoy every moist, high protein slice — it is perfect for breakfast or as a wholesome snack any time.
No, you do not need to parbake the crust for this pie. The filling cooks fully in the oven time provided, and the crust browns beautifully with a simple milk wash and foil shield on the edges.
Yes. Use firm apples that hold shape, such as Pink Lady, Honeycrisp, Jonagold, Braeburn, Gala, Fuji, Jazz, or McIntosh. A mix of varieties adds depth of flavor and texture.
Do not remove it early. Cover the pie loosely with foil to prevent further browning, and continue baking so the apples cook through and the syrup thickens properly.
Thaw the baked pie in the refrigerator, then bake at 350°F for about 30 minutes until heated through and the crust re-crisps.
Yes. Keep the filling separate until baking if possible. An unbaked assembled pie can be refrigerated up to 2 days or frozen up to 4 months. Bake from thawed as directed, or bake from frozen at 450°F for 20 minutes, then 425°F for 30 minutes.
It can happen. Place a baking sheet under the pie to catch any drips and keep the oven clean.
This Brown Sugar Apple Pie recipe makes perfectly juicy, tender, and flavorful steak every time! Serve with potatoes and a side salad for an unforgettable dinner in under 30 minutes.
Set oven to 425°F. Position a rack in the center and place a parchment-lined baking sheet on the lower rack to catch any drips.
Peel, core, and thinly slice apples. Add to a large bowl and toss thoroughly with cinnamon to coat each slice.
In a medium saucepan, melt butter over medium heat. Whisk in flour until smooth. Stir in granulated sugar, brown sugar, and water. Bring to a boil, reduce heat, and simmer 3 minutes until glossy. Stir in lemon juice.
Pour the hot syrup over the apples and stir well until every slice is coated. The sauce will loosen slightly as juices release.
Fit one crust in a 9-inch pie dish. Pour in the apple filling and spread evenly, mounding slightly in the center.
Place the top crust over the filling. Trim excess and crimp edges to seal. Cut several slits or decorative vents in the center.
Brush the top crust with milk for shine. Cover the pie’s outer edge with foil to protect from overbrowning.
Bake on the center rack for about 50 minutes, until crust is golden and filling bubbles through vents. Cool at least 1 hour before slicing.
Last Step: Please leave a rating and comment letting us know how you liked this recipe! This helps our business to thrive and continue providing free, high-quality recipes for you.
Leave a comment & rating below or tag
@flavest on social media!

Warm-spiced apple cider donuts with tender apple bits and a glossy cider glaze, fried crisp and irresistibly cozy for fall.

All-day slow cooking turns pork shoulder, potatoes, and carrots into a tender, savory classic with a rich homemade gravy everyone will love.

Tender layers of Yukon gold potatoes with seasoned beef in a creamy, cheddar sauce, baked until bubbly and irresistibly comforting.
Leave a comment & rating below or tag @flavest on social media!
Enjoyed this recipe? Share it with friends and family, and don't forget to leave a review!
This recipe looks amazing! Can't wait to try it.
Comments are stored locally in your browser. Server comments are displayed alongside your local comments.

Join to receive our email series which contains a round-up of some of our quick and easy family favorite recipes.
