
>>

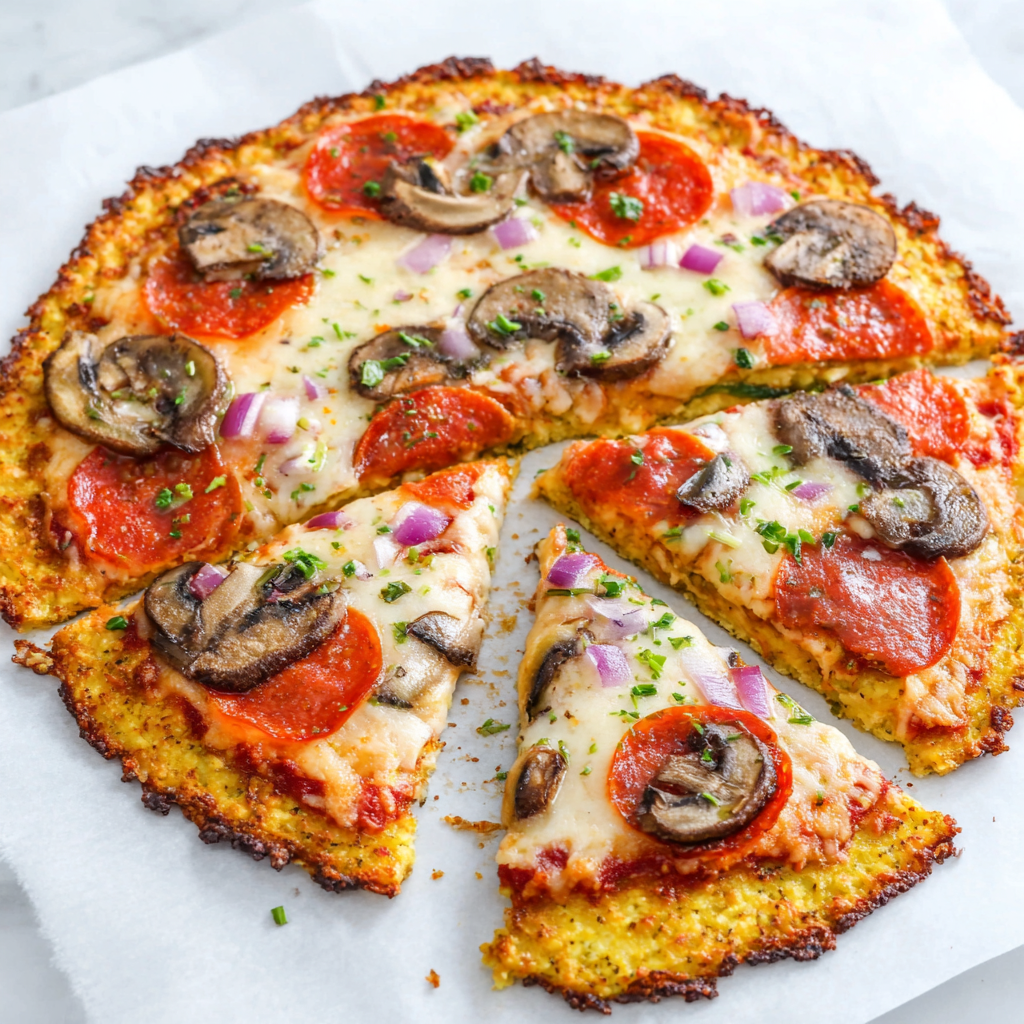
A sturdy, flavorful cauliflower crust that's quick to make and reliably holds up to toppings — the best cauliflower-based pizza crust I've ever made.
This cauliflower crust has been my weeknight lifesaver for years. I first adapted it during a busy week when pantry staples and a craving for pizza collided. I kept tinkering with ratios, cooking times, and drying techniques until the crust finally held together the way a proper pizza base should: crisp at the edges, tender in the center, and full of savory, roasted cauliflower flavor. It’s one of those recipes that proves a vegetable-forward version can be truly satisfying when you respect texture and water content.
What makes this version special is the balance between convenience and structure. Using thawed frozen cauliflower rice as a shortcut transforms the prep from fussy to speedy, without sacrificing bite. The combination of egg and a tangy soft cheese — I often use goat cheese or grated Parmesan — gives the base cohesion and a subtle tang that complements tomato sauce and melty mozzarella beautifully. Serve it for a casual family dinner or a low-carb gathering; everyone asks what’s different about it, and then finishes a slice without complaint.
I first served this at a casual Sunday dinner and watched skeptical faces turn into smiles with every bite. My partner loved the crisp edge, my kiddo declared it "pizza like a grown-up," and friends asked if I could freeze a few crusts for later. After years of tweaks, the skip-the-flipping update makes it even easier — less fuss, same great result.
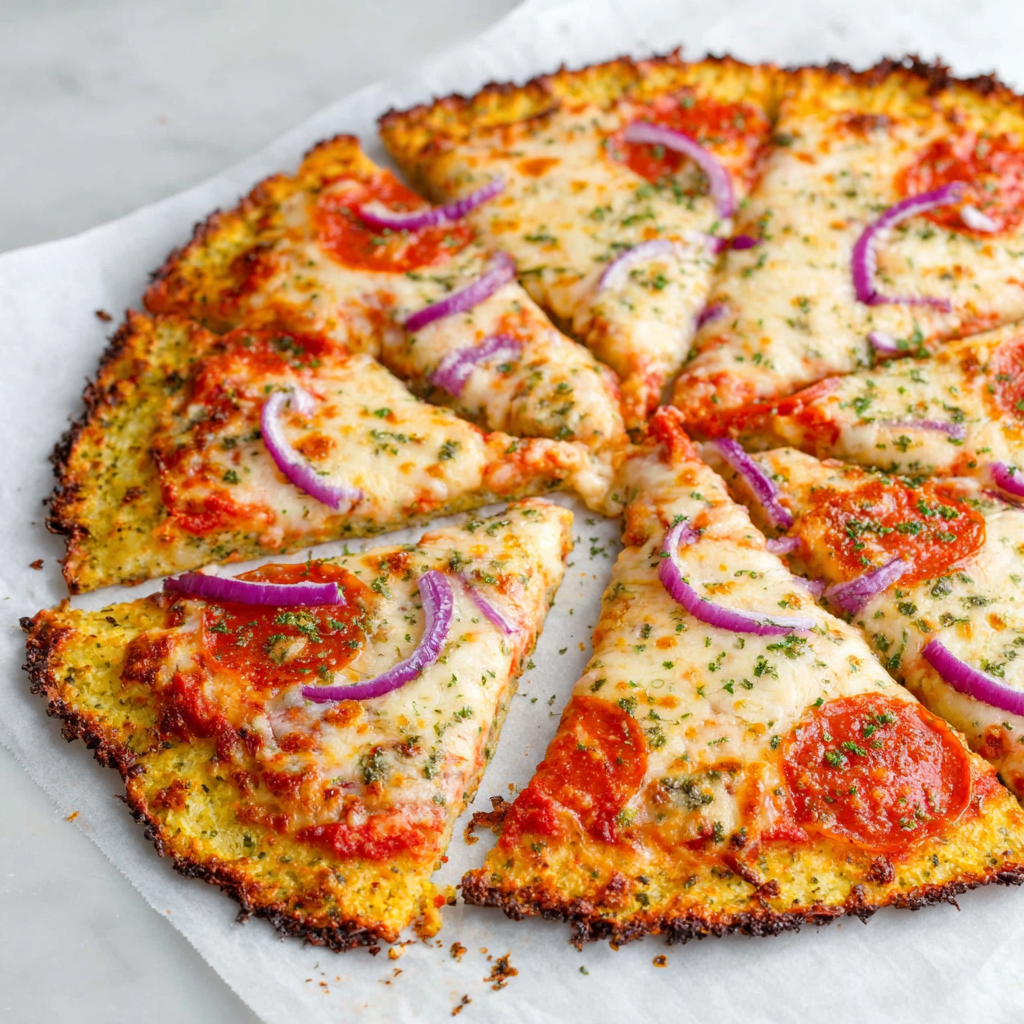
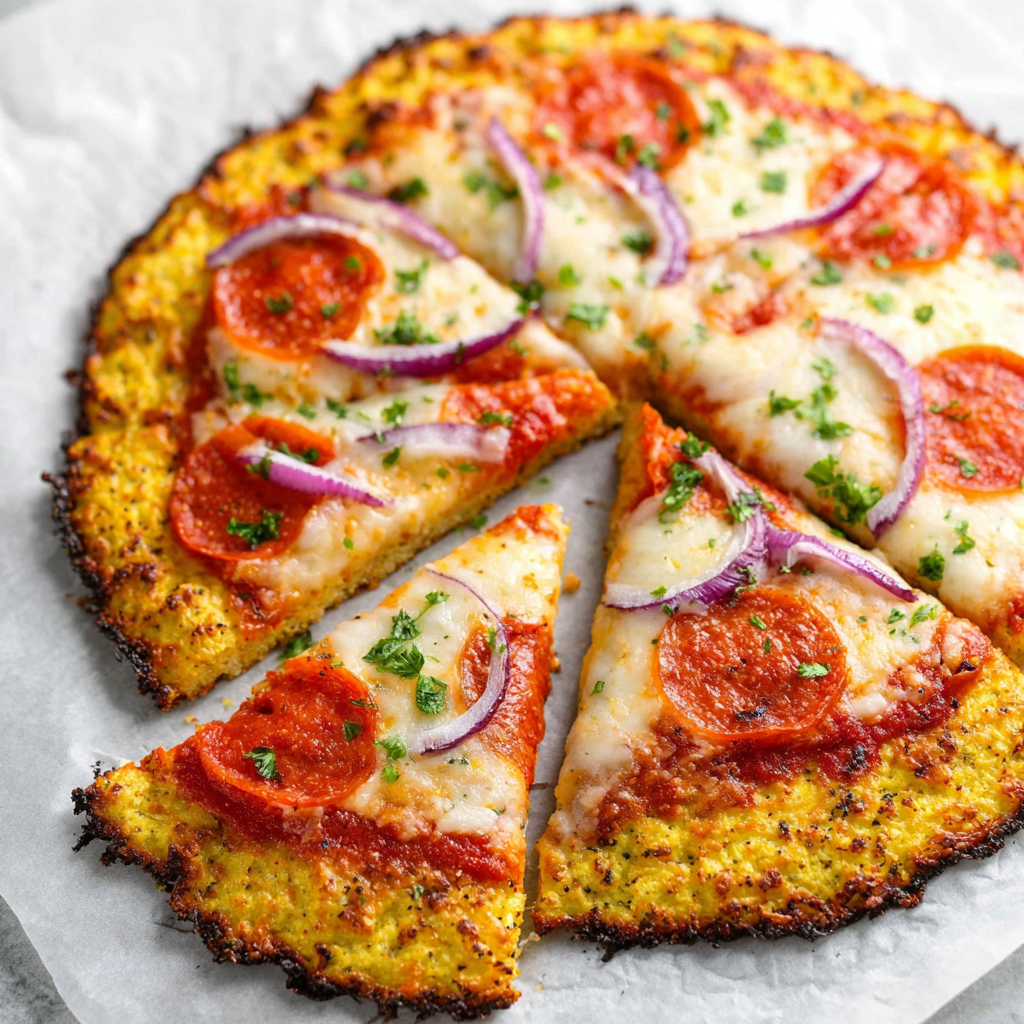
My favorite part is the way the crust browns: a golden rim with a tender center. Years of tweaking taught me that roasting the riced cauliflower and vigorous drying are what separate this from limp versions; those two steps are where the magic — and the texture — happen.
Store leftover crust or topped pizza in an airtight container in the refrigerator for up to 3 days. For best texture, reheat in a 375°F oven on a baking sheet for 8–10 minutes or in a toaster oven to revive crispness; microwaving will make it limp. You can freeze fully baked, un-topped crusts wrapped tightly in plastic and foil for up to 3 months — thaw overnight in the refrigerator, then re-crisp in a hot oven for 8–12 minutes before adding toppings.
If goat cheese isn’t your preference, substitute 1/3 cup grated Parmesan or Pecorino Romano for similar binding and umami. For dairy-free versions, use 3 tablespoons of a starchy binder like ground flaxseed mixed with 3 tablespoons water (let sit 5 minutes) plus 2 tablespoons tapioca starch — the texture will be slightly different but still satisfying. To make it egg-free, try a commercial egg replacer or 1/4 cup aquafaba; expect a softer, more fragile base.
Serve slices with a crisp green salad, arugula tossed in lemon and olive oil, or roasted seasonal vegetables. For a classic approach, top with tomato sauce, fresh mozzarella, and basil. For a white pizza, brush with olive oil and garlic, scatter sautéed spinach and ricotta, and finish with a drizzle of chili oil. Garnish with flaky salt and microgreens for an elevated presentation.
While not traditional in Italy, vegetable-based pizza crusts evolved from modern dietary adaptations and the trend to reduce refined carbohydrates. This version nods to Italian flavors through oregano and cheese while reimagining the foundation. It reflects contemporary home cooking where technique — particularly moisture control and roasting — merges with classic Italian flavor sensibilities.
Adapt the toppings to the season: spring asparagus, peas, and fresh ricotta make a bright spring pie; summer heirloom tomatoes, basil, and burrata are sublime; autumn pairs roasted mushrooms, sage, and fontina; winter welcomes caramelized onions, kale, and smoked mozzarella. Slightly reduce wet toppings in winter to keep the center crisp.
Make several un-topped crusts at once and freeze them for quick meals. Pre-bake crusts, cool, then stack parchment between each and store in a zip-top bag. When ready, crisp in the oven and add quick toppings. For lunch prep, bake smaller personal crusts and top with quick ingredients—cherry tomatoes and basil, or hummus and roasted peppers—for portable, low-carb options.
Try this crust once with your favorite toppings and you may never reach for store-bought cauliflower crusts again. It’s satisfying, flexible, and kind to busy cooks who still crave a real pizza experience.
Always squeeze out as much moisture as possible from the riced cauliflower using a thin dishtowel; this is essential for a crisp base.
If the crust edges brown too quickly, move the rack lower in the oven or tent lightly with foil to prevent burning while the center sets.
Use thawed frozen cauliflower rice to save time; there’s no need to cook it first if it’s fully thawed, just squeeze and proceed.
This nourishing cauliflower pizza crust recipe is sure to be a staple in your kitchen. Enjoy every moist, high protein slice — it is perfect for breakfast or as a wholesome snack any time.
Yes — use one 12-ounce bag of thawed frozen cauliflower rice for a sturdier crust or two 12-ounce bags (about 1 1/2 lb) for a larger, more vegetable-forward crust. Thaw completely and squeeze out moisture.
Squeeze the cooked or thawed riced cauliflower in a clean thin dishtowel until no more liquid comes out. This step prevents soggy results.
This Cauliflower Pizza Crust recipe makes perfectly juicy, tender, and flavorful steak every time! Serve with potatoes and a side salad for an unforgettable dinner in under 30 minutes.
If using fresh cauliflower, pulse florets in a food processor until they resemble rice. If using frozen, thaw completely and break up any clumps so the texture is uniform.
Spread riced cauliflower on a parchment-lined baking sheet and bake at 400°F for 15 minutes until tender and slightly roasted to concentrate flavor and reduce moisture.
Transfer warm riced cauliflower to a thin dishtowel, wrap, and squeeze over the sink until most liquid is expelled. Cooler cauliflower is safer to handle.
Combine the dried cauliflower with the beaten egg, goat cheese (or Parmesan), oregano, and salt. Press into a 10–12 inch circle about 1/4 inch thick on parchment.
Bake at 400°F for 30 minutes until the top is dry and edges are golden. The center should be set and not jiggle.
Top lightly with sauce and cheese, then bake an additional 5–10 minutes at 400°F until cheese is melted and bubbly. Let rest before slicing.
Last Step: Please leave a rating and comment letting us know how you liked this recipe! This helps our business to thrive and continue providing free, high-quality recipes for you.
Leave a comment & rating below or tag
@flavest on social media!

Warm-spiced apple cider donuts with tender apple bits and a glossy cider glaze, fried crisp and irresistibly cozy for fall.

All-day slow cooking turns pork shoulder, potatoes, and carrots into a tender, savory classic with a rich homemade gravy everyone will love.

Tender layers of Yukon gold potatoes with seasoned beef in a creamy, cheddar sauce, baked until bubbly and irresistibly comforting.
Leave a comment & rating below or tag @flavest on social media!
Enjoyed this recipe? Share it with friends and family, and don't forget to leave a review!
This recipe looks amazing! Can't wait to try it.
Comments are stored locally in your browser. Server comments are displayed alongside your local comments.

Join to receive our email series which contains a round-up of some of our quick and easy family favorite recipes.
